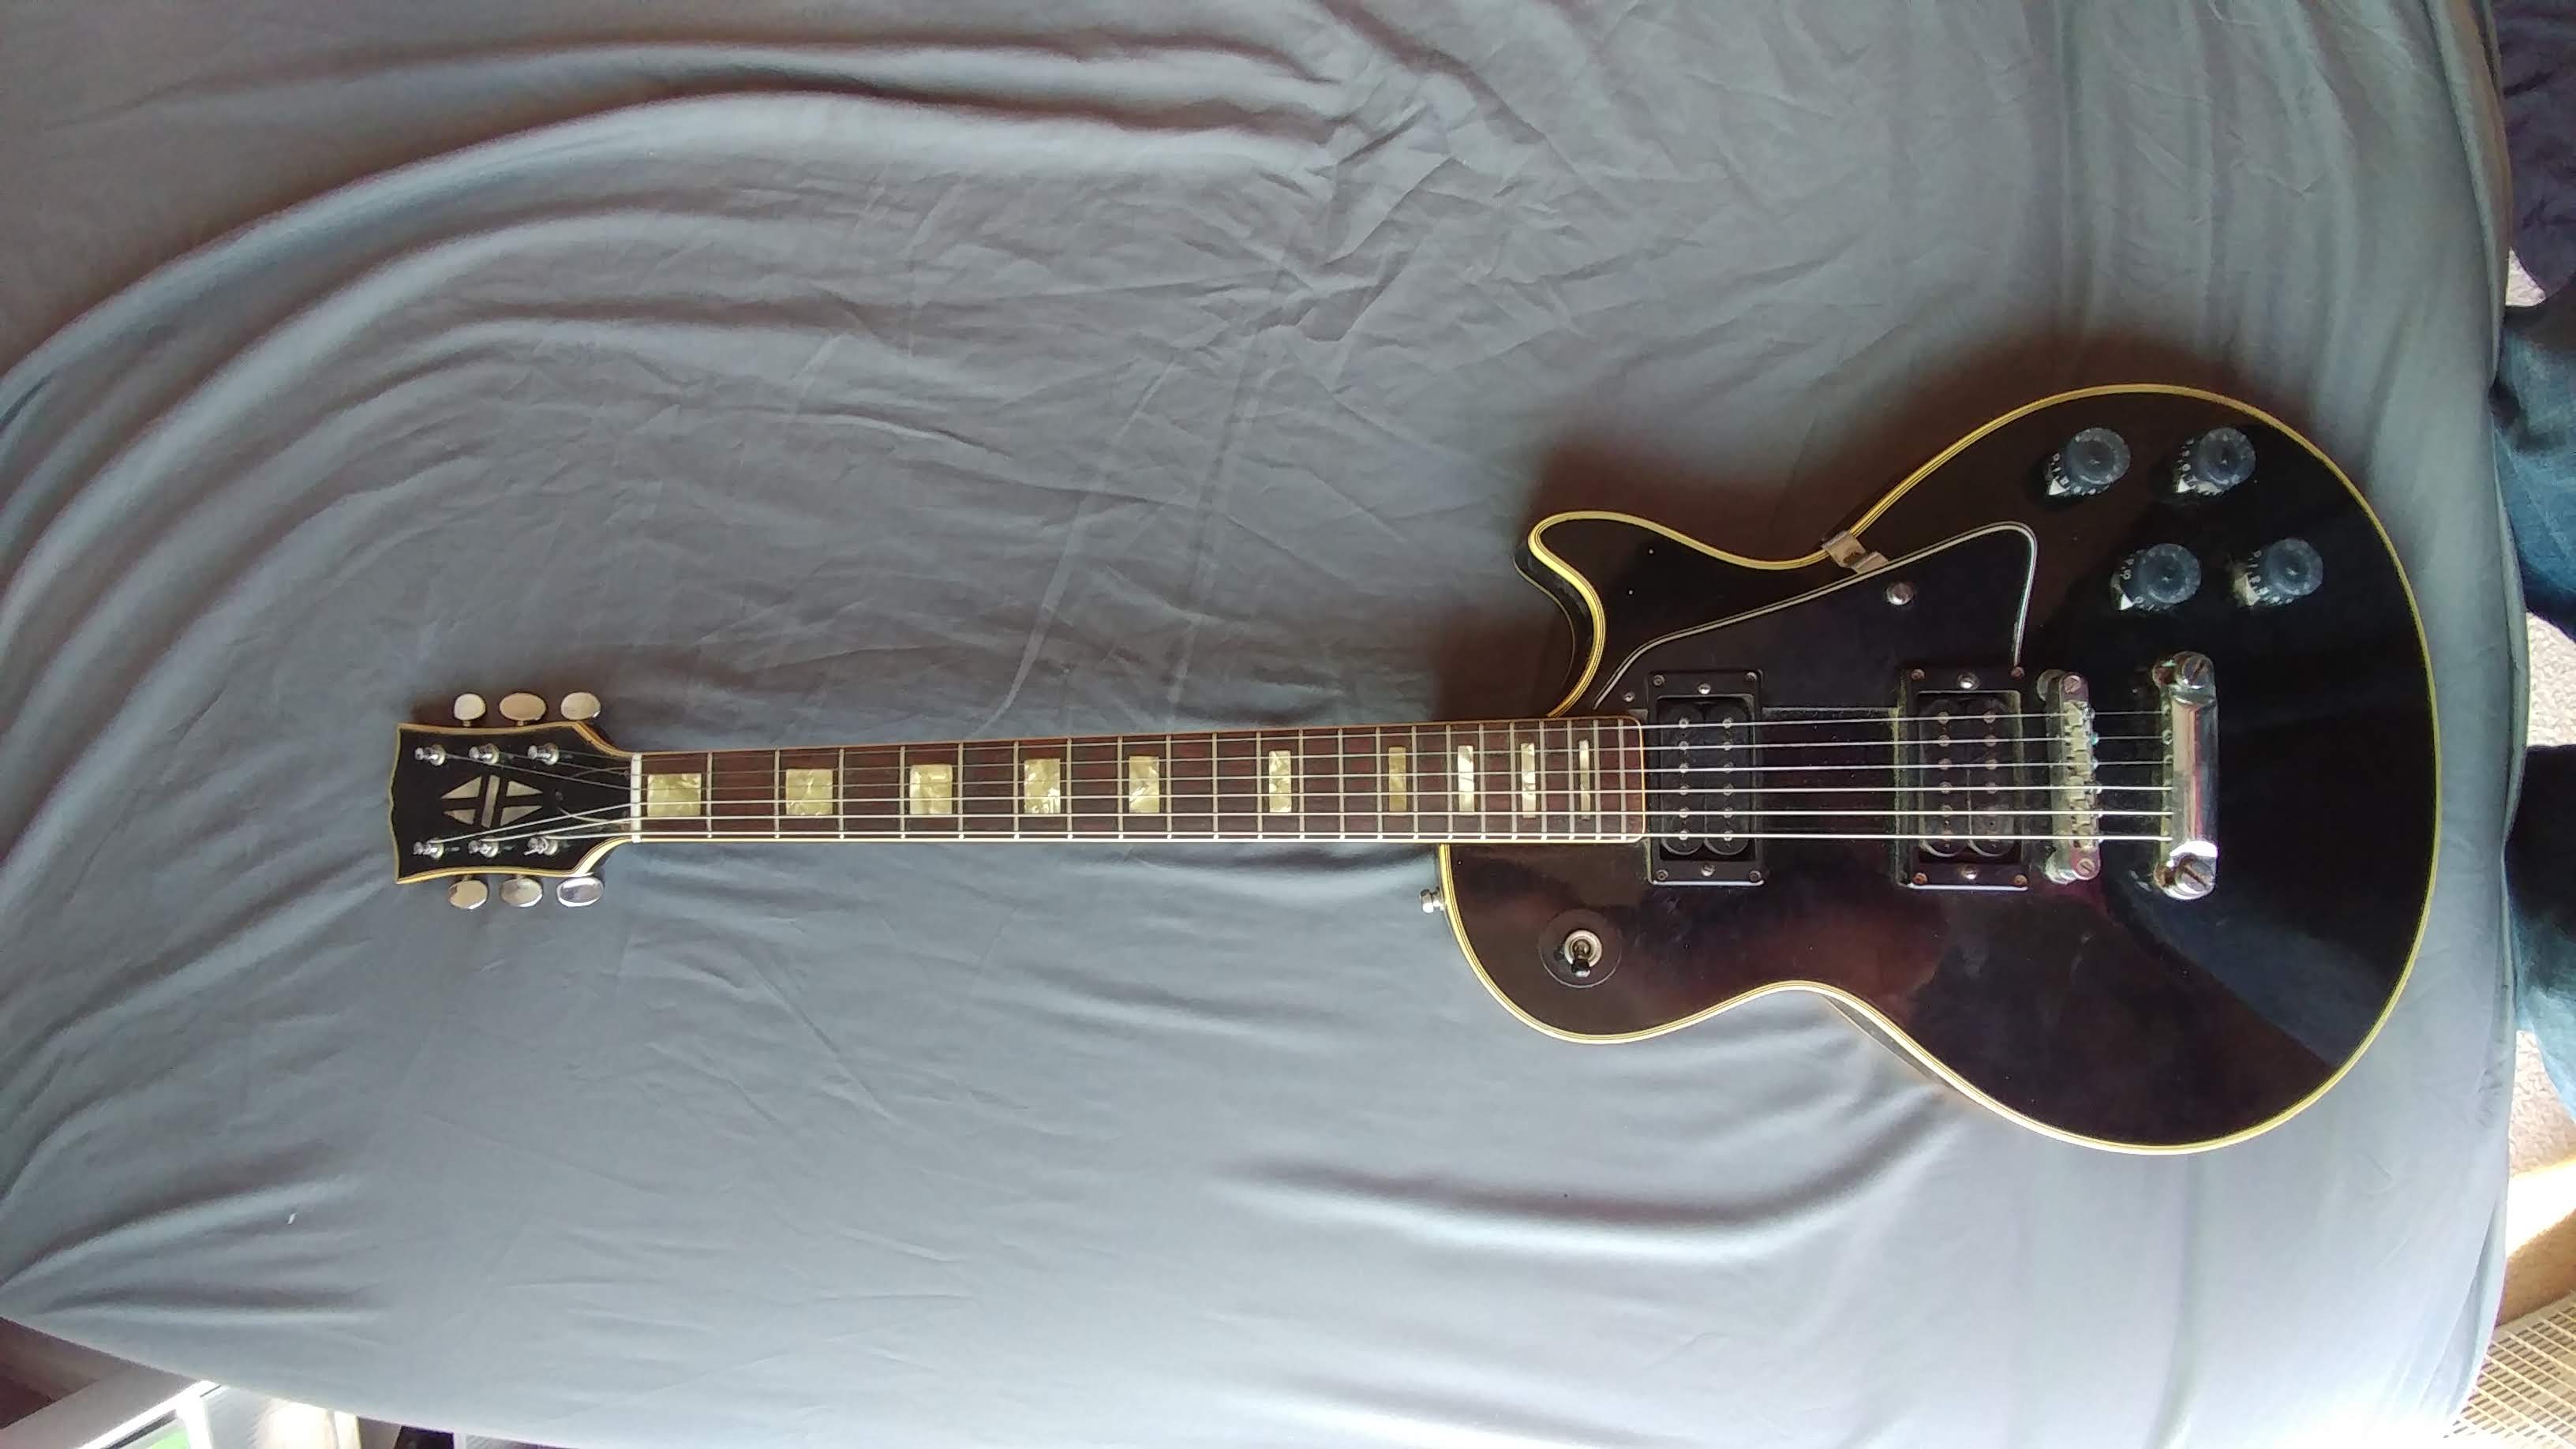
This Les Paul guitar belonged to my Uncle and after he passed was stored in my childhood bedroom closet, at the time I was still in high school and already had a Fender Squier Strat to not practice on so I just left it in my closet. A while back when I started picking up my guitar again I decided to take another look at and visited my mother to pick it up. When I picked it up she also gave me an Ibanez that she had laying around as well that needed some reapair. I opened the case and the guitar looked awful. This is the process of restoring this Les Paul and having something other than some old photos to remember my Uncle Tom by.
Assessing the damage
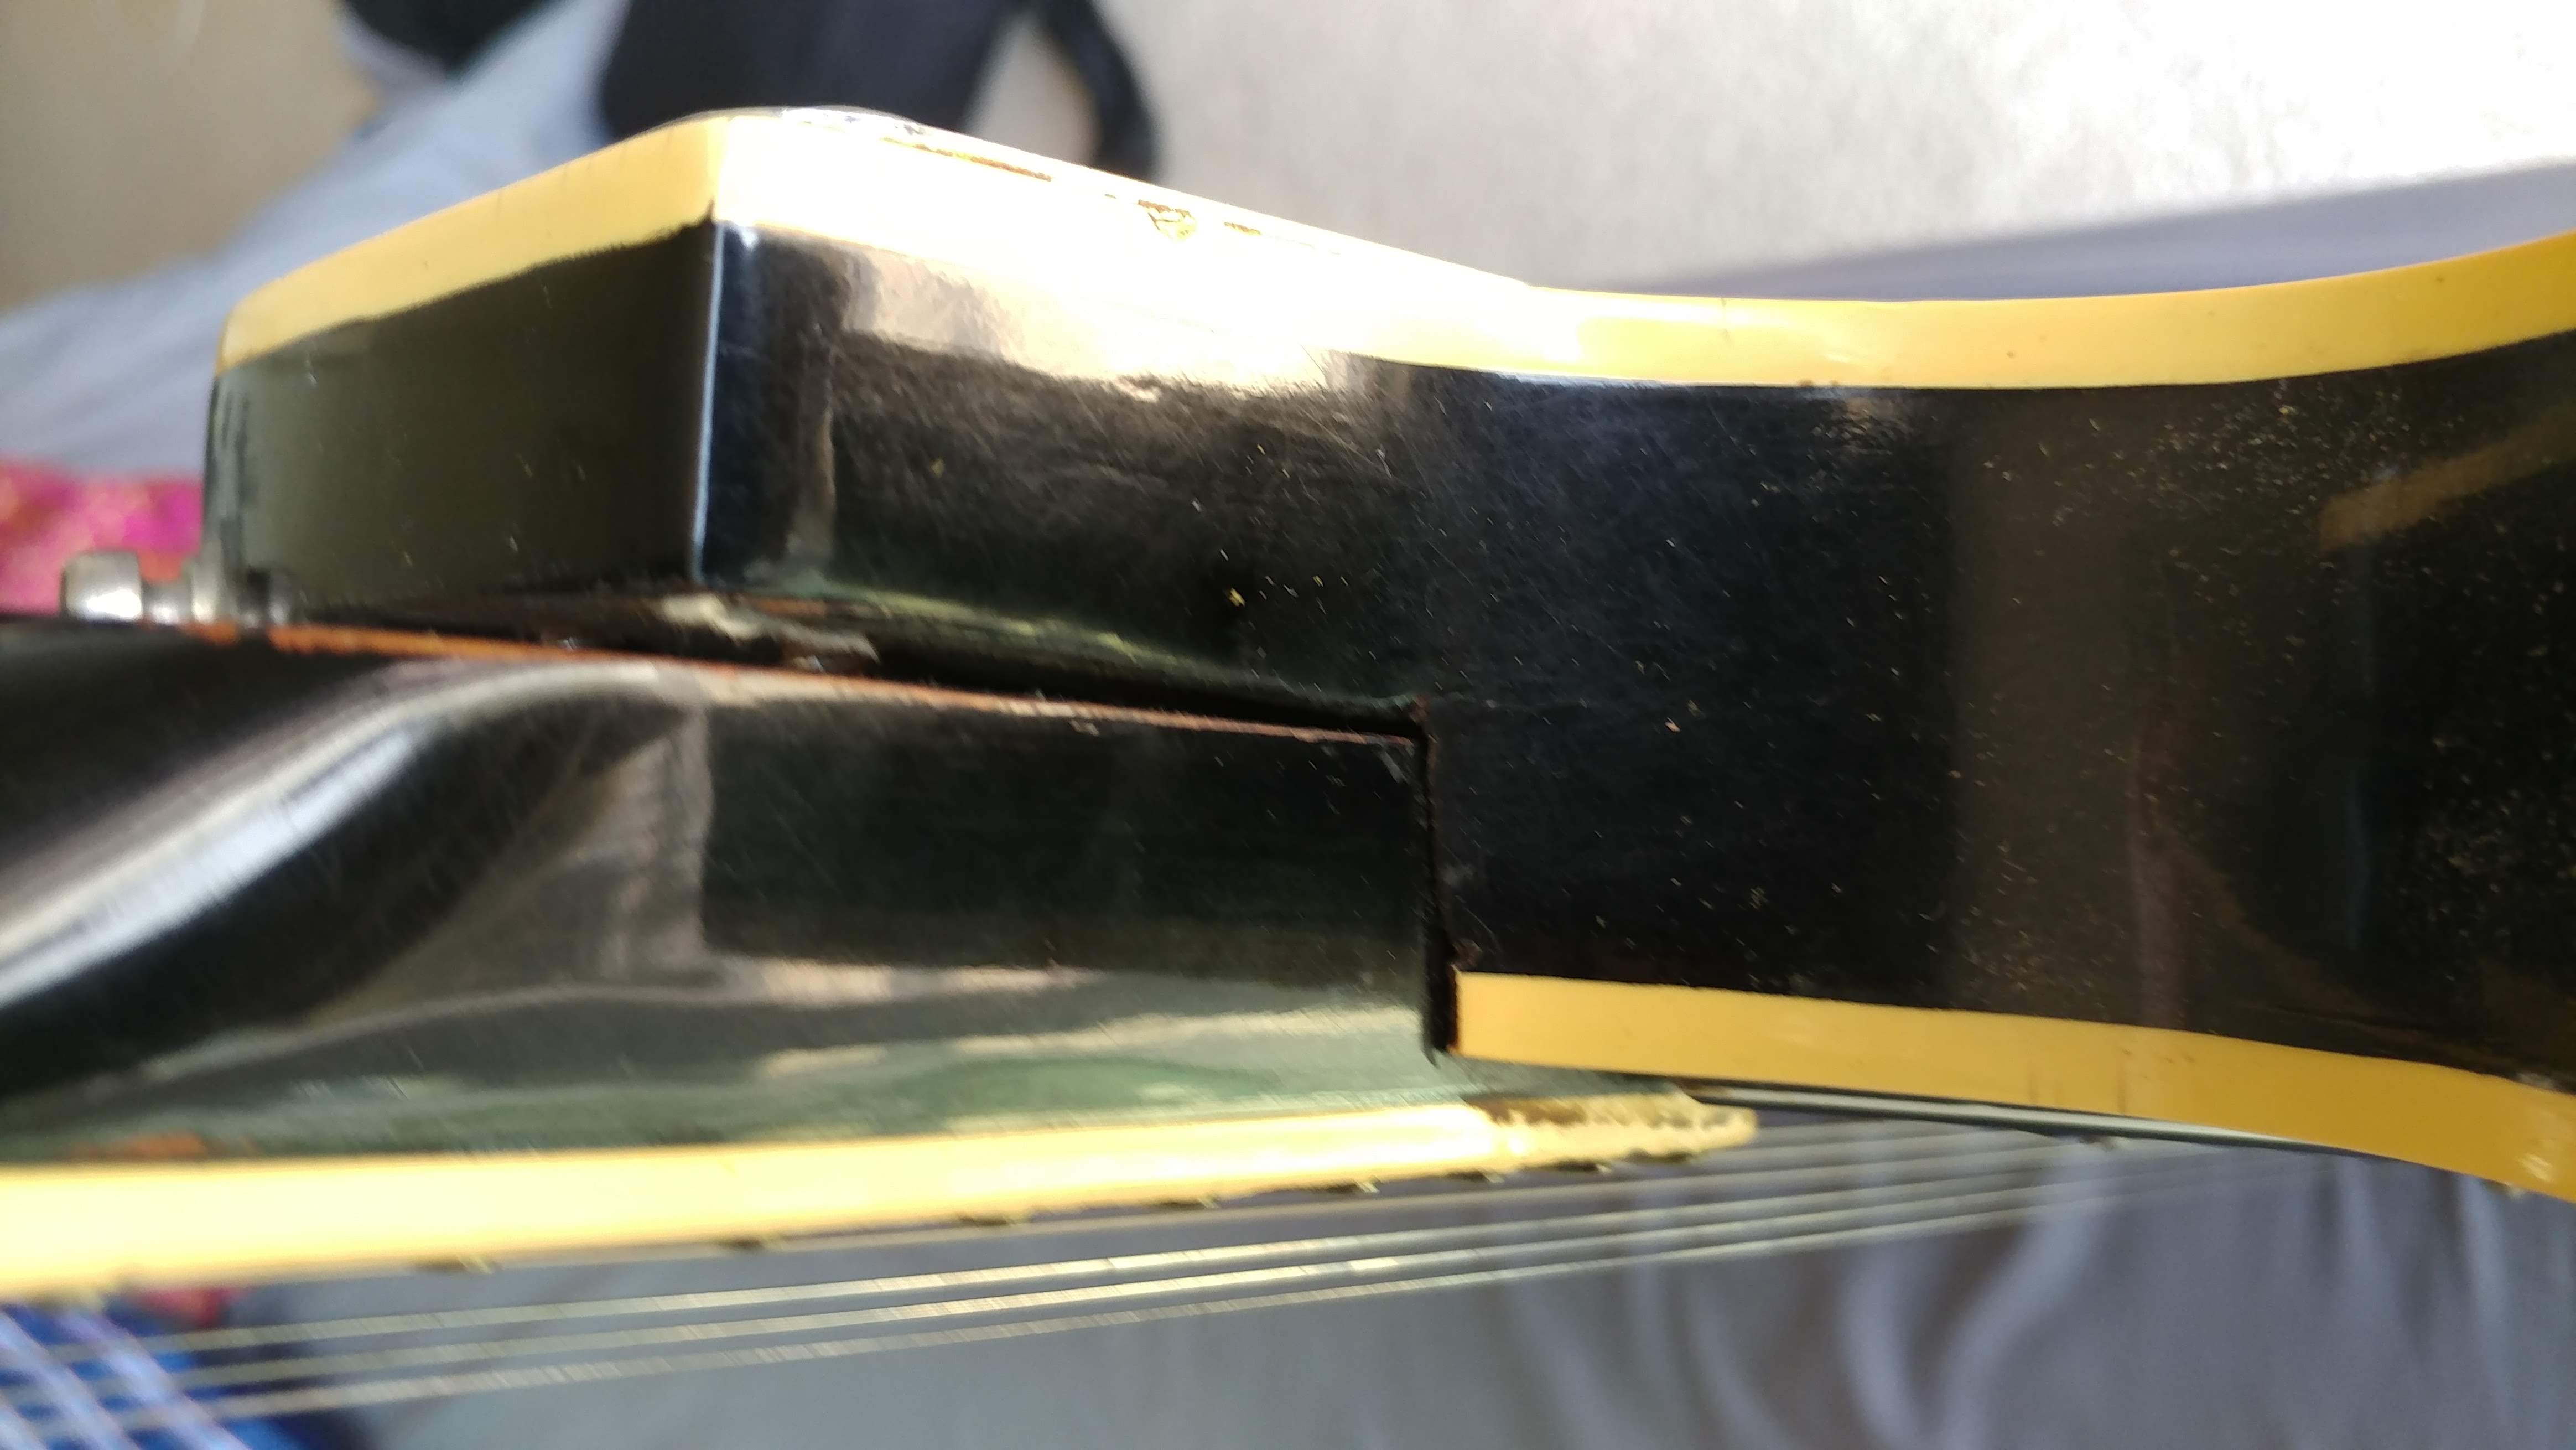
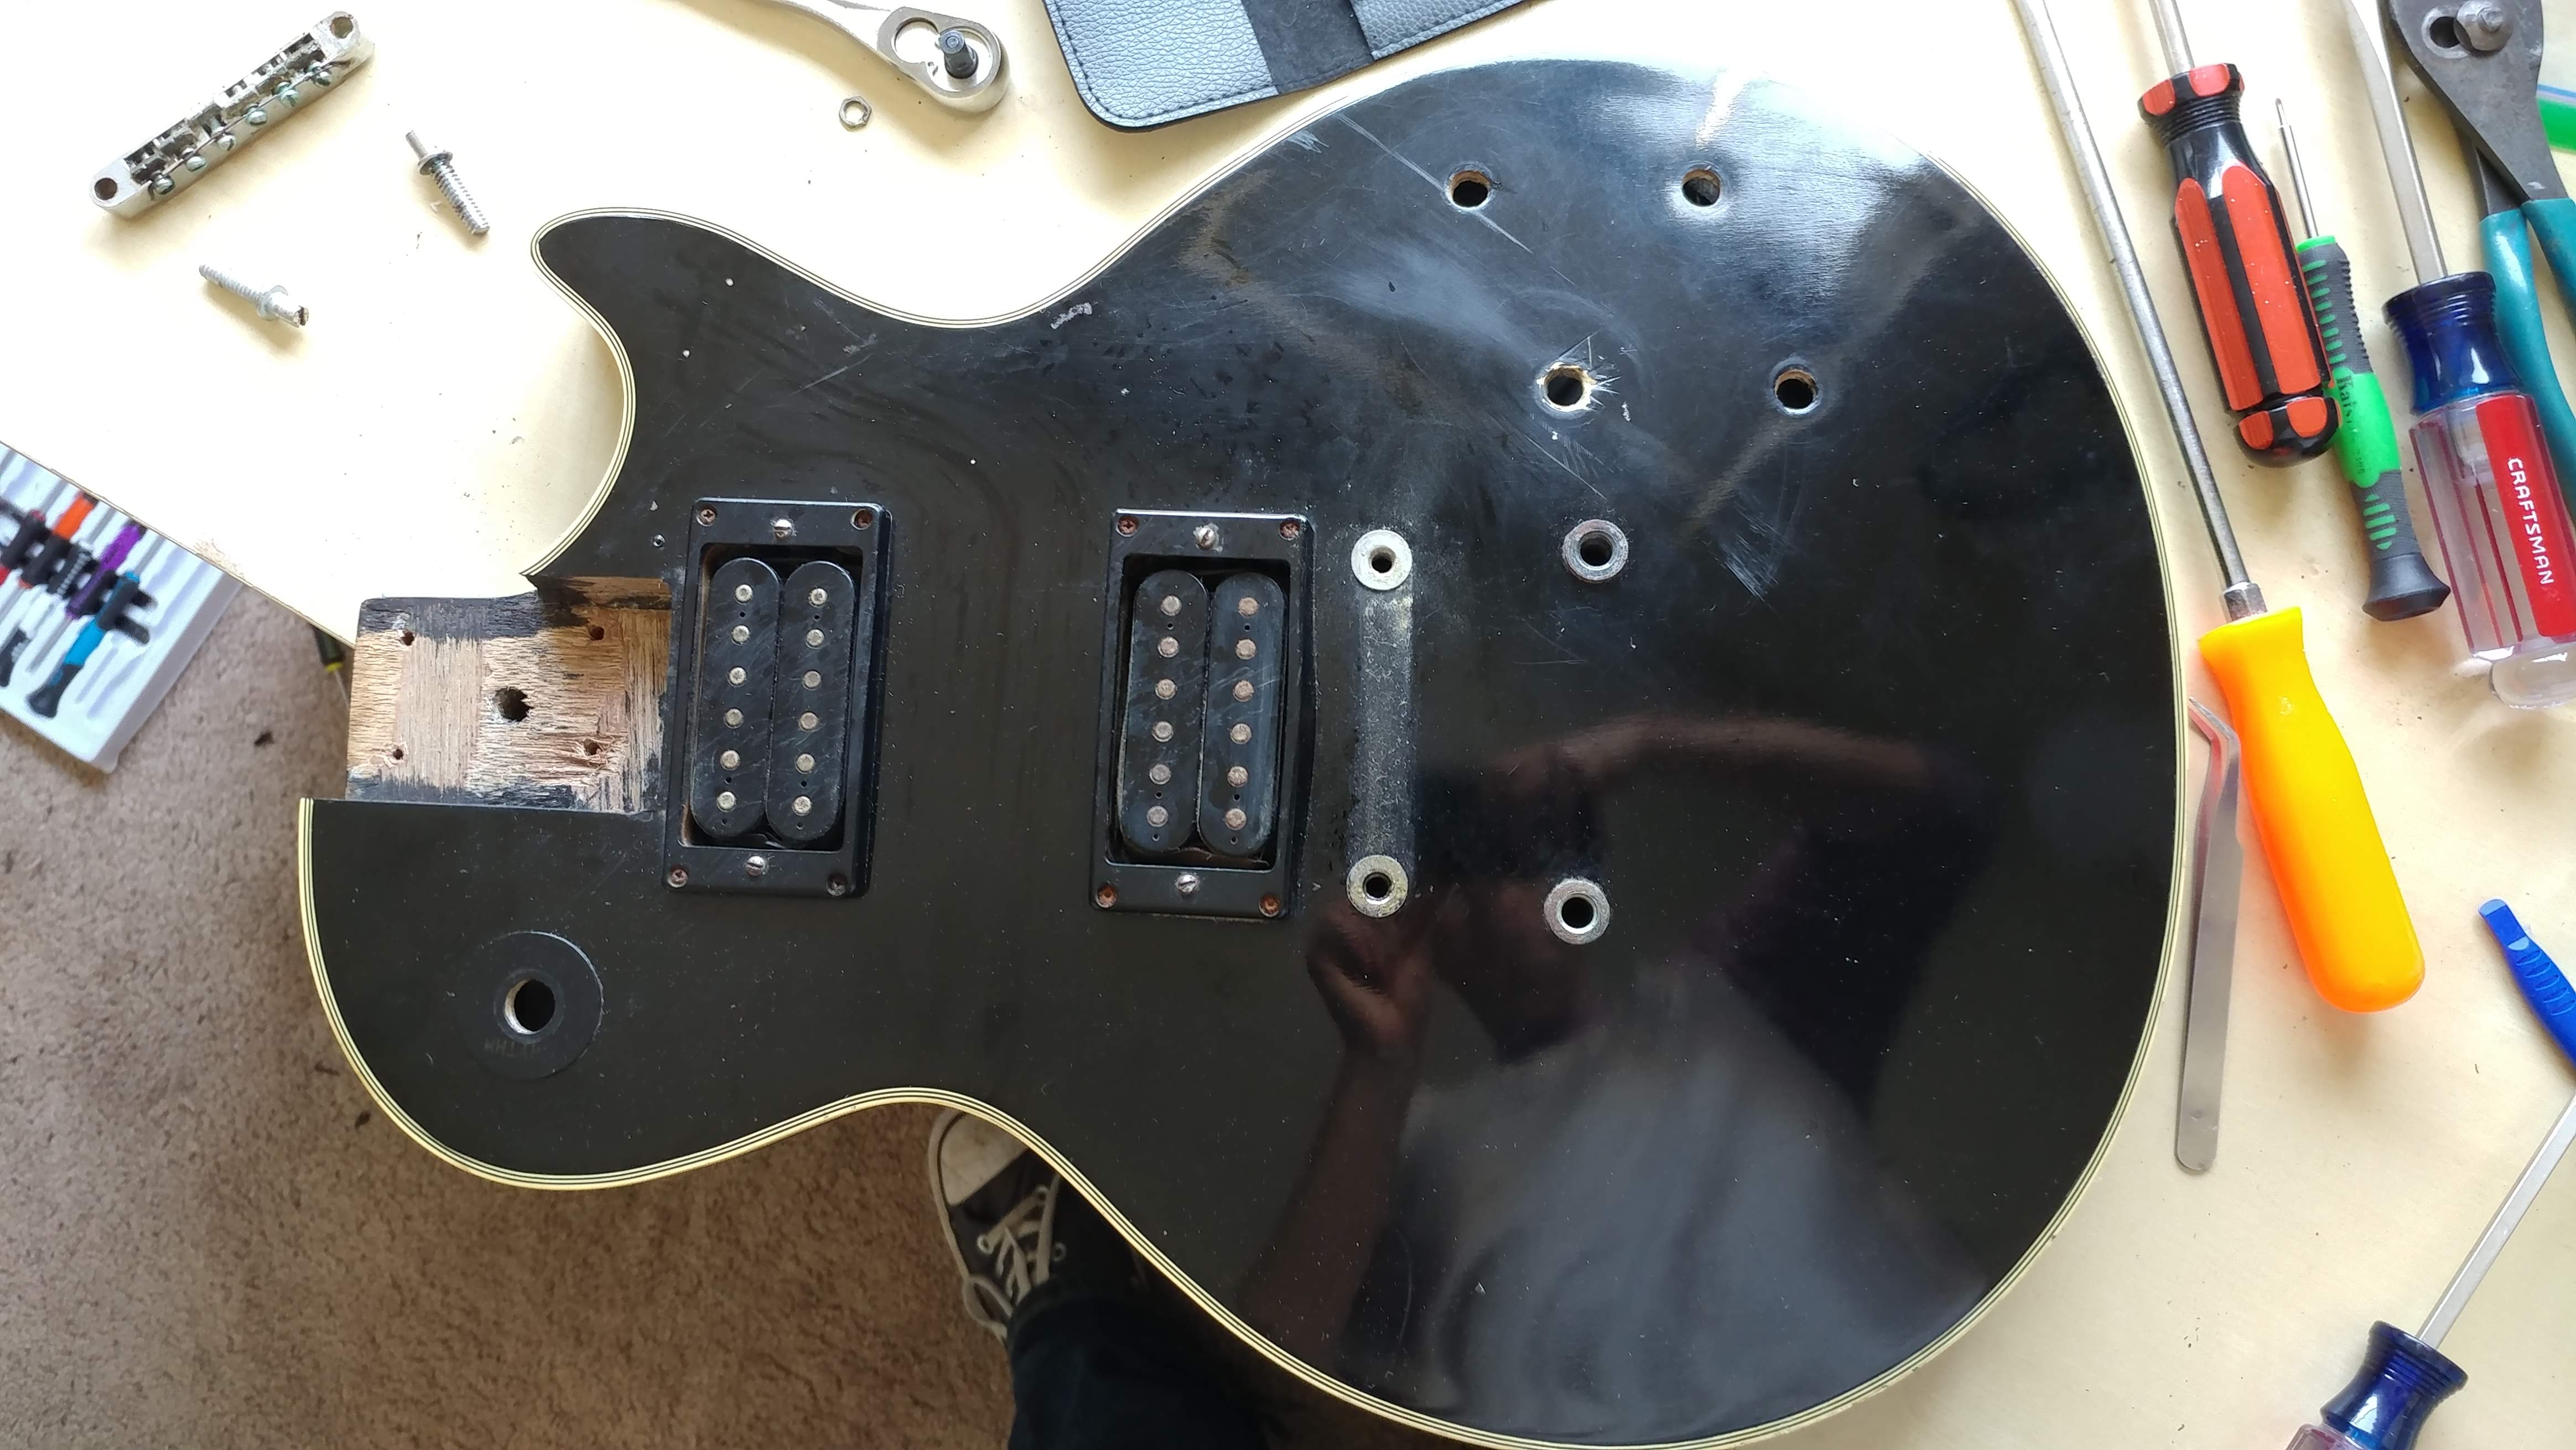
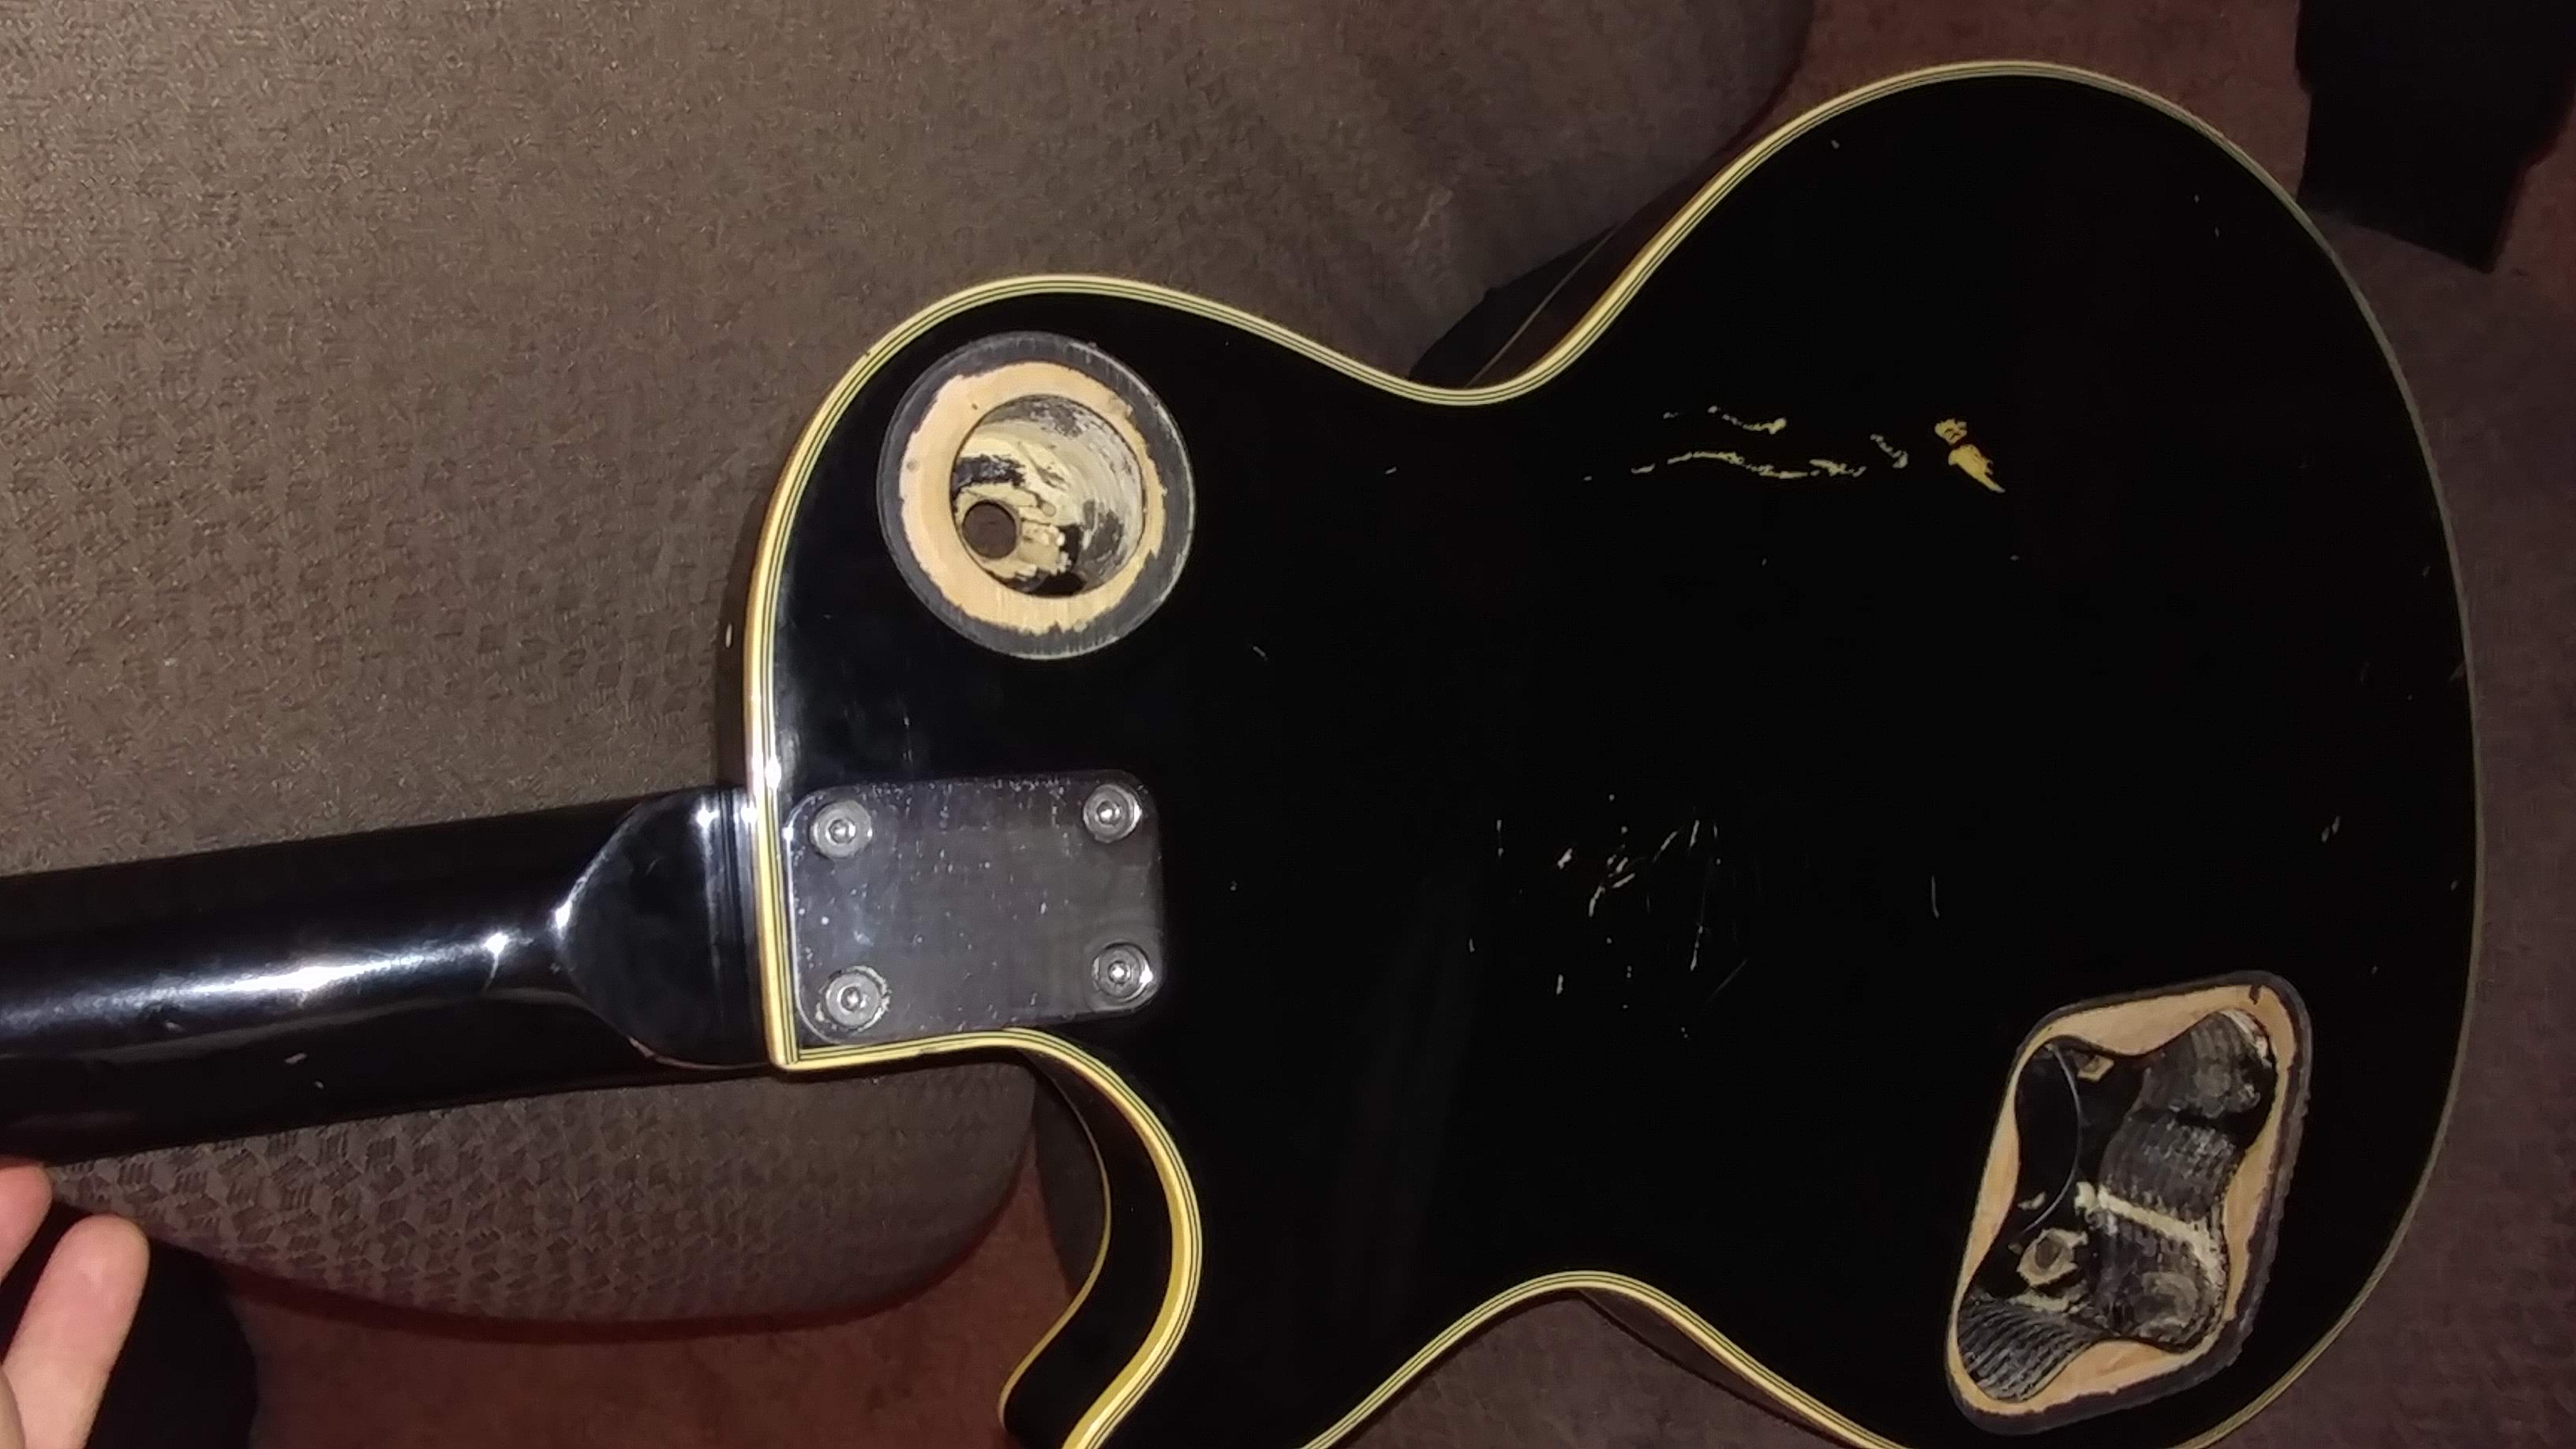
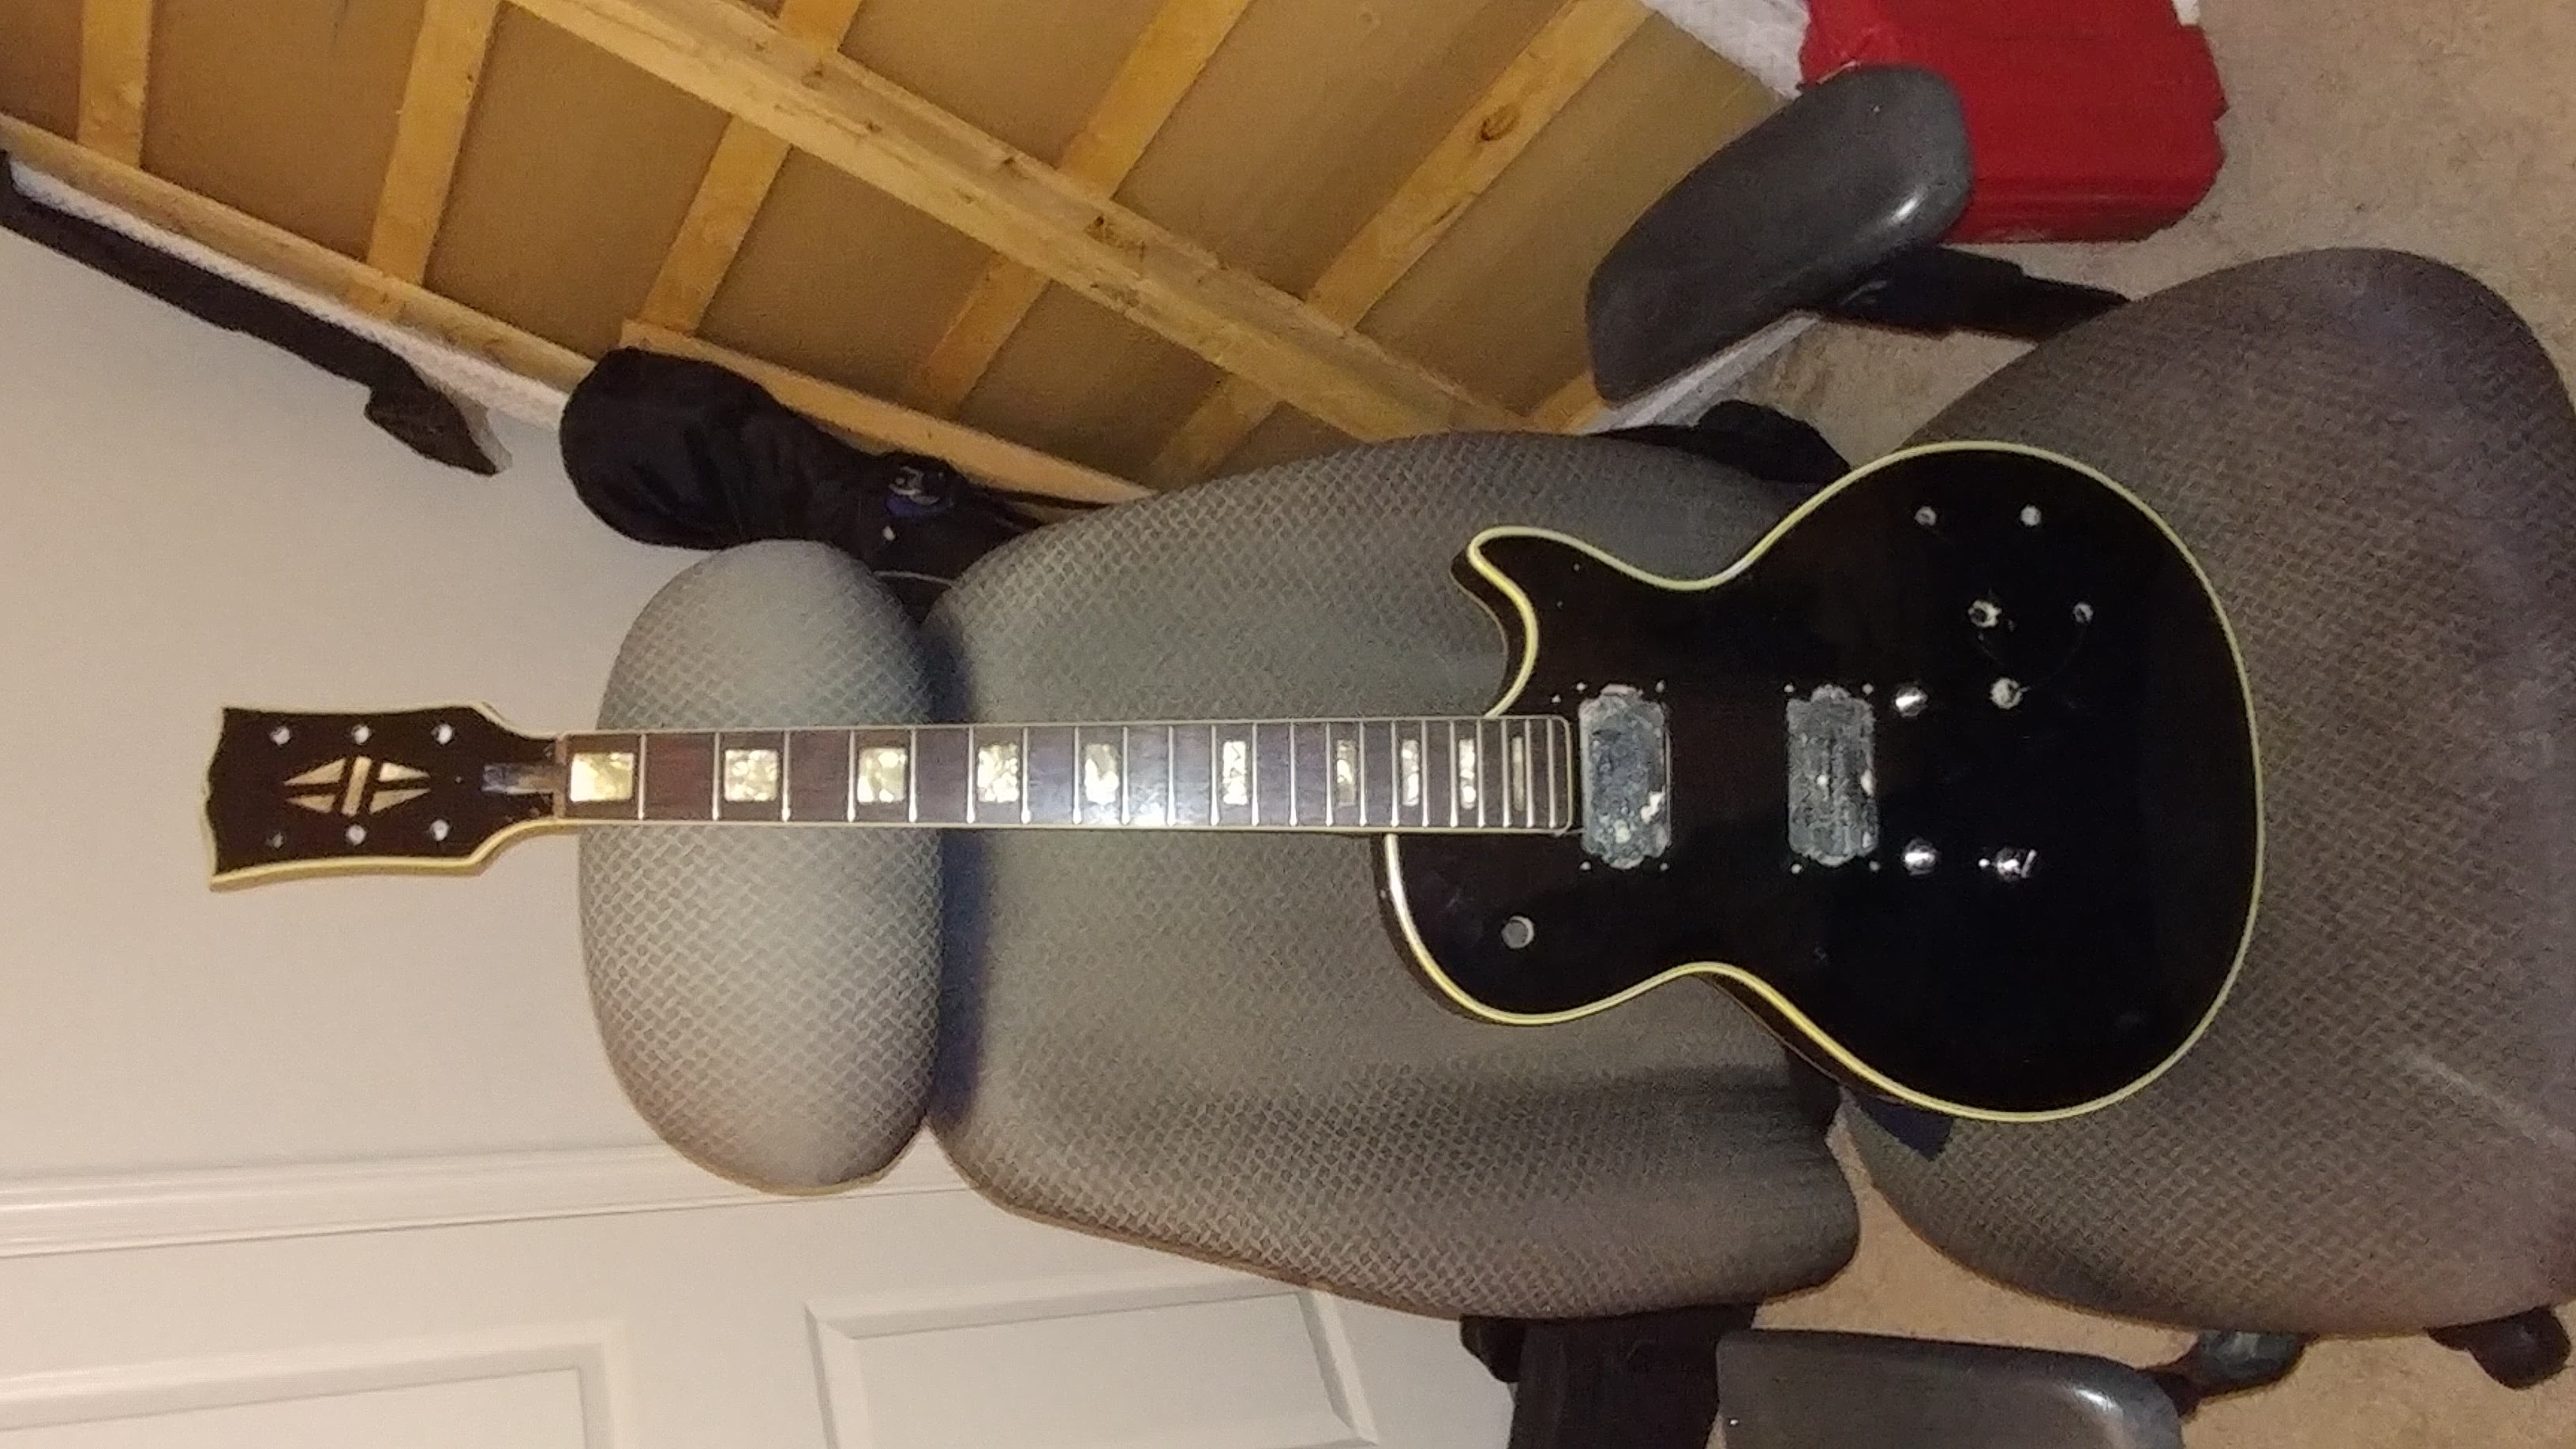
This guitar looked like it had been bashed against the ground at the finale of a Pete Townshend concert.
The neck was loosely attached to the body, three of the four knobs refused to turn, the bridge was rused out to hell, fretboard was slightly lifting off the neck at the nut, the damage goes on.
I knew repairing this would be some work but I also had nothing to lose so I started taking note of every little detail and got to work dis-assembling it.
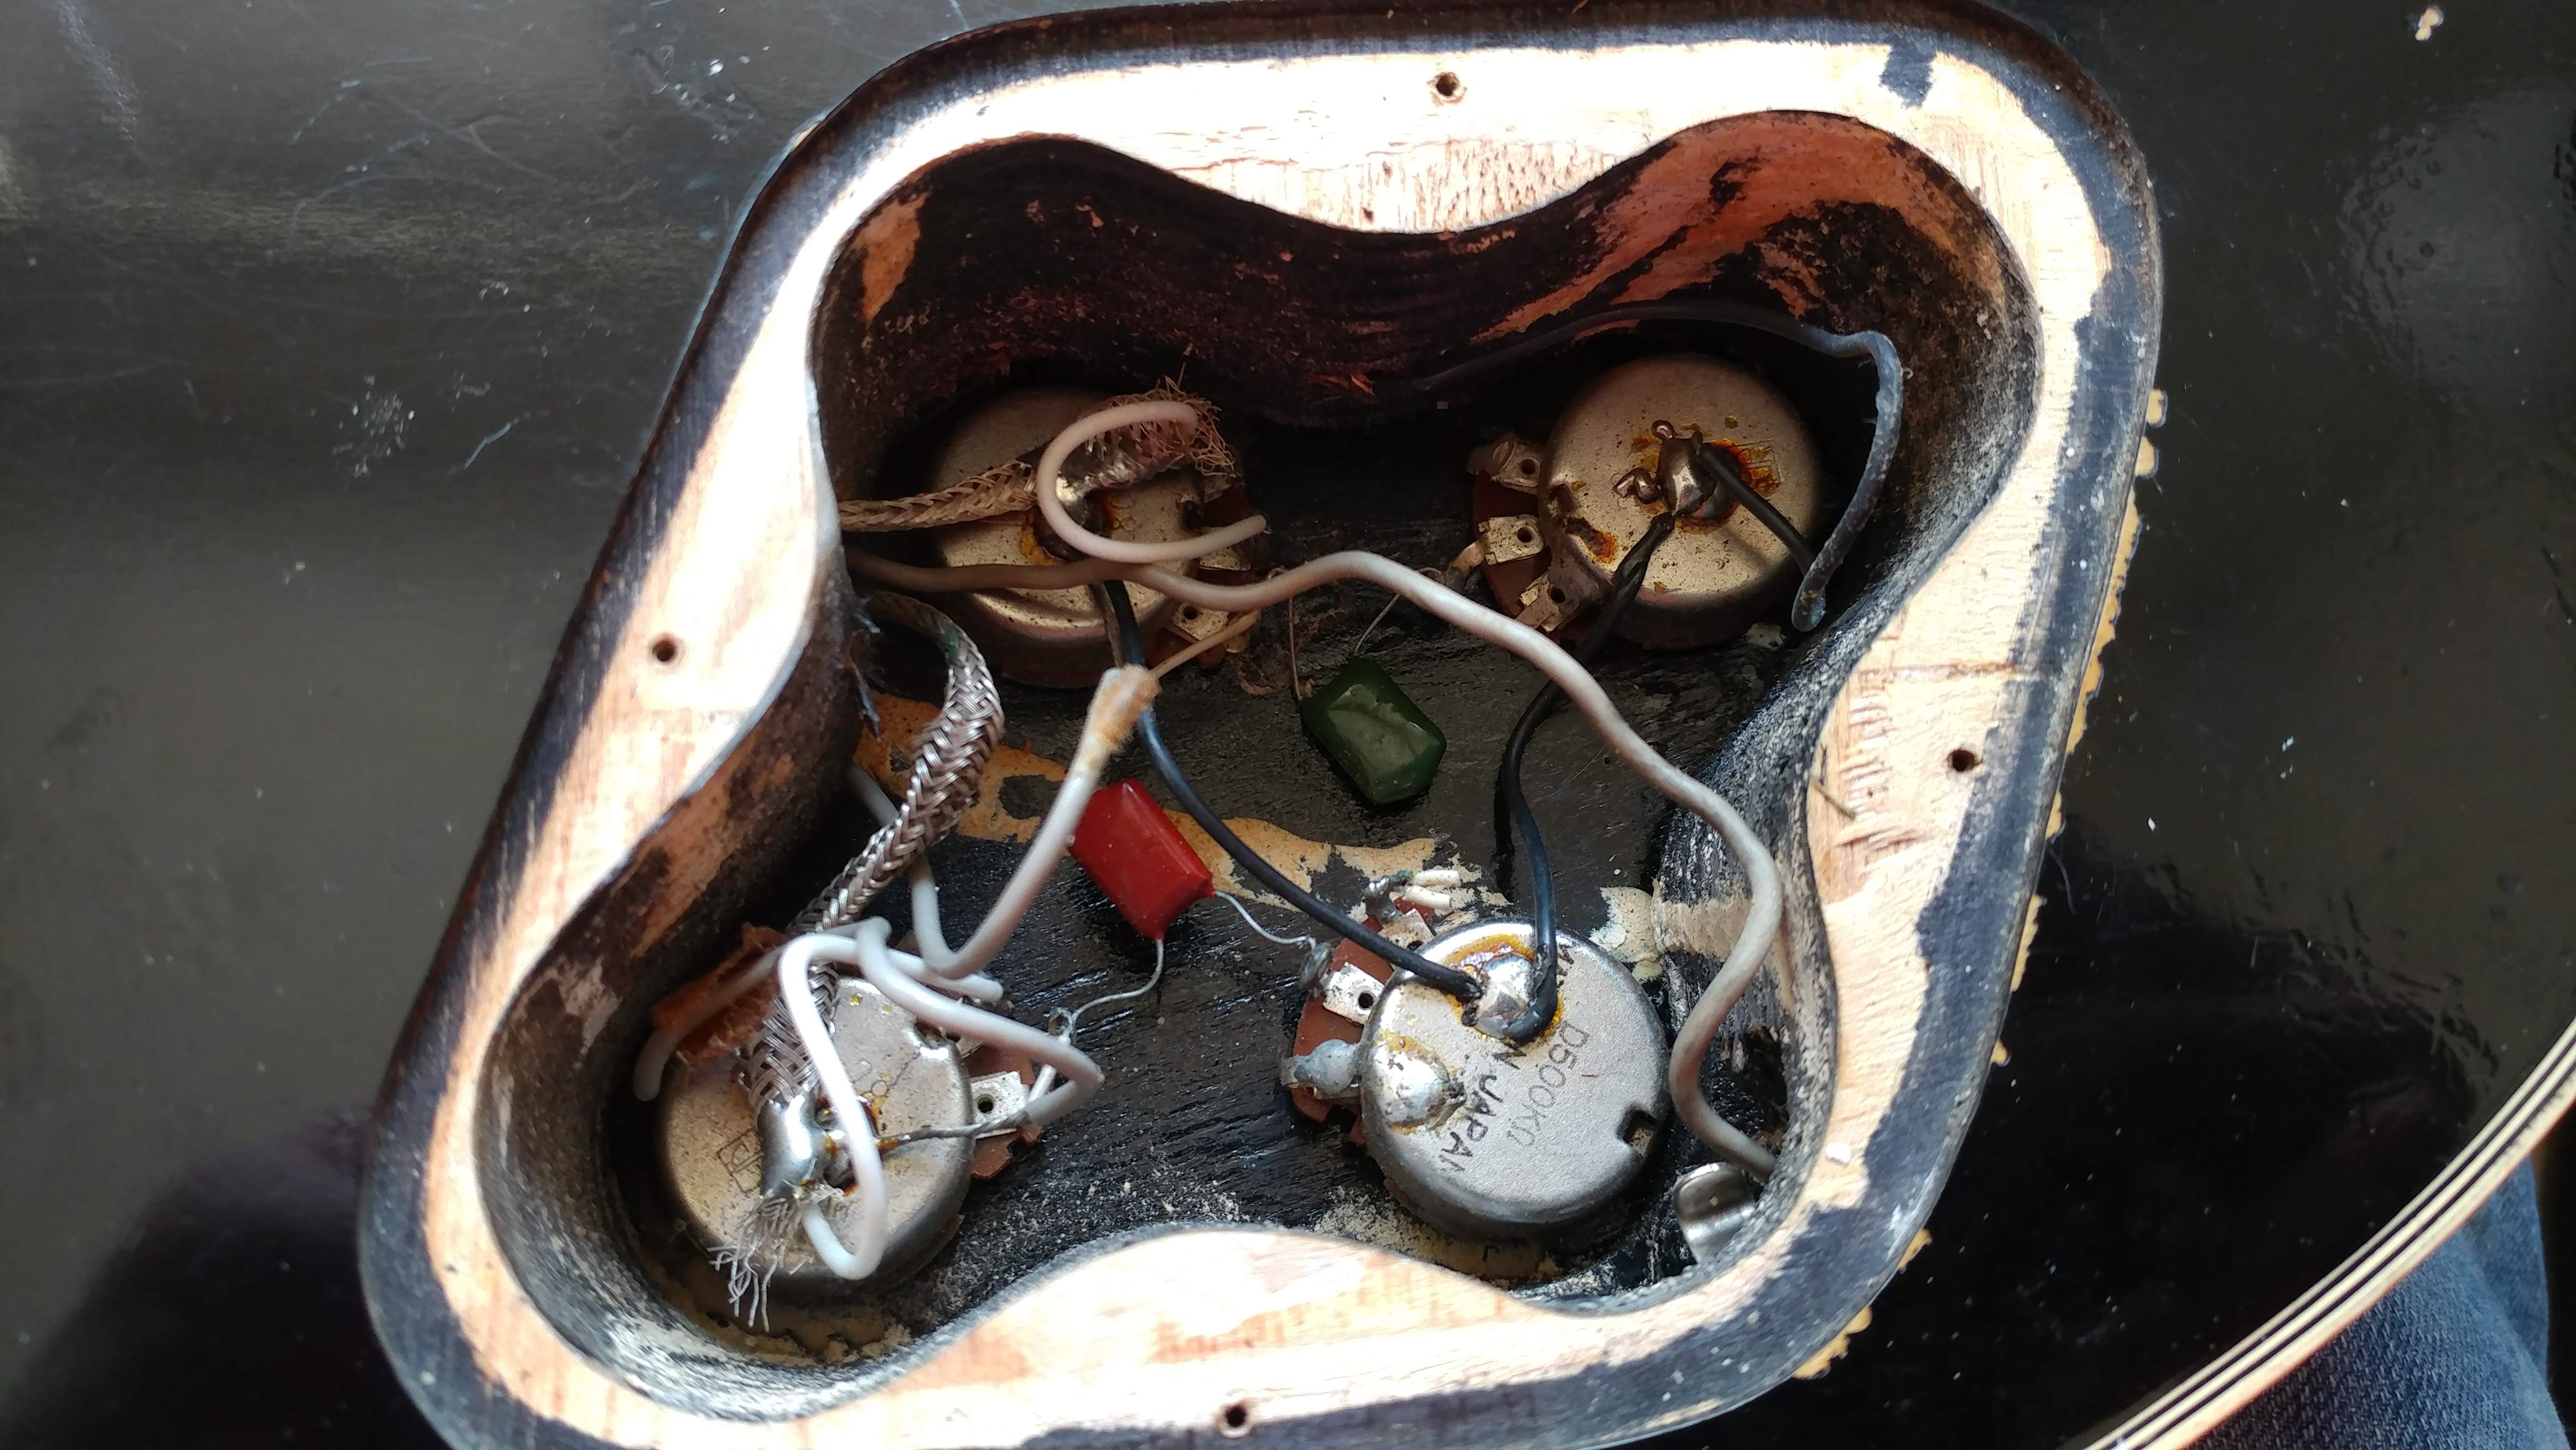
When I got to the poteniometer knobs it was clear they were rusted out and unusable, I was fairly confident this is why the guitar wouldn’t make a sound if I plugged it in (later confirmed) as there was probably a ton of corrosion breaking electrical contact. Two of the potentiometers were fairly easy to get out with some WD-40 and some effort but two of them wouldnt budge. After a grueling hour of trying to loosen the last two pots I knew i had to take a different rounte. I grabbed my file and started filing down the shaft of one of them with the plan to file down to the nut. This worked great for one of them but the other was so corroded that even when i cutl through the nut it was stuck. I turned to the back and tried to snap the pot off from the inside but I was left with the casing the pot and the corroded contacts still stuck. After half hour of filing i broke through and pulled the pot out. Unfortunately I had to file so closely to the body that I had accidentally scratched the body with the file. All in all, paint can be detailed but I needed that pot out to even start this repair work.
I slowly pulled apart the other pieces of electronics and the pickups and also saw the nut was hardly attached so I carefully removed that as well.
The nut was hardly attached to the nect so I carefully pried it off and set it aside. It looked to made out of bone.


Repair Work
Electronics
If you haven’t guessed from the fact that I had to basically destroy the potentiometers to get them out, the electronics needed full repair.
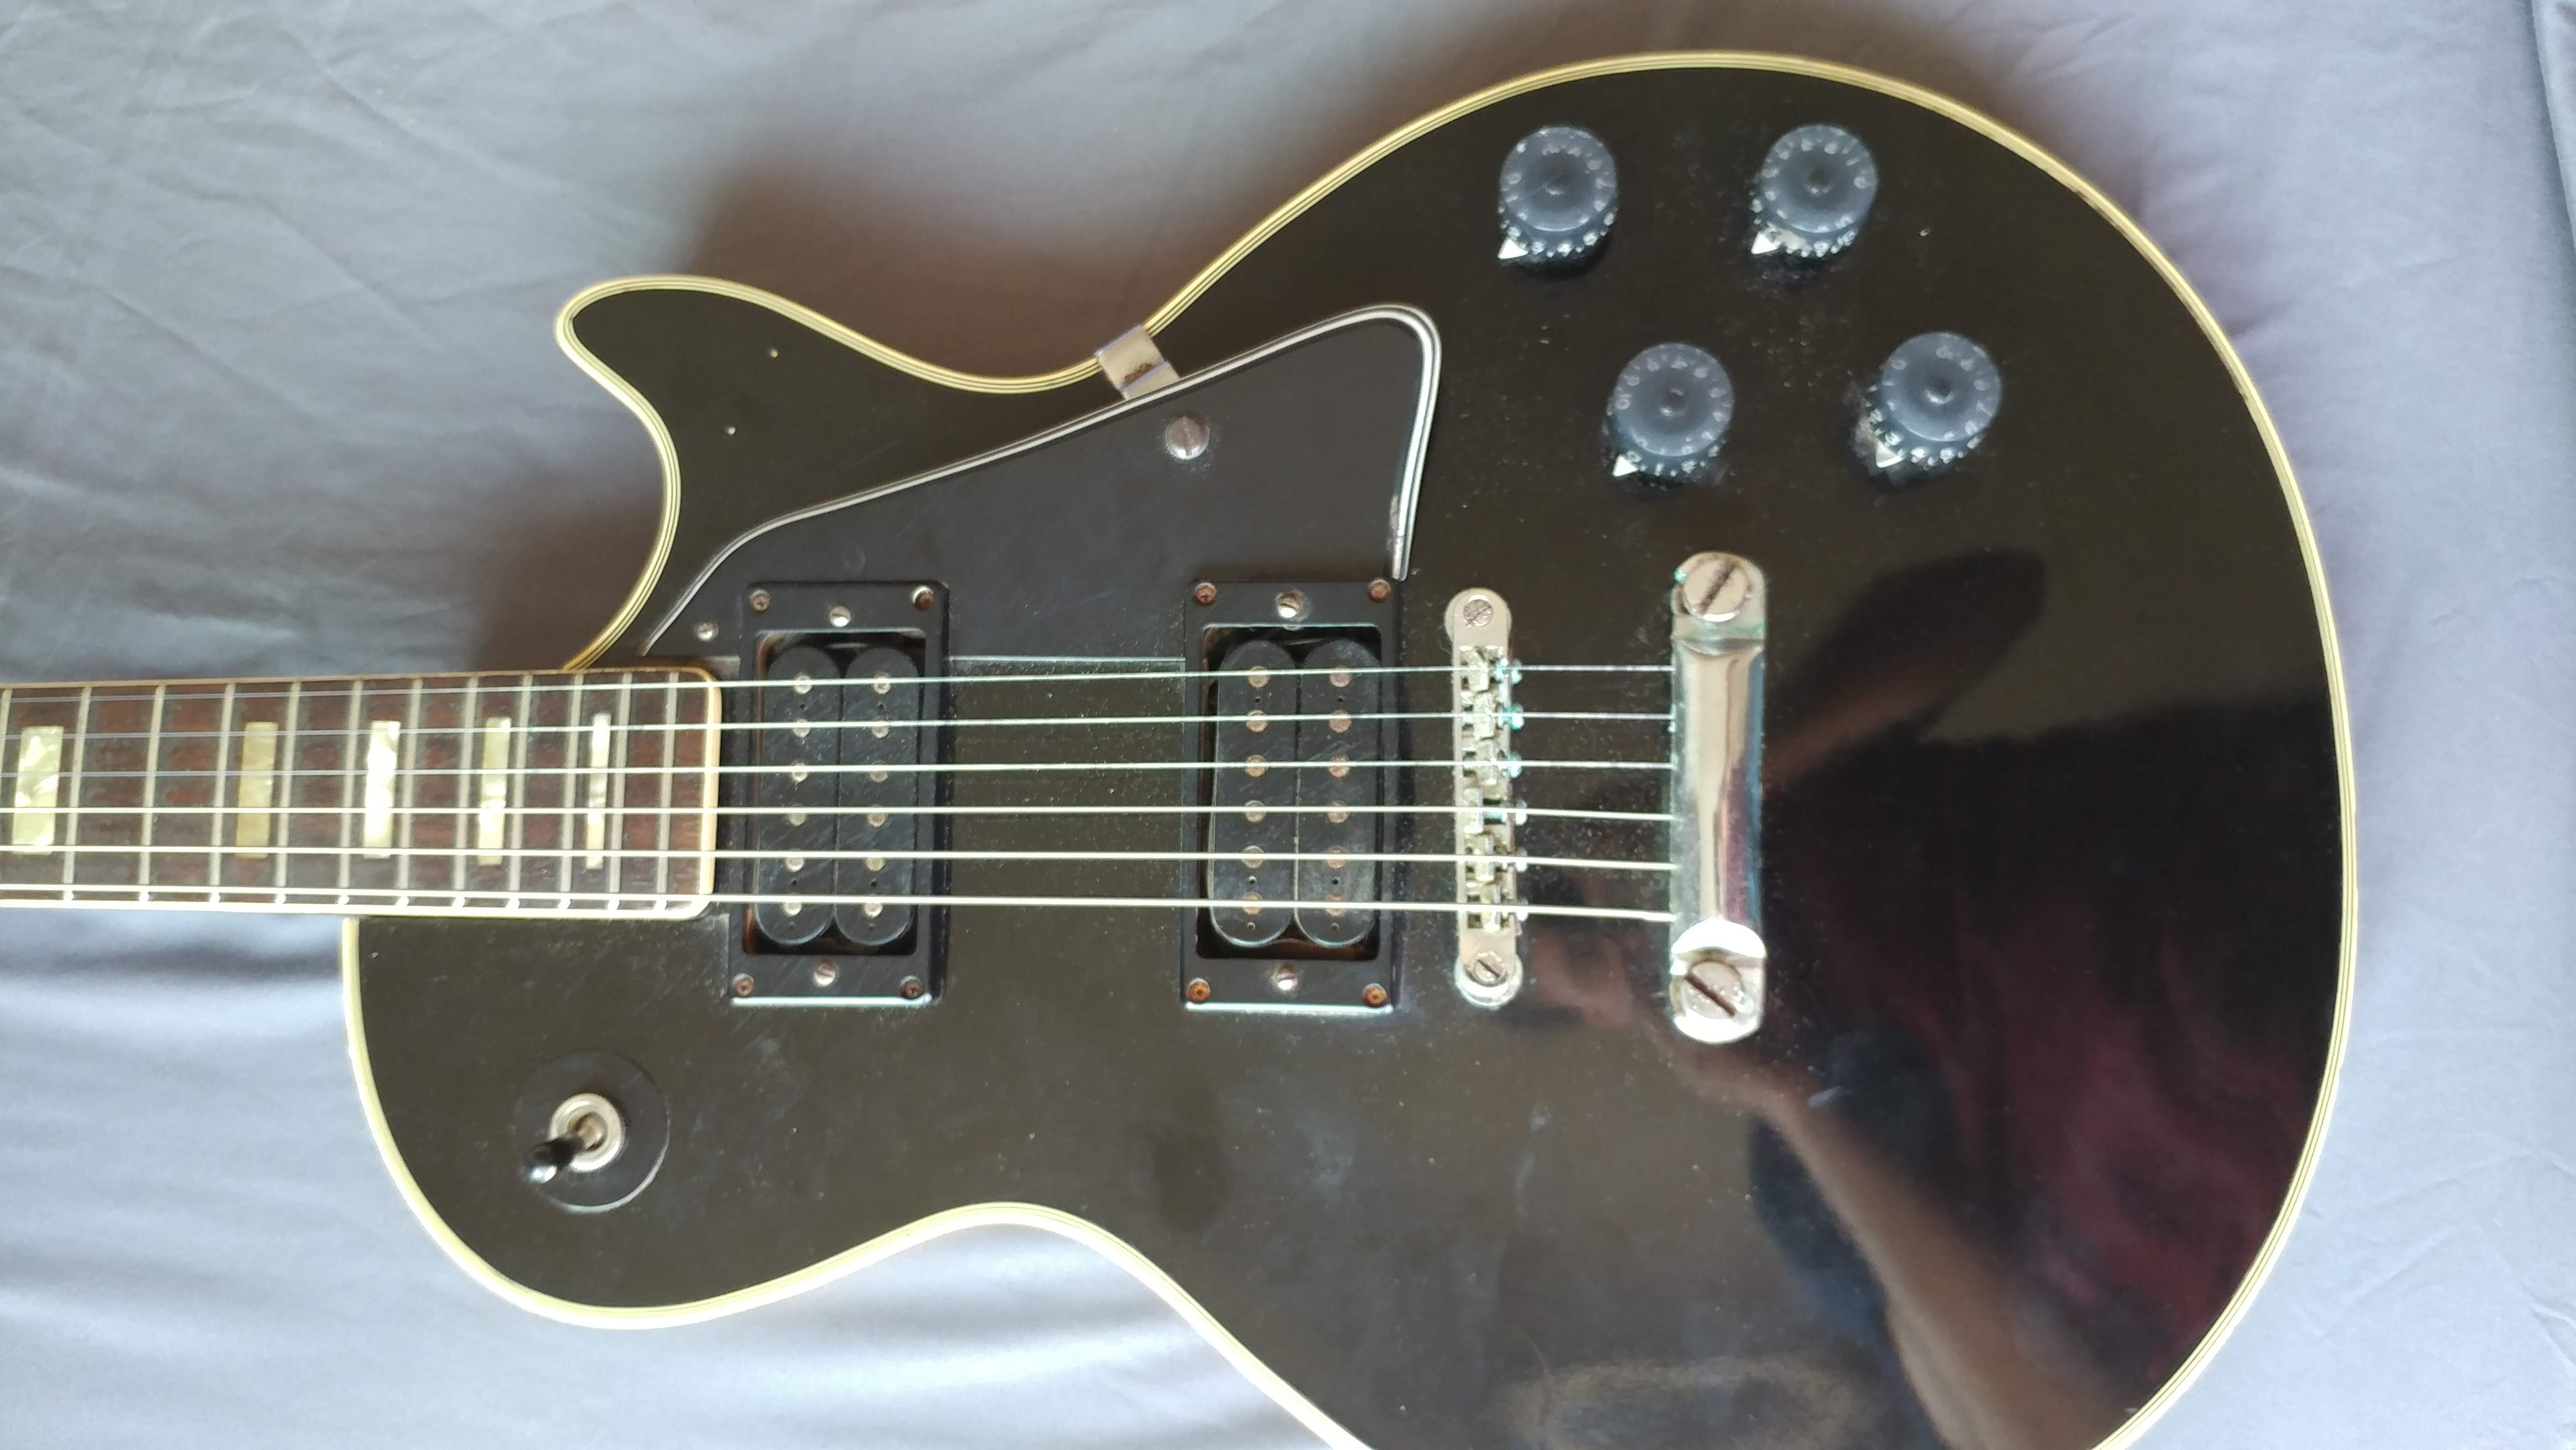
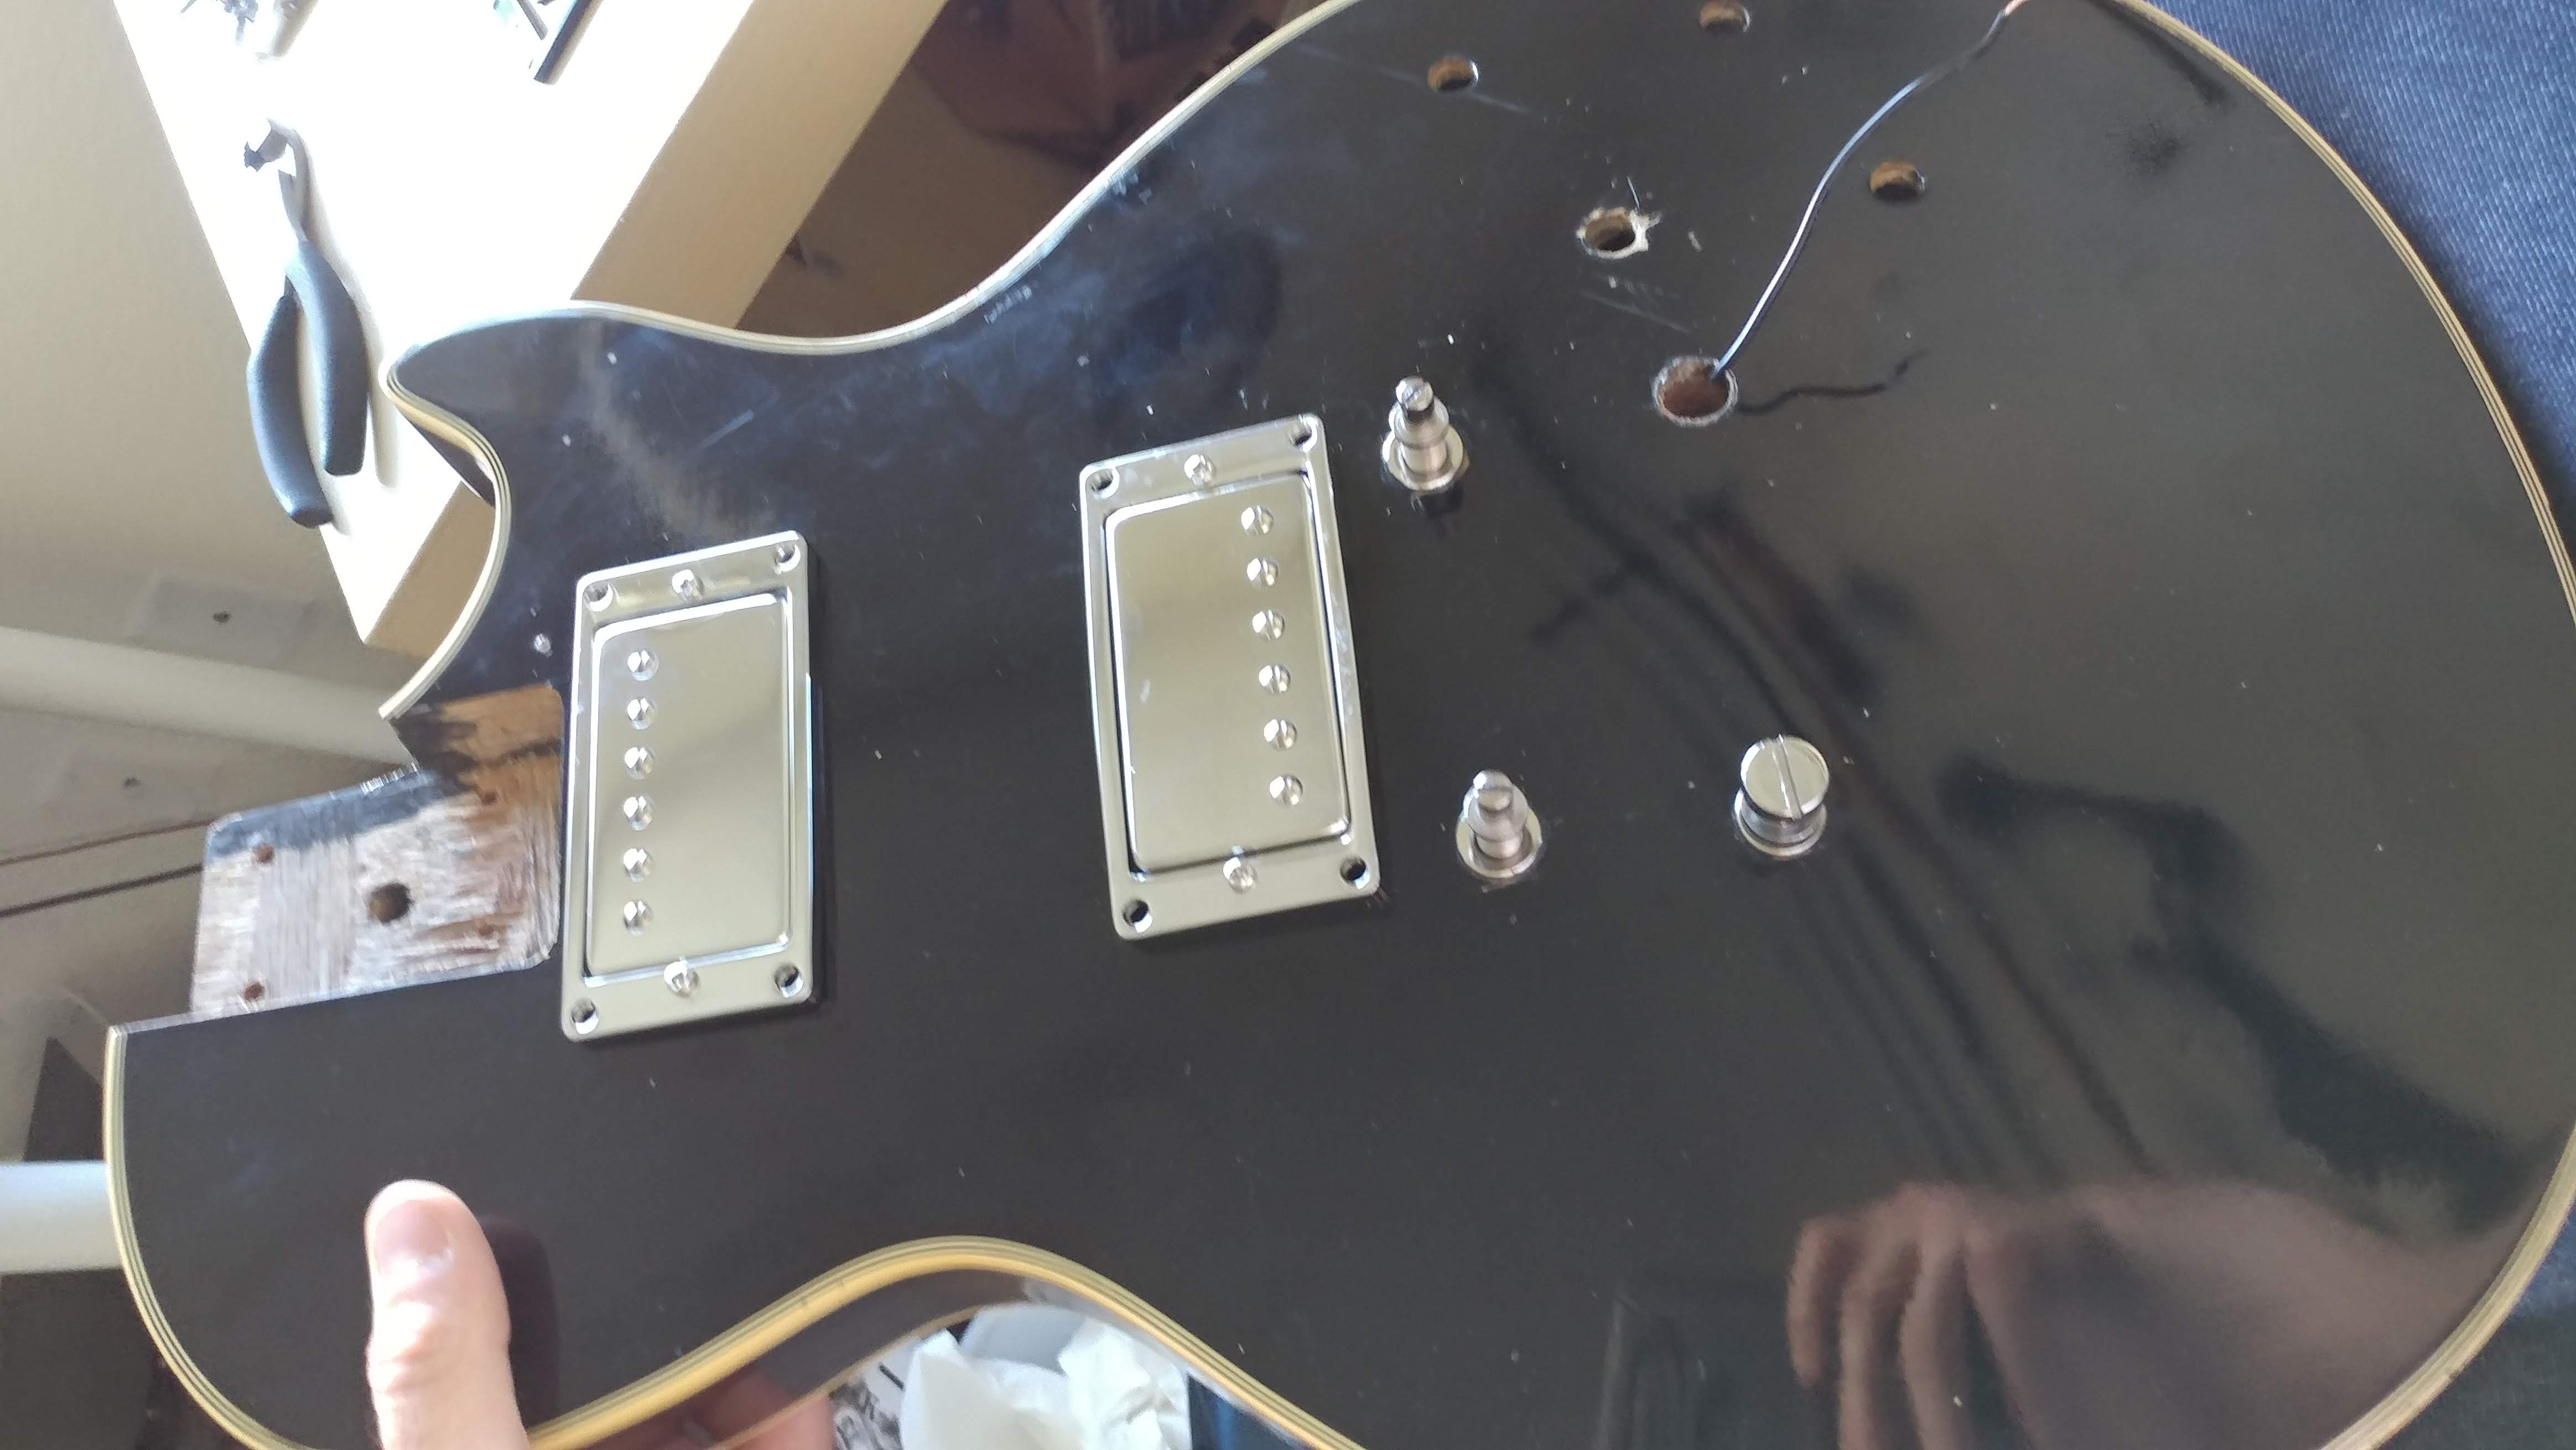
Luckily there are lots of Les Paul electronics kits out there so I grabbed one and got to work installing it. This had to be one of the easier parts of this restoration as the plans were all clarly detailed online and the parts just fit well into their slots.
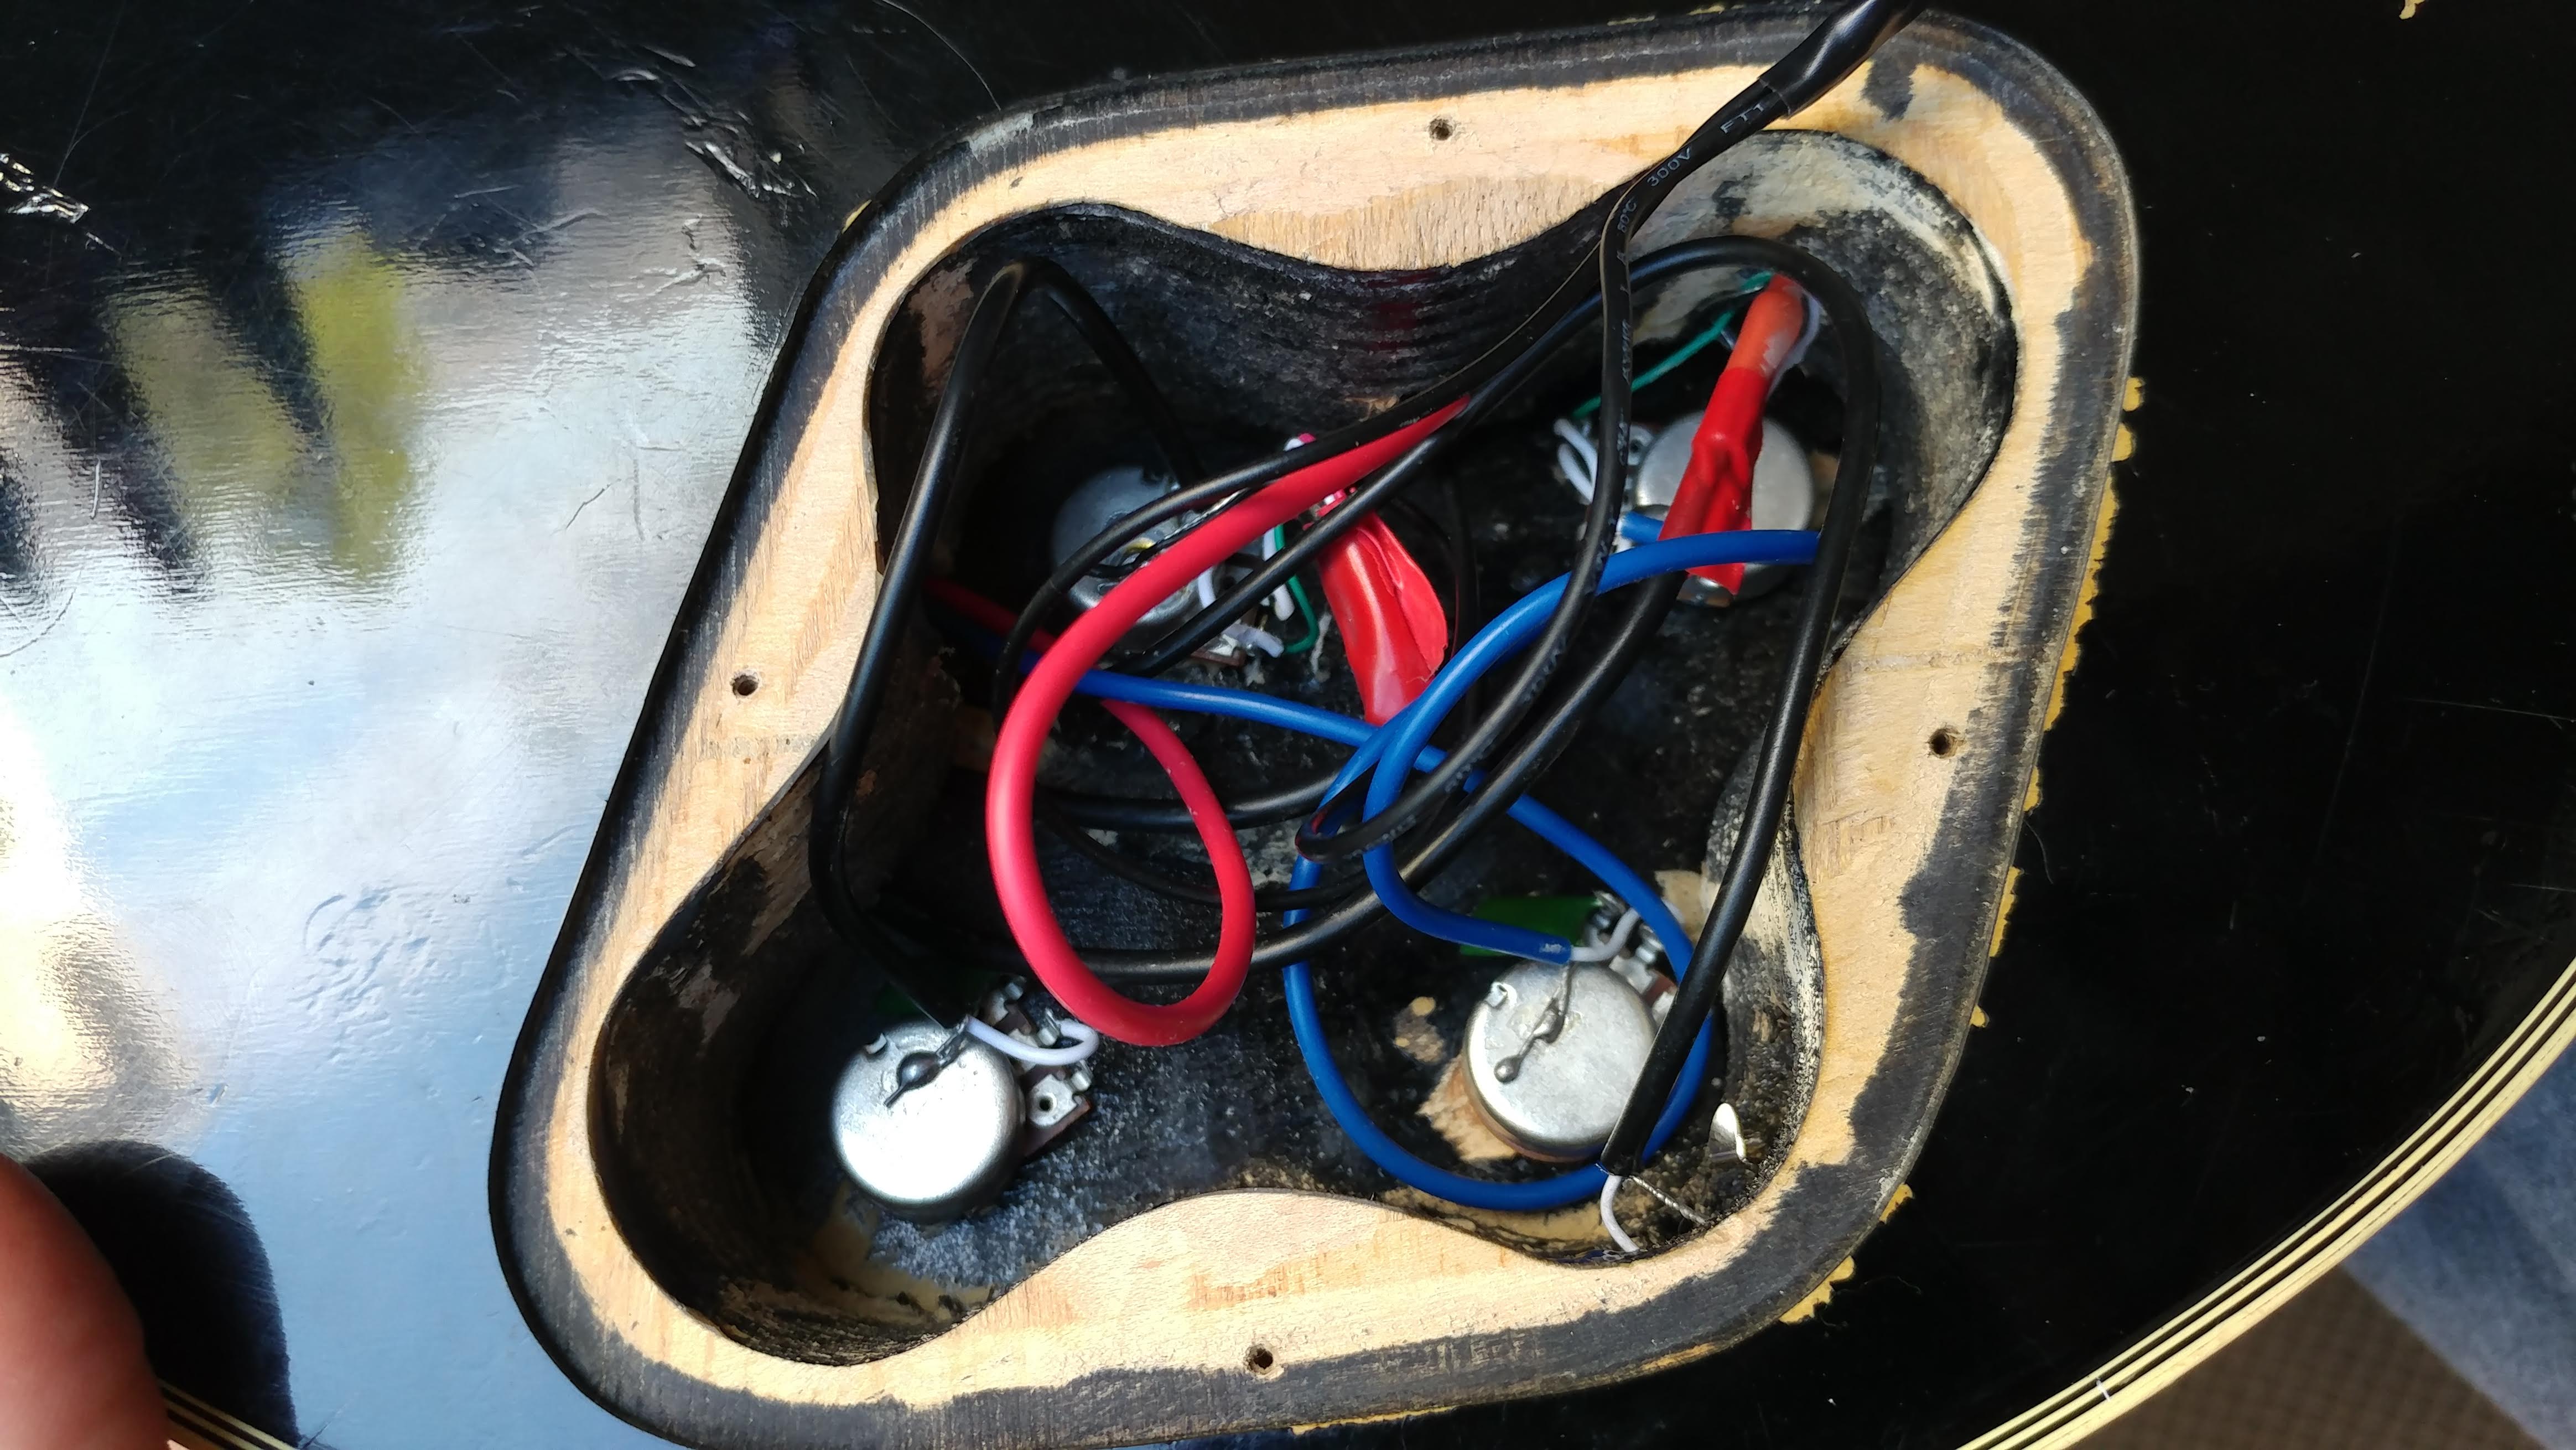
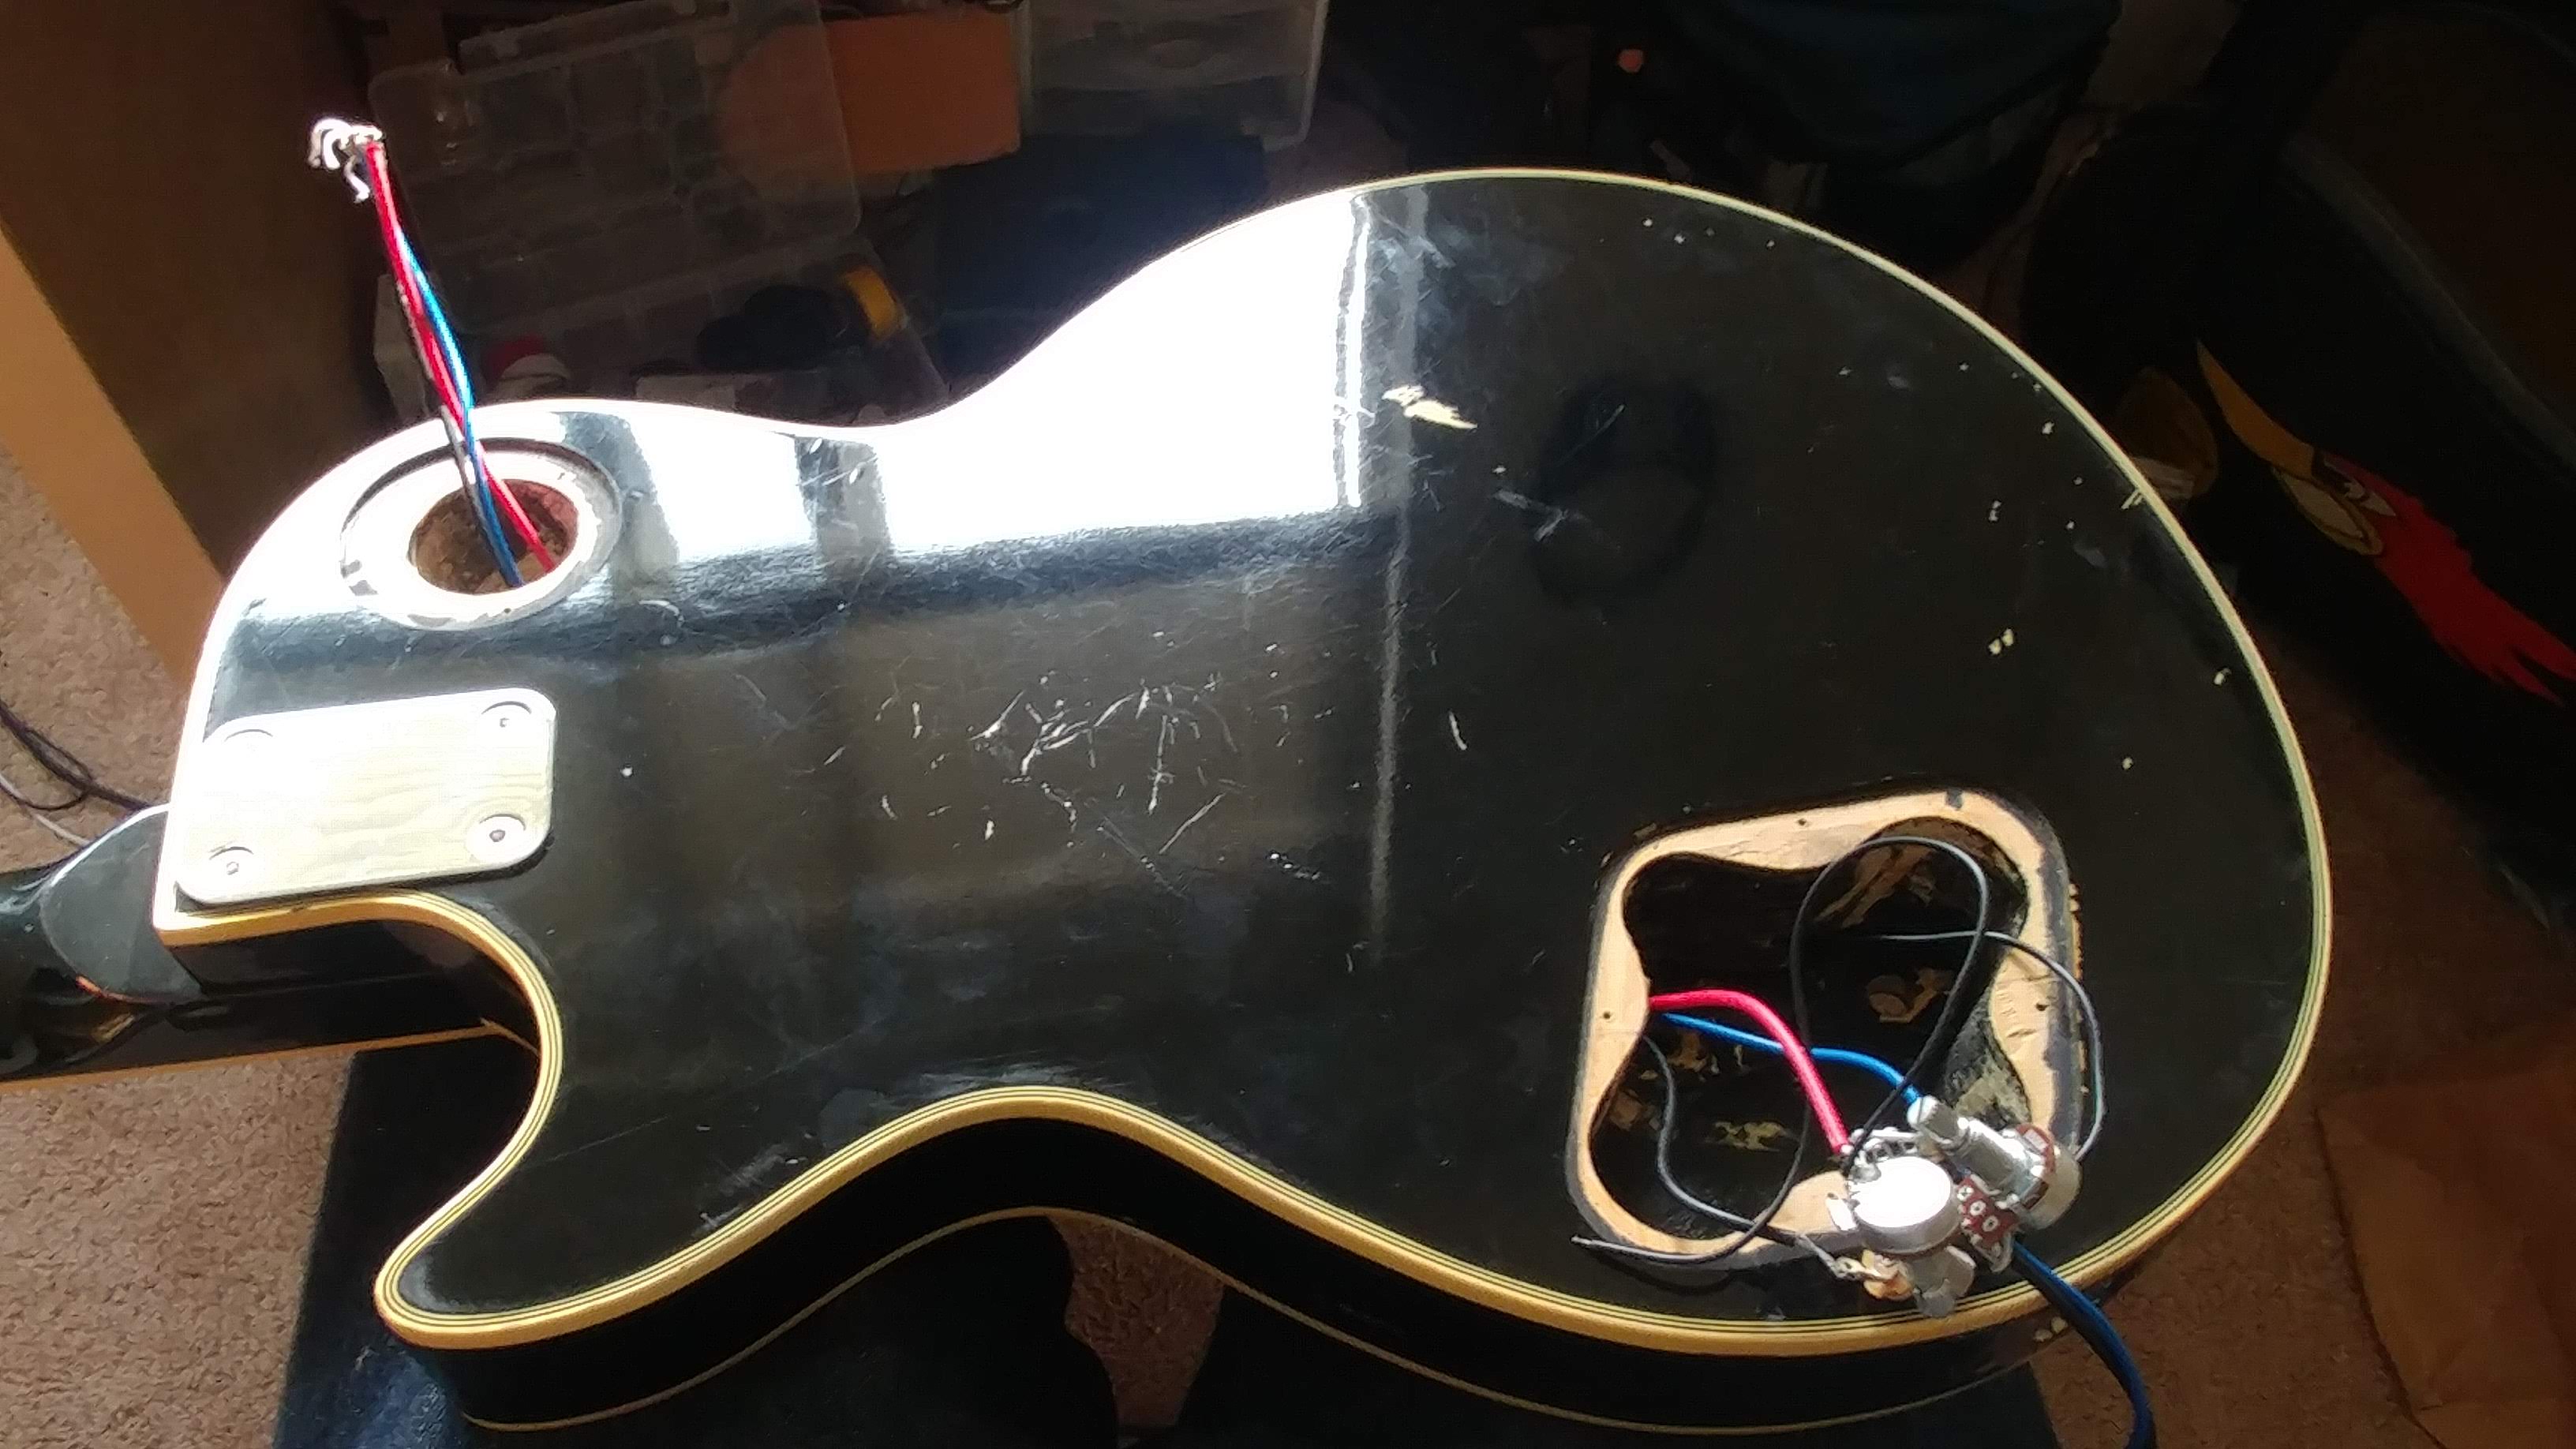
I also replaced the knobs with chrome ones to fit with the “chrome and black” theme which I had in mind for it.
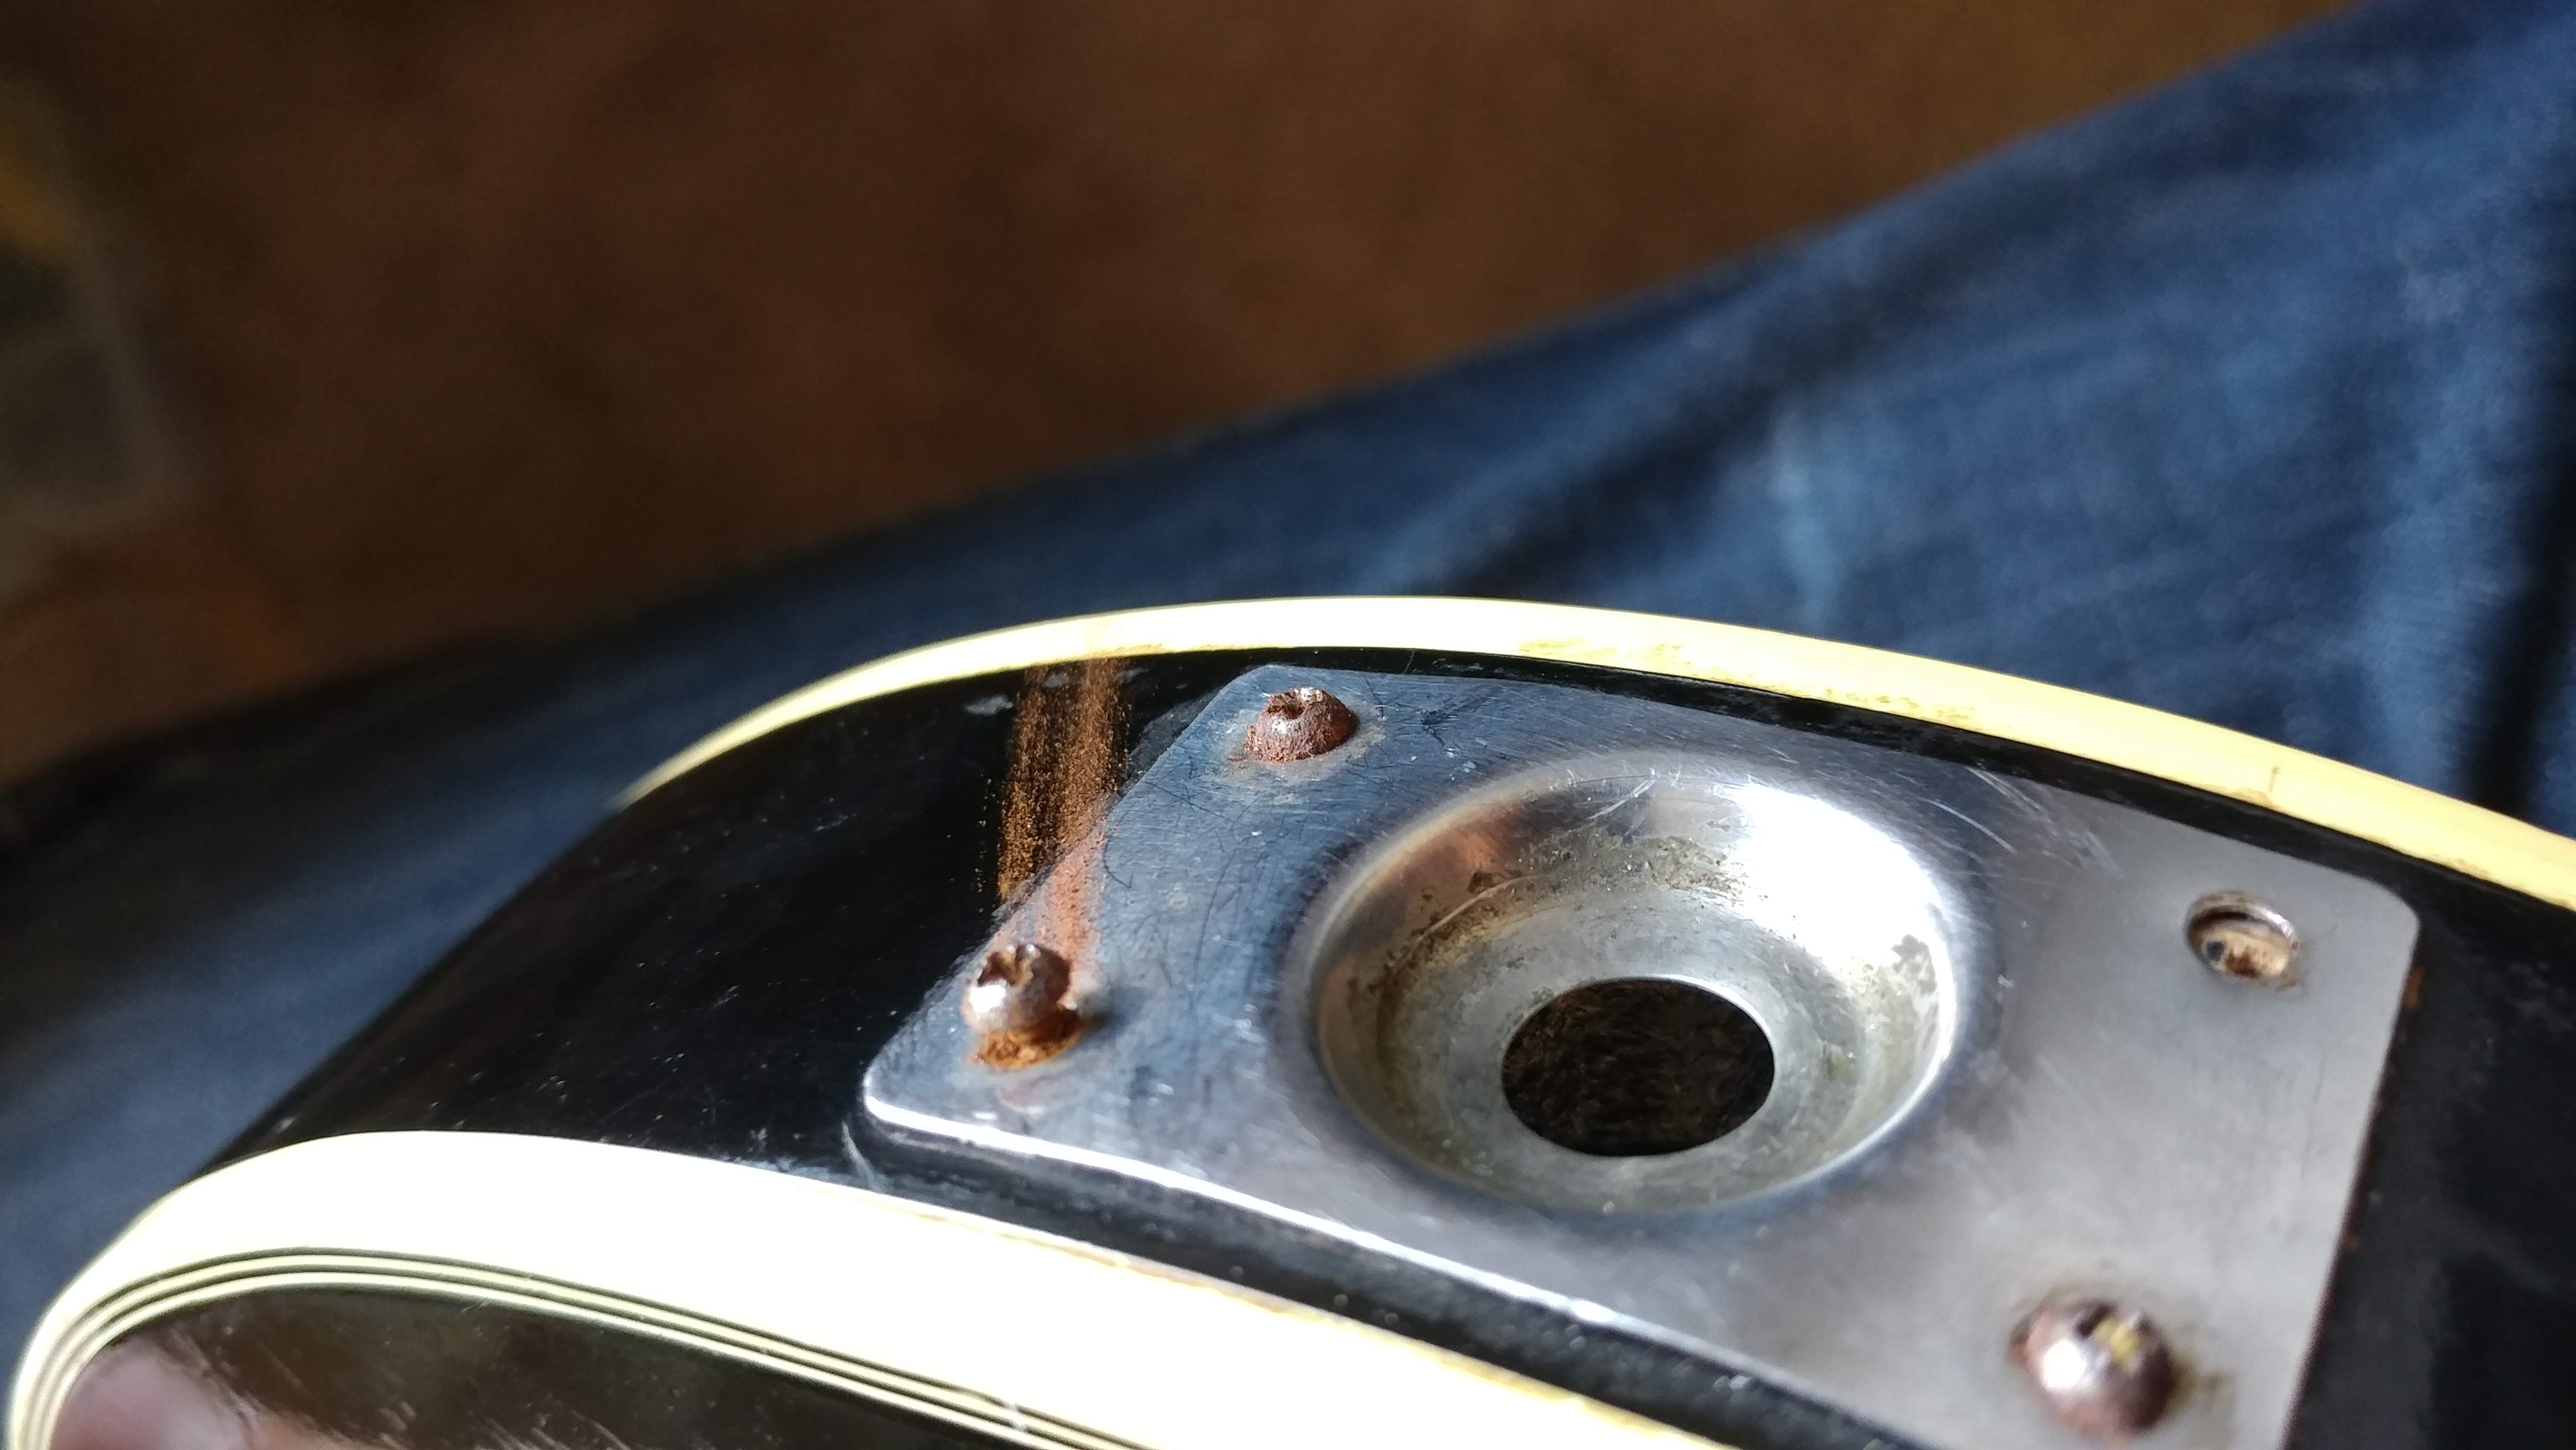
Bridge
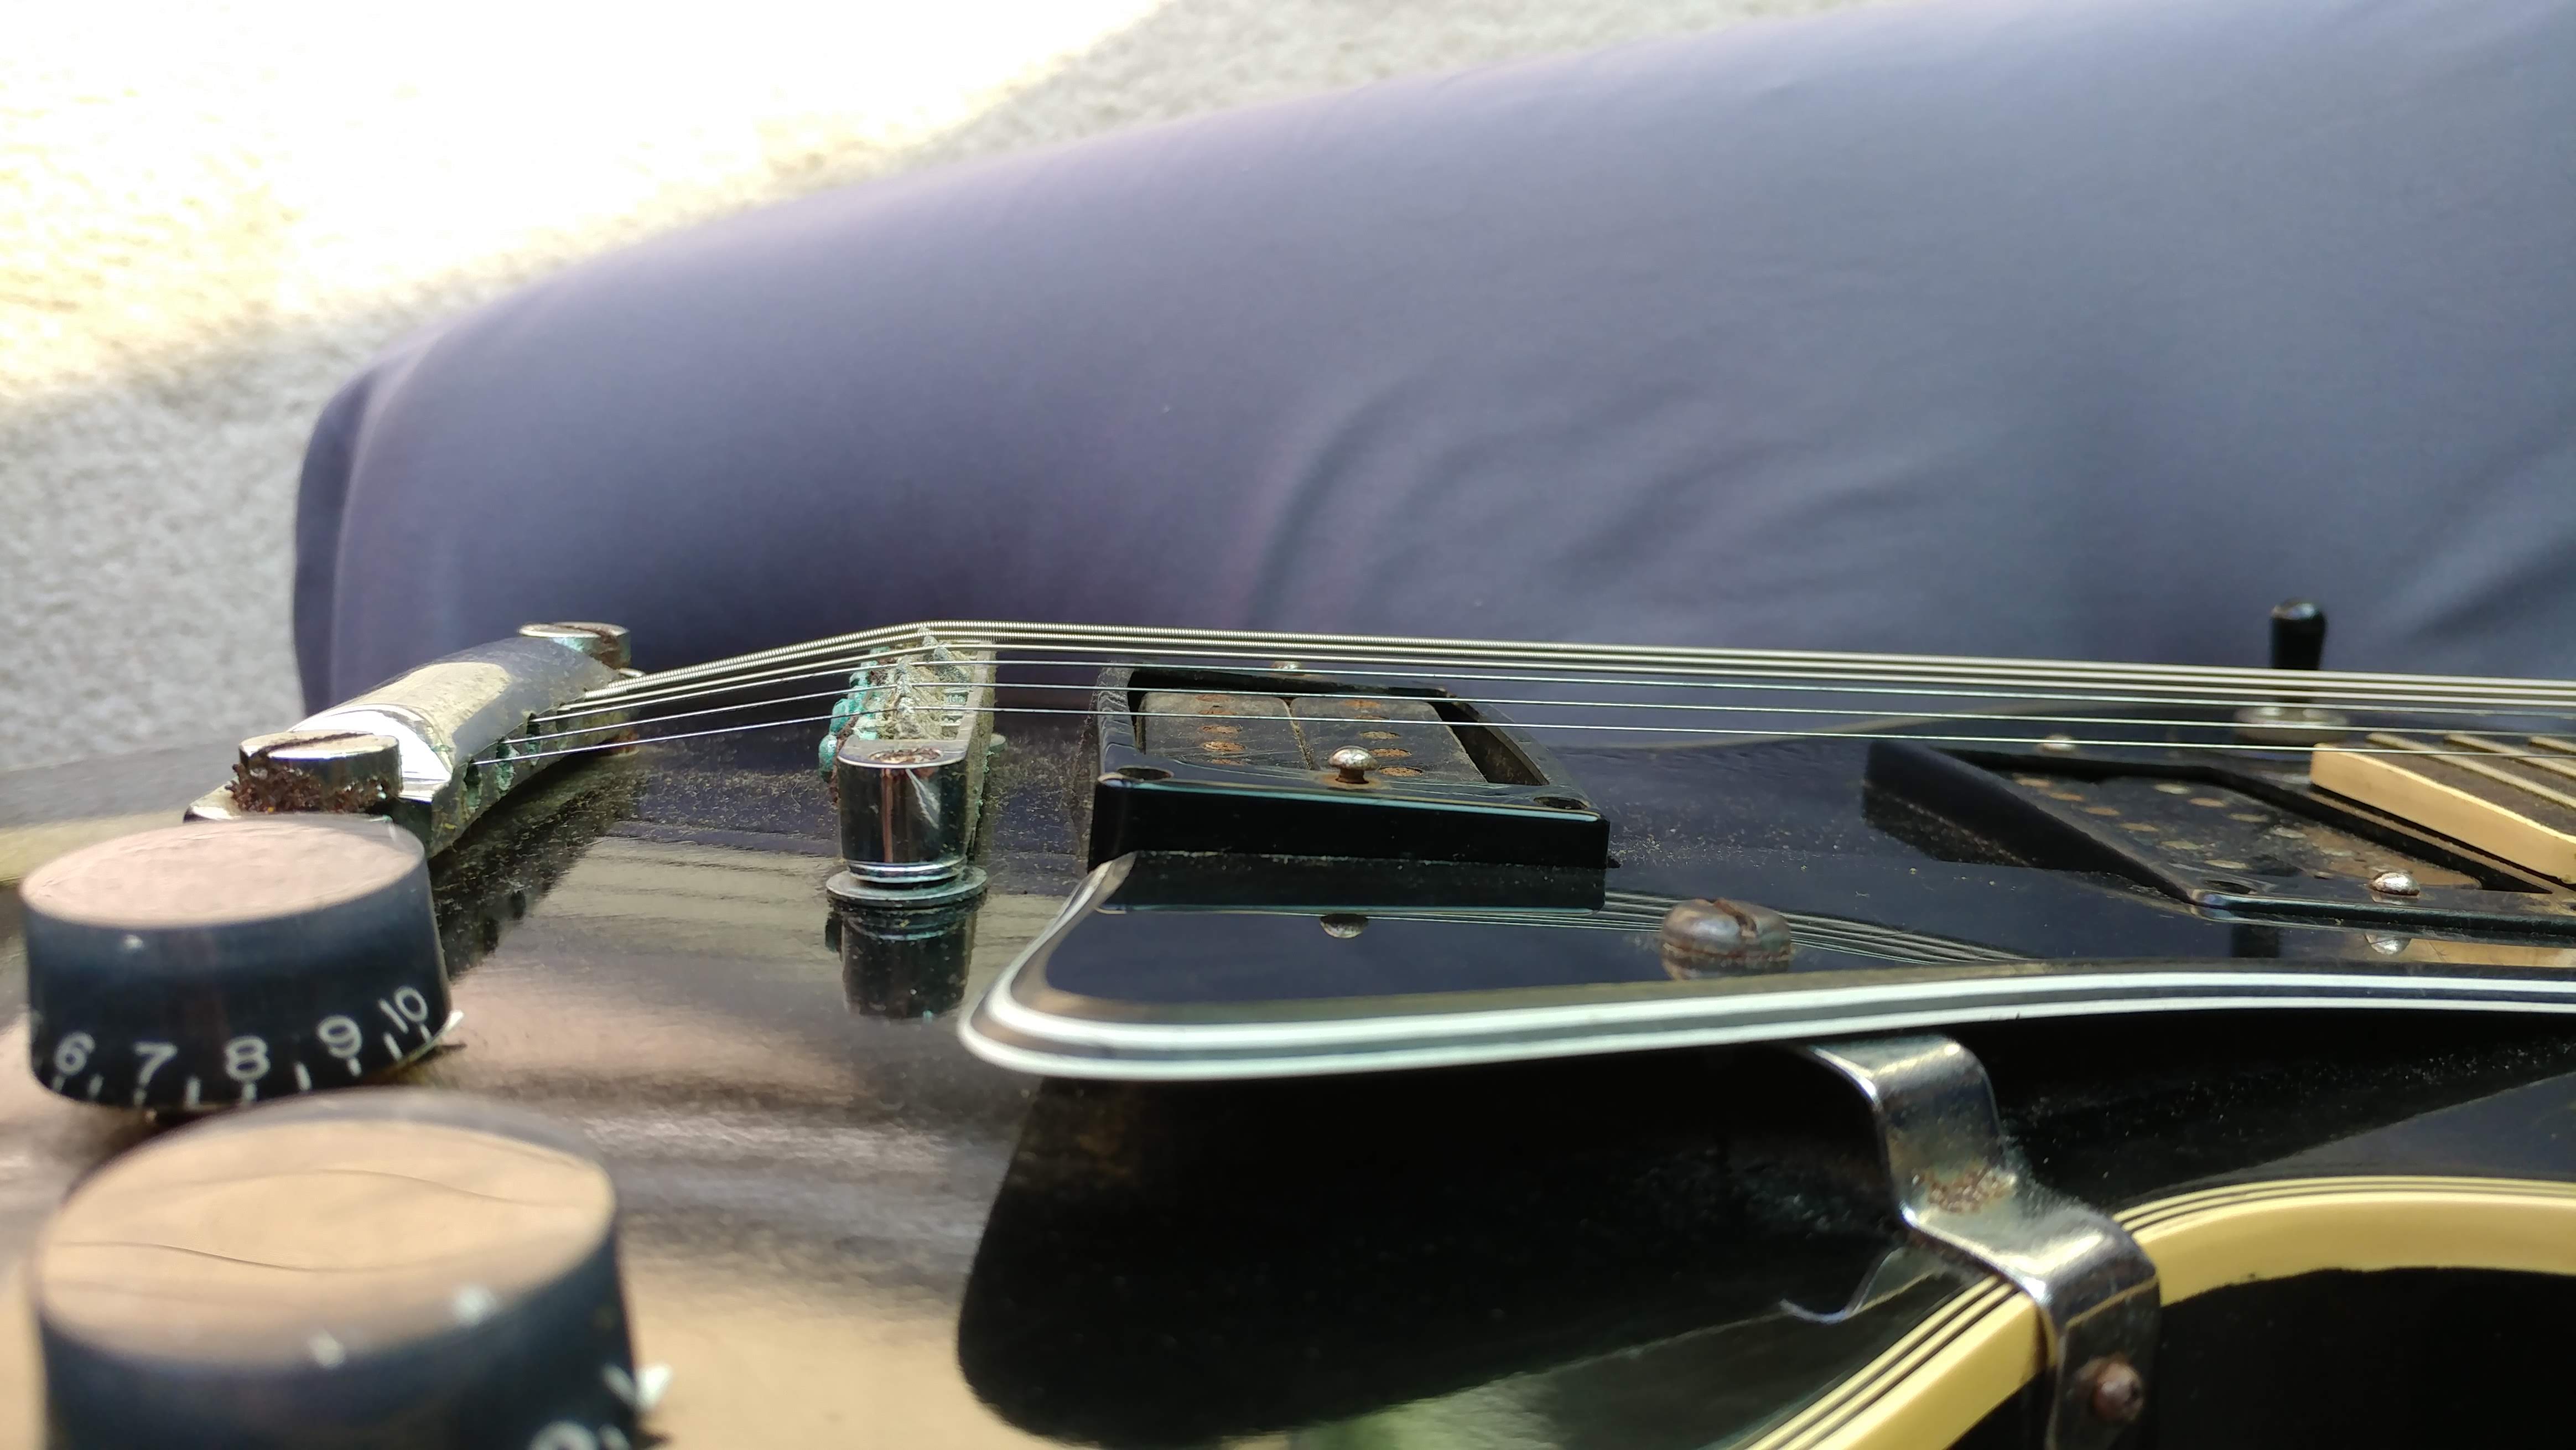
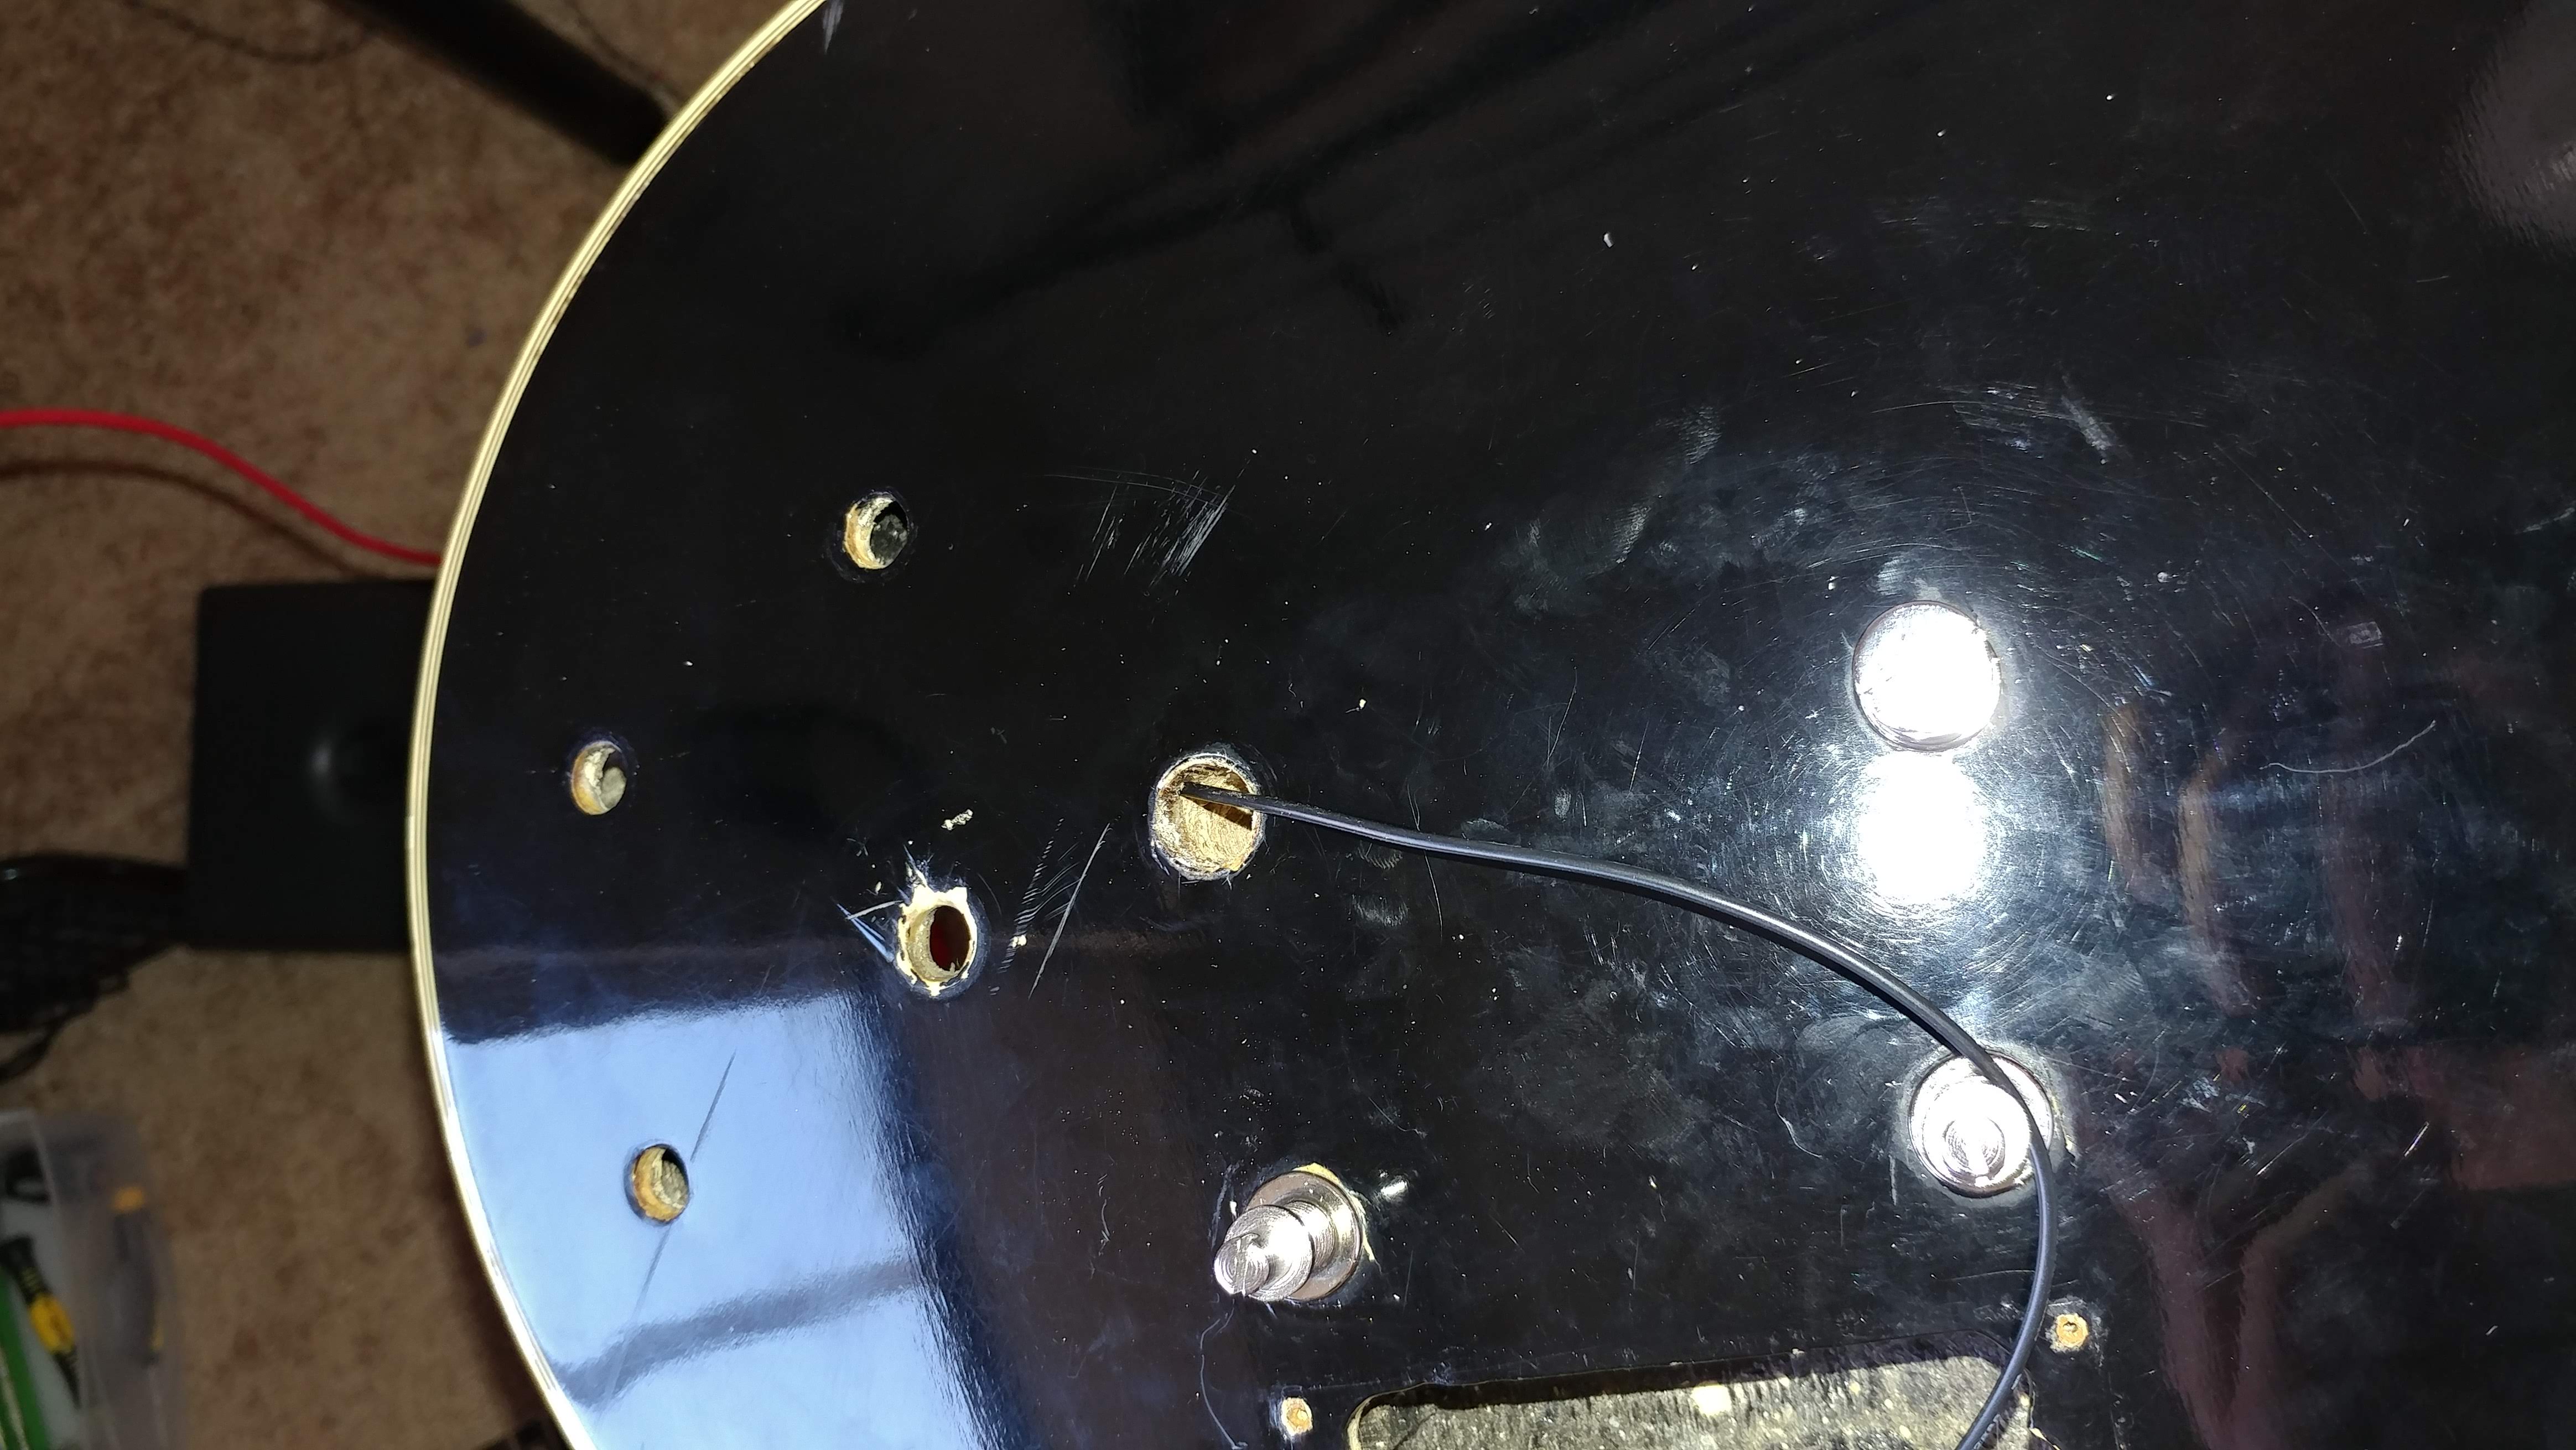
The bridge on this guitar was rusted out but luckily many people are making Tun-o-matic style bridges, my only fear was that the space wouldnt match up. As it turned out the spacing did match up but with the curvature of the body there was a problem of alignment to deal with. Even though the body was curved the bridge posts need to be parallel to making adjusting the bridge height possible (not to mention just screwing them in properly).
I covered the posts in some quick-set clear epoxy I pushed them into the body, then I screwed in the top post and attached the tail piece and the bridge. My hope was that these pieces would force the posts to set in a parallel position.

I realized the next day that I had forgotten to route and solder the grounding wire to the bridge post. With the epoxy set I thought this was going to be the end of the repair process (buzzing would be very apparent without the grounding wire) but I decided to attempt a rescue mission.
I got a couple ratches and a large washer and put the screw through the washer, through the ratchets and into the post. By steadily turning the screw that goes nto the post while it is braced against the ratches which braced against the body and lifted the post up. The danger I feared would be the post holding its ground and drivign the ratches into the body but by carefully applying pressure I managed to get the post out!
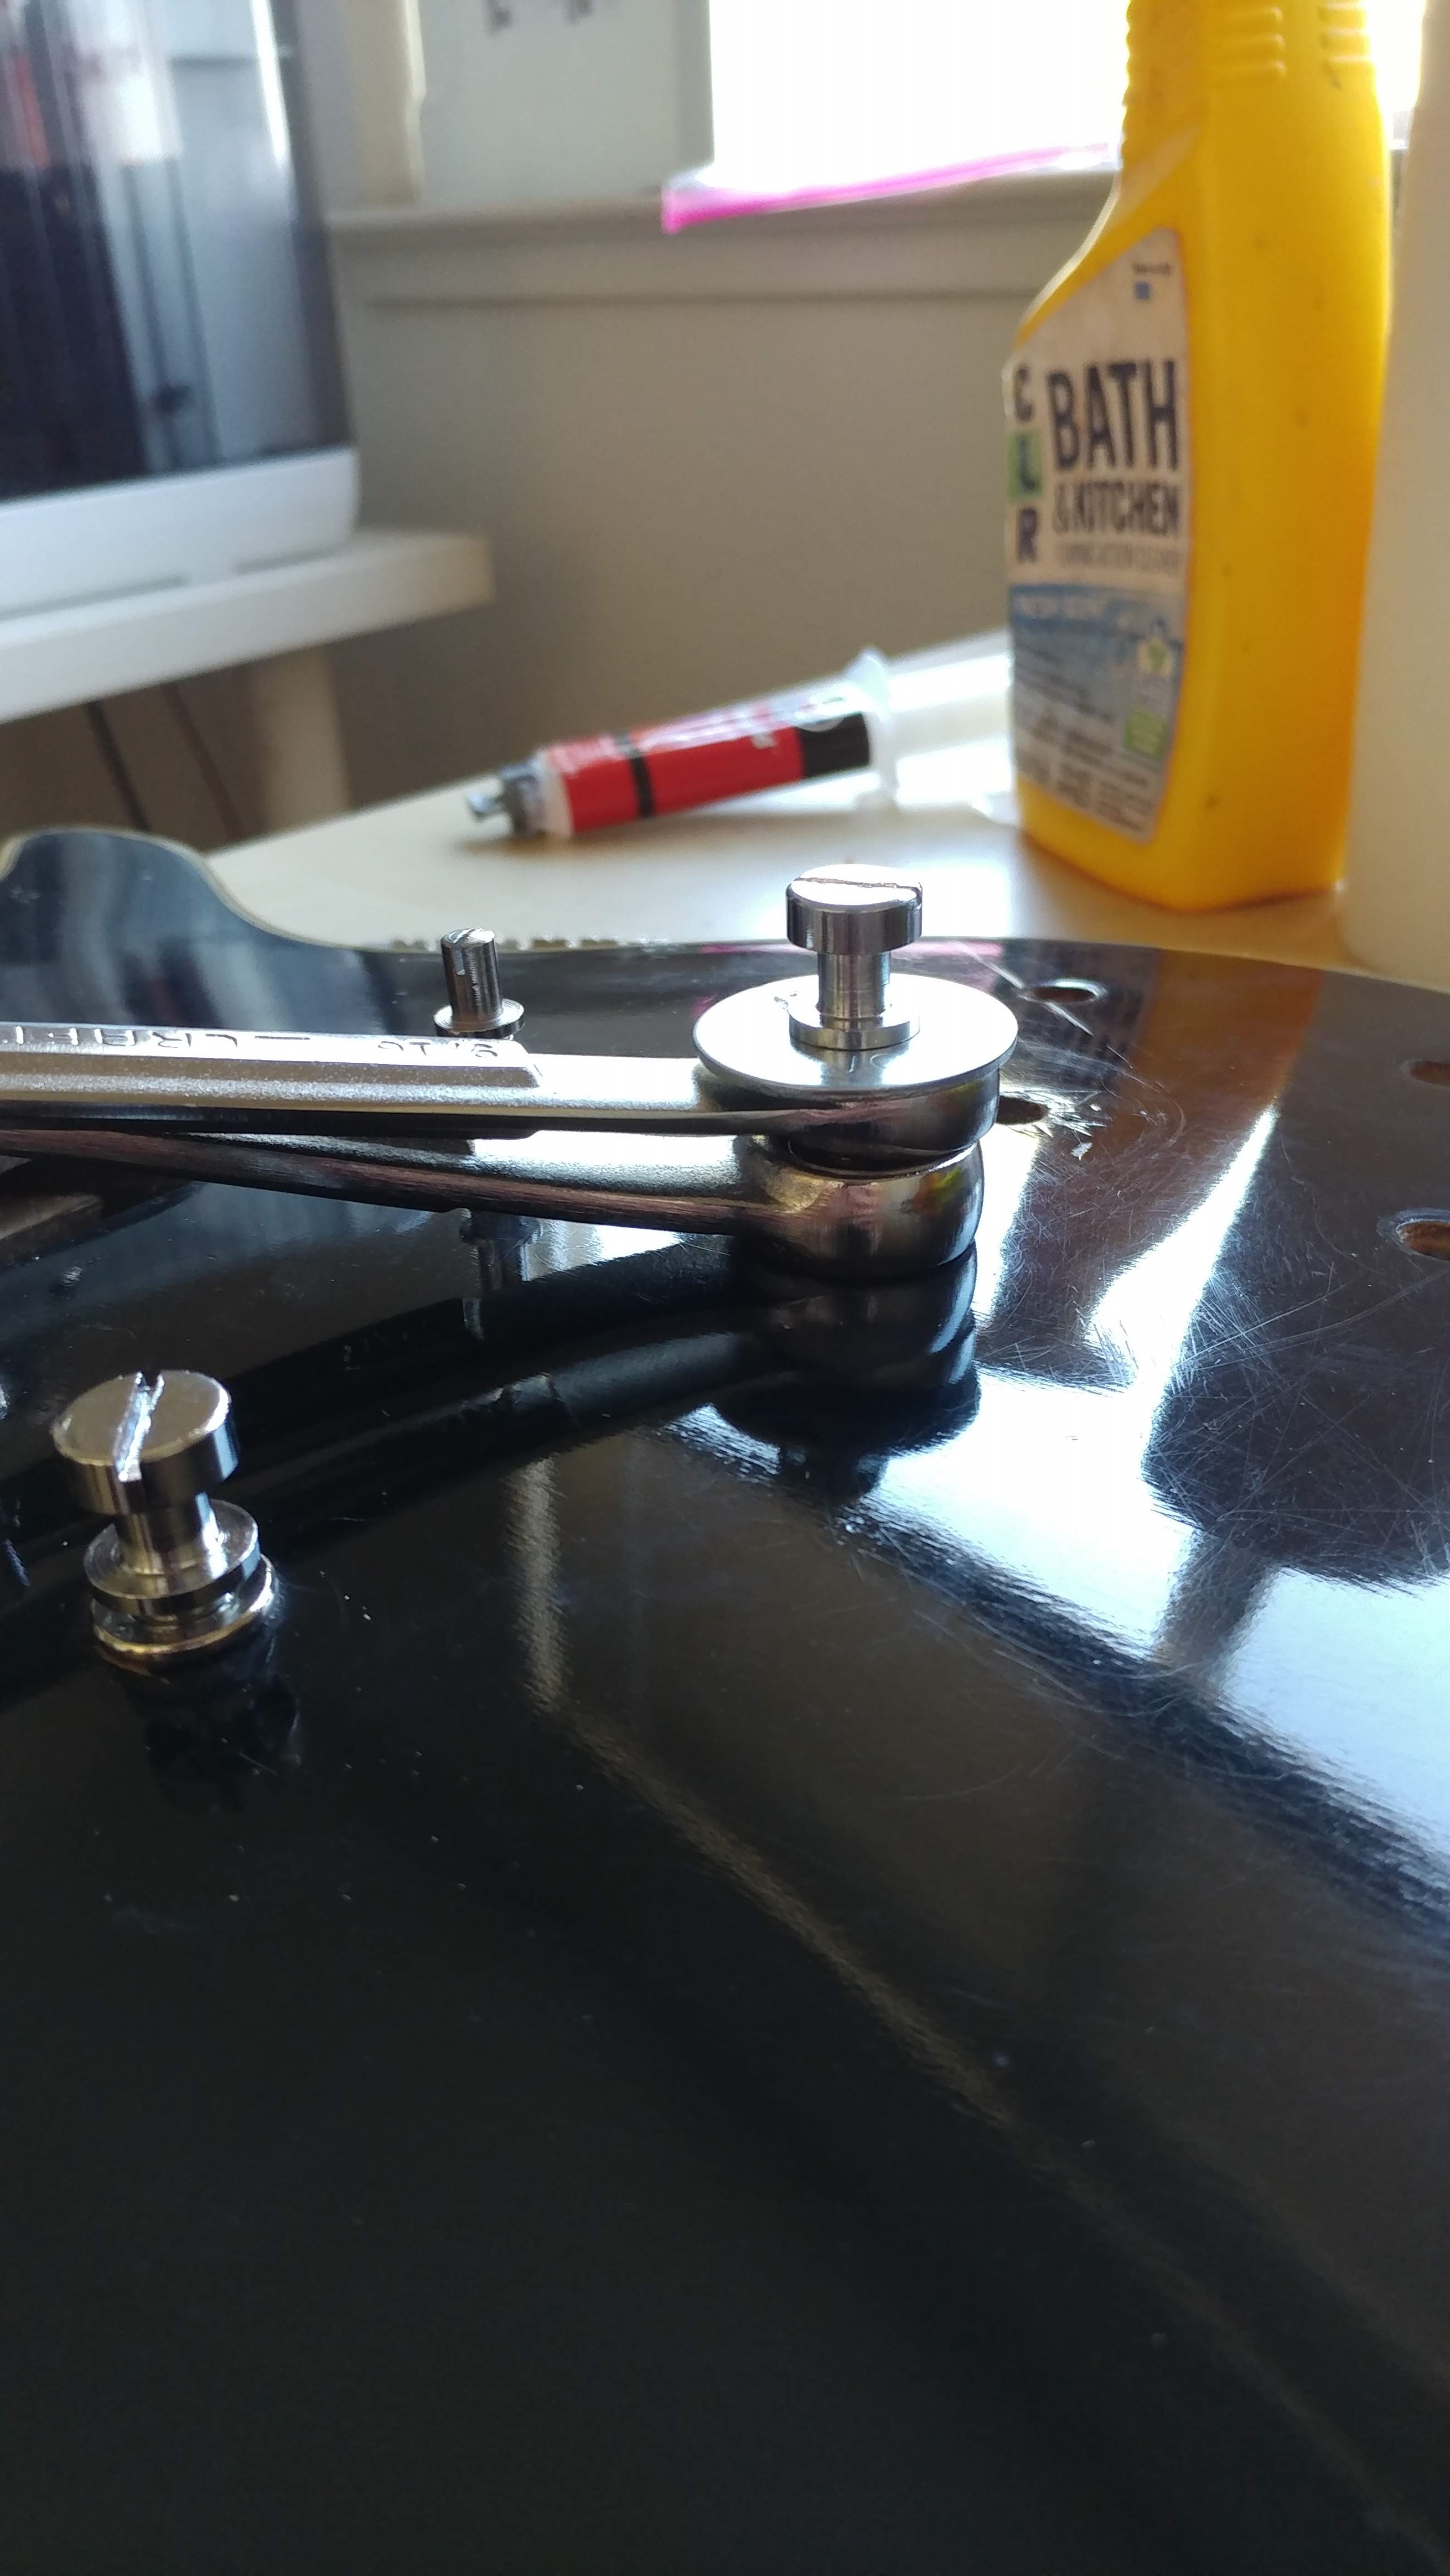
After that routing the grounding wire was fairly trivial (if not just annoying) and I was able to put a new post in soldered correctly.
Pickups
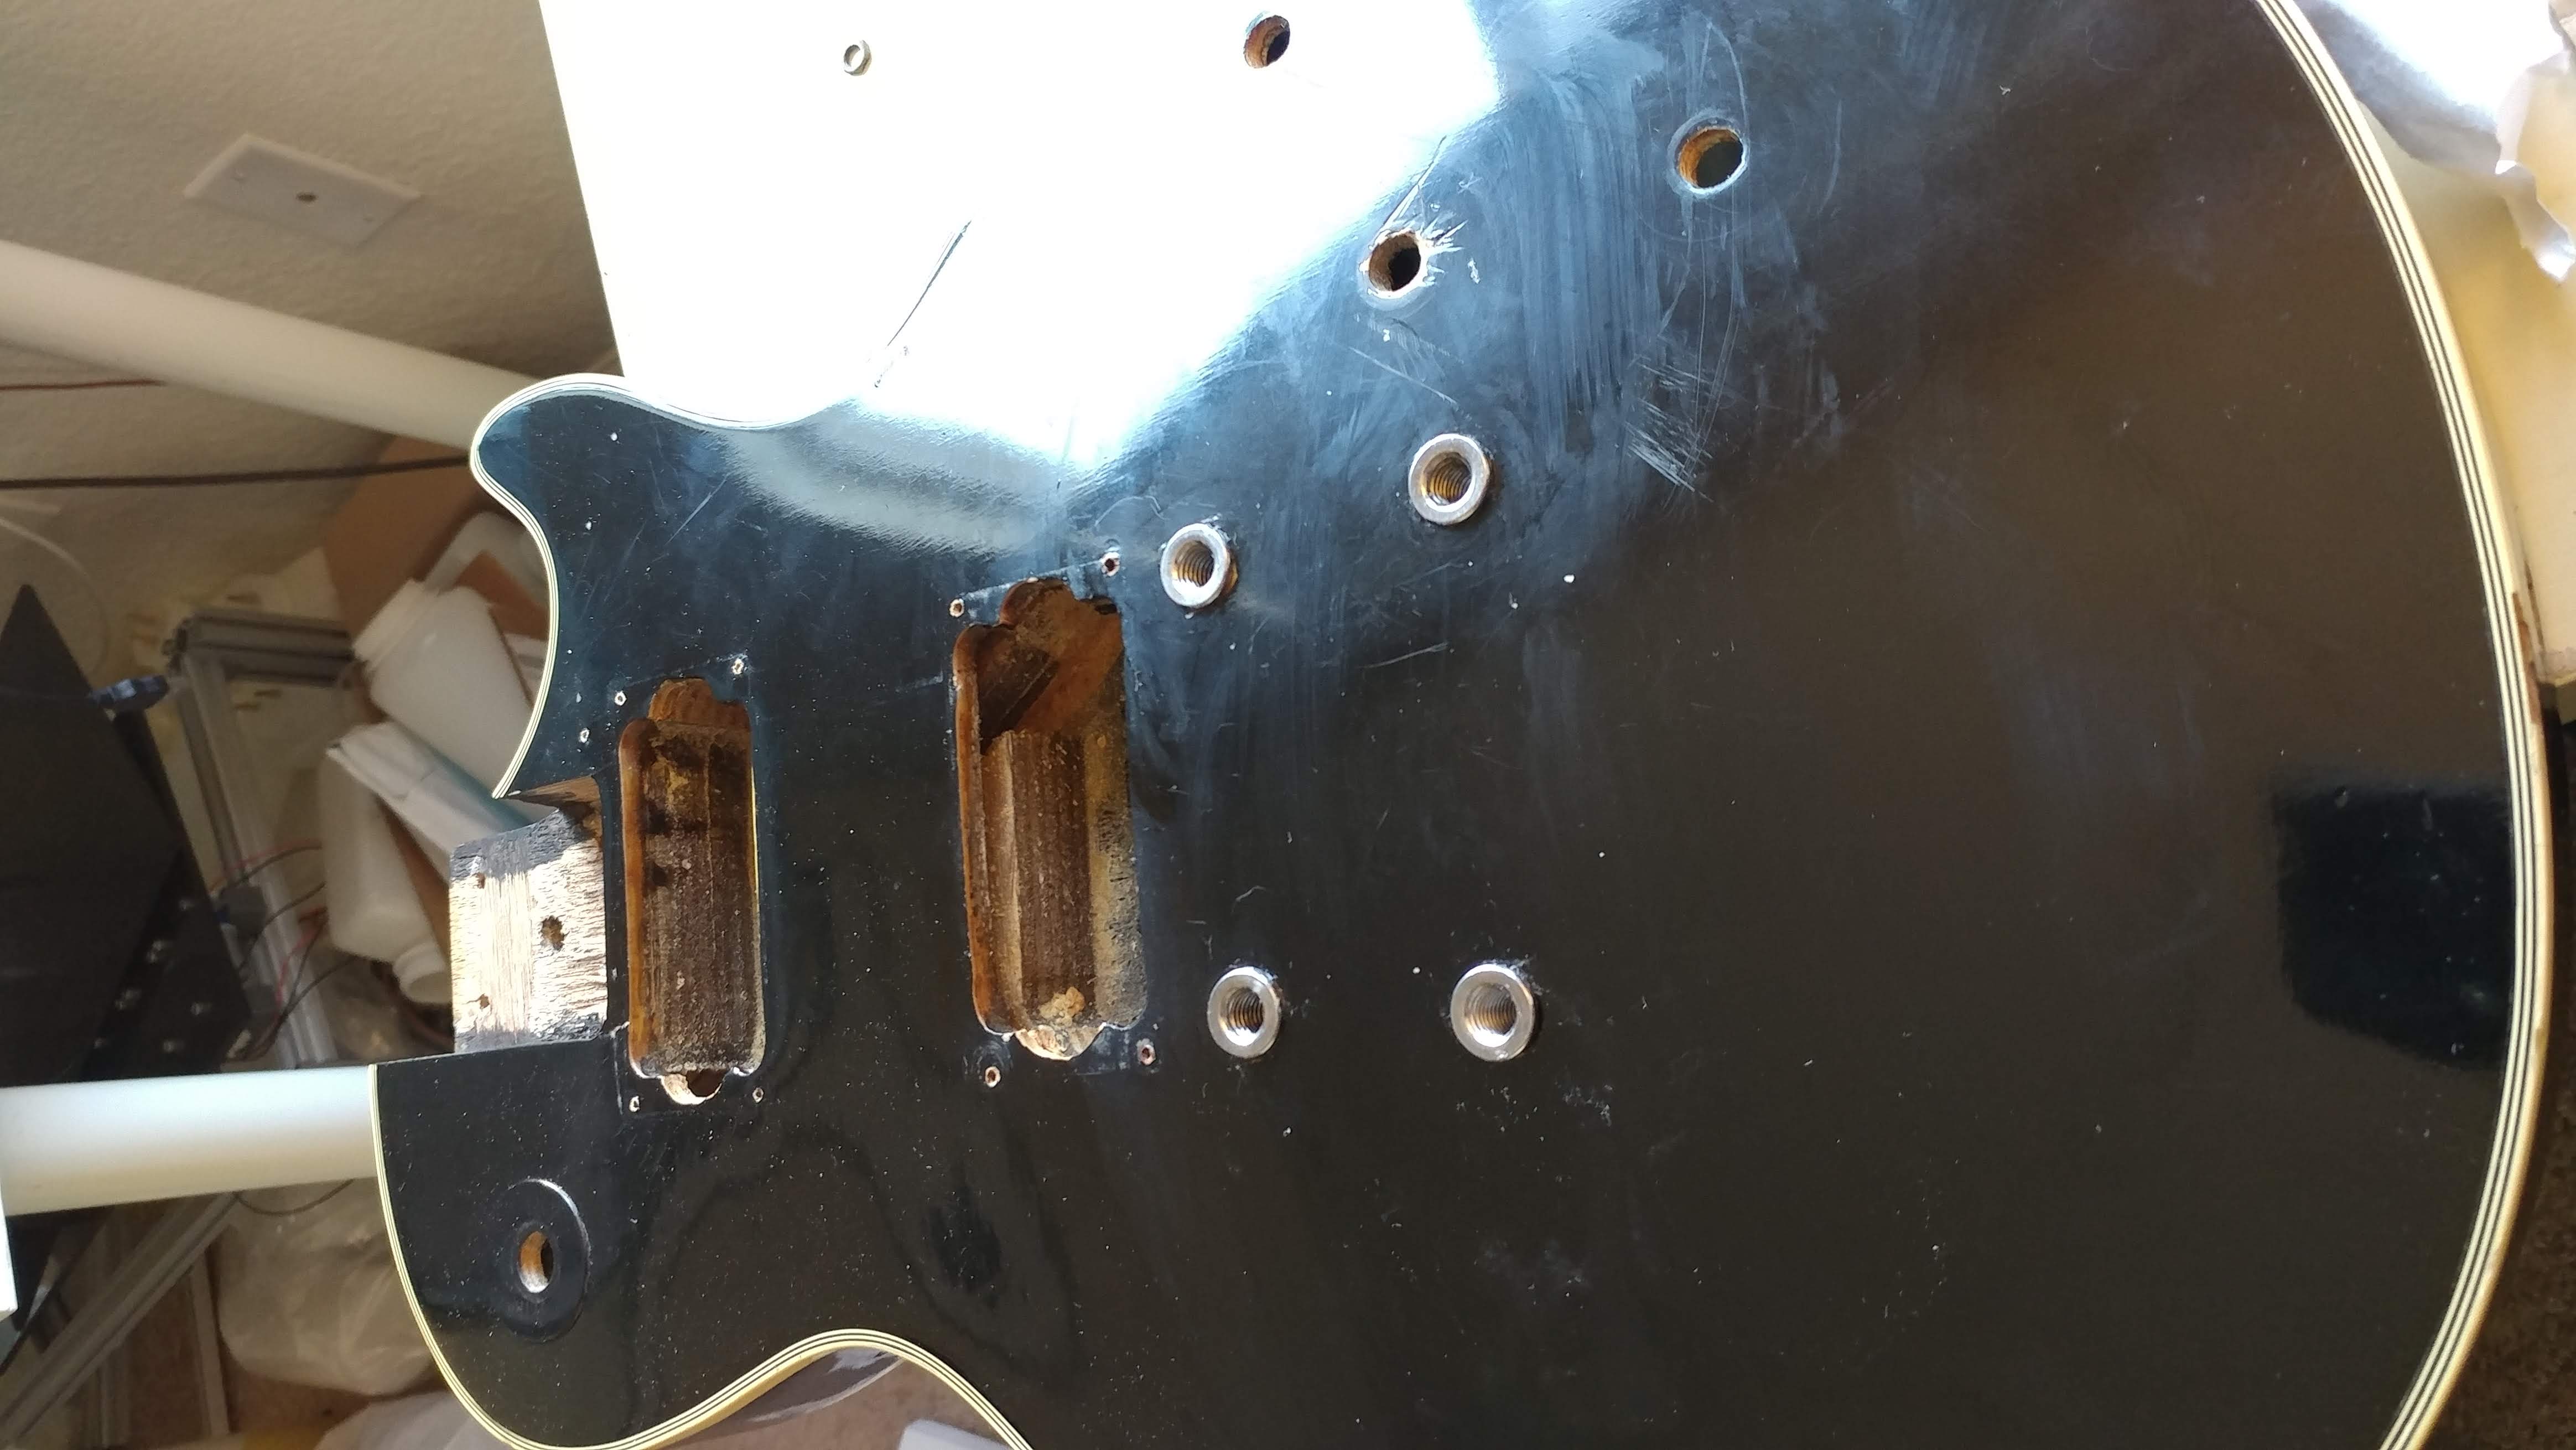
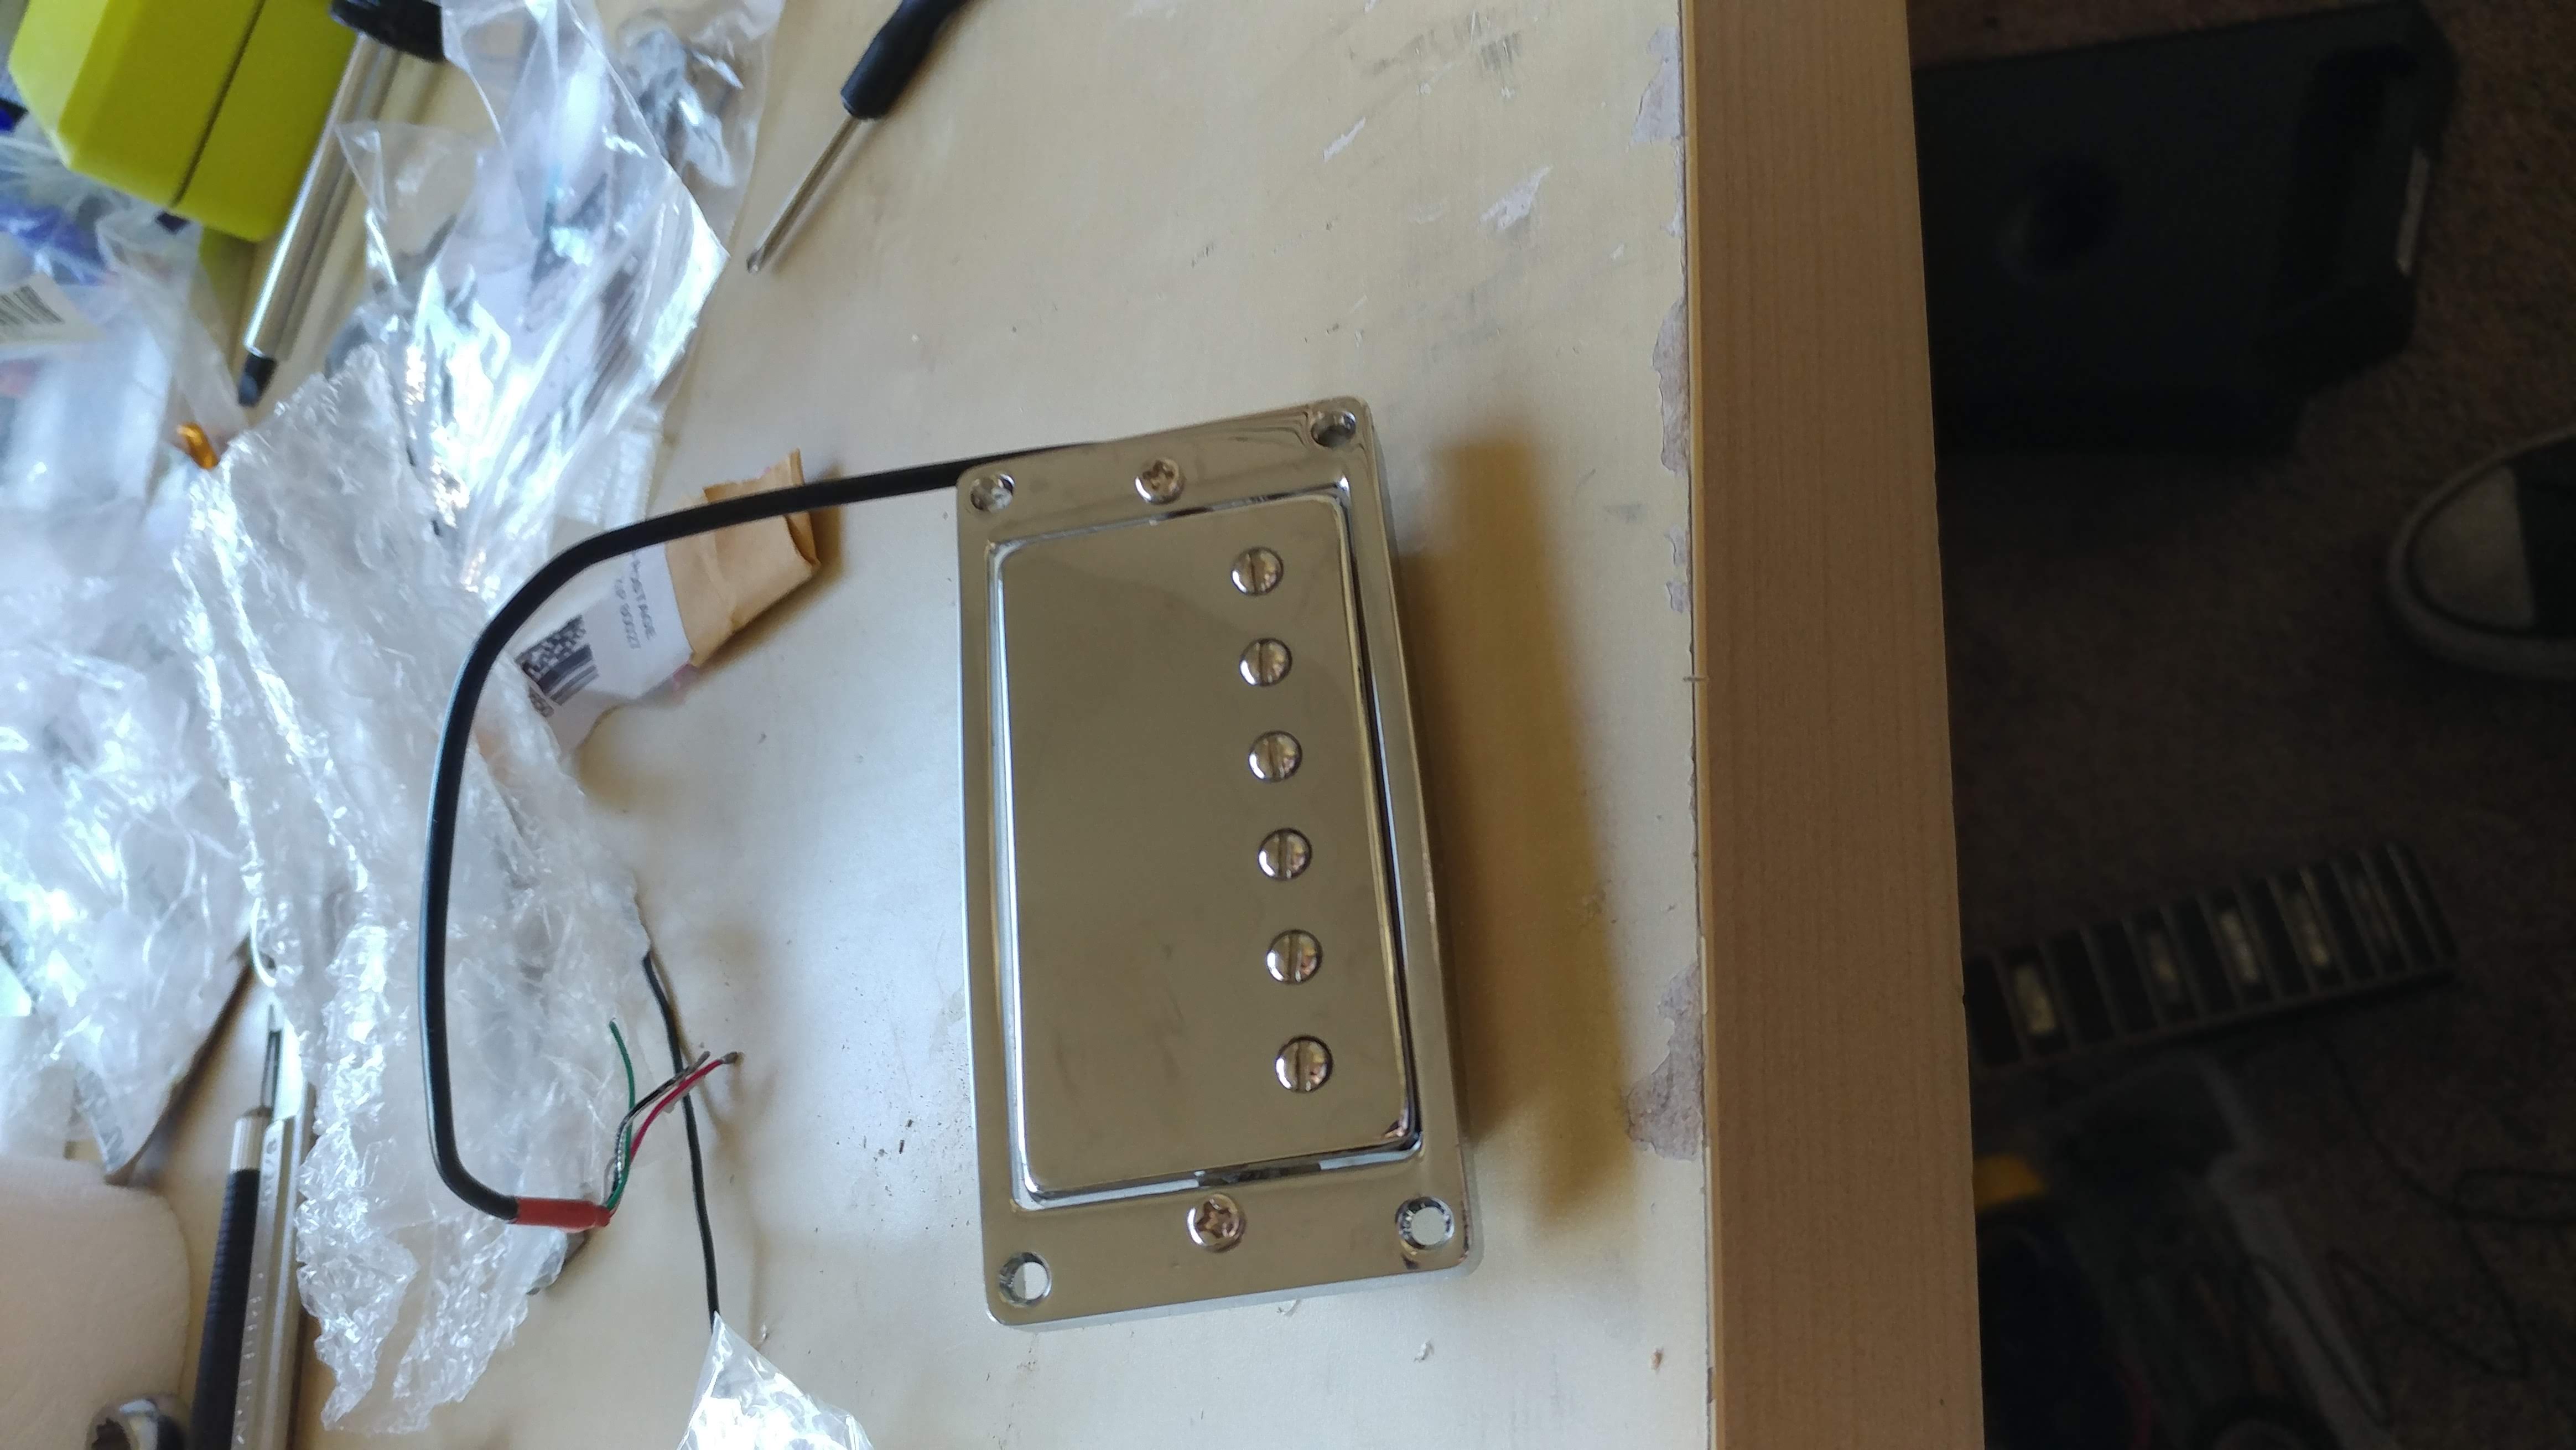
Although I wasn’t sure the DiMarzios that were in the Les Paul were bad I had a set look in mind for the guitar and would either need to get chrome covers for these (and pot them with wax) or get new pickups. I decided to start out with some new pickups since I could always switch back.
Getting an new pickup ring for these was another huge pain since it was a non-standard clone. I measured the distance between the holes
I found a set of chrome pickup rings on eBay that seemed to match and ordered them only to find when they arrived that they were flat bottomed. Instead of continuing the search I decided to take my own approach. I placed the pickup upside down on two pieces of 2x4 with the center suspended and hammered out a rough curve. Through a process of trial and error I mananged to get a curvature into the ring that was very close the curvature of the body (with minimal scuffs on the top of the pickup). Since curving it changes the dimensions slightly I had to screw the ring in with the screws angled, since the pickup ring is changed so infrequently (if ever) I figured this was a minor problem.
Unfortunately the warping I did to the ring also affected how the pickup sat in the ring and it had significant lean forward which I was able to slightly correct by bending the mounting post on the pickups.
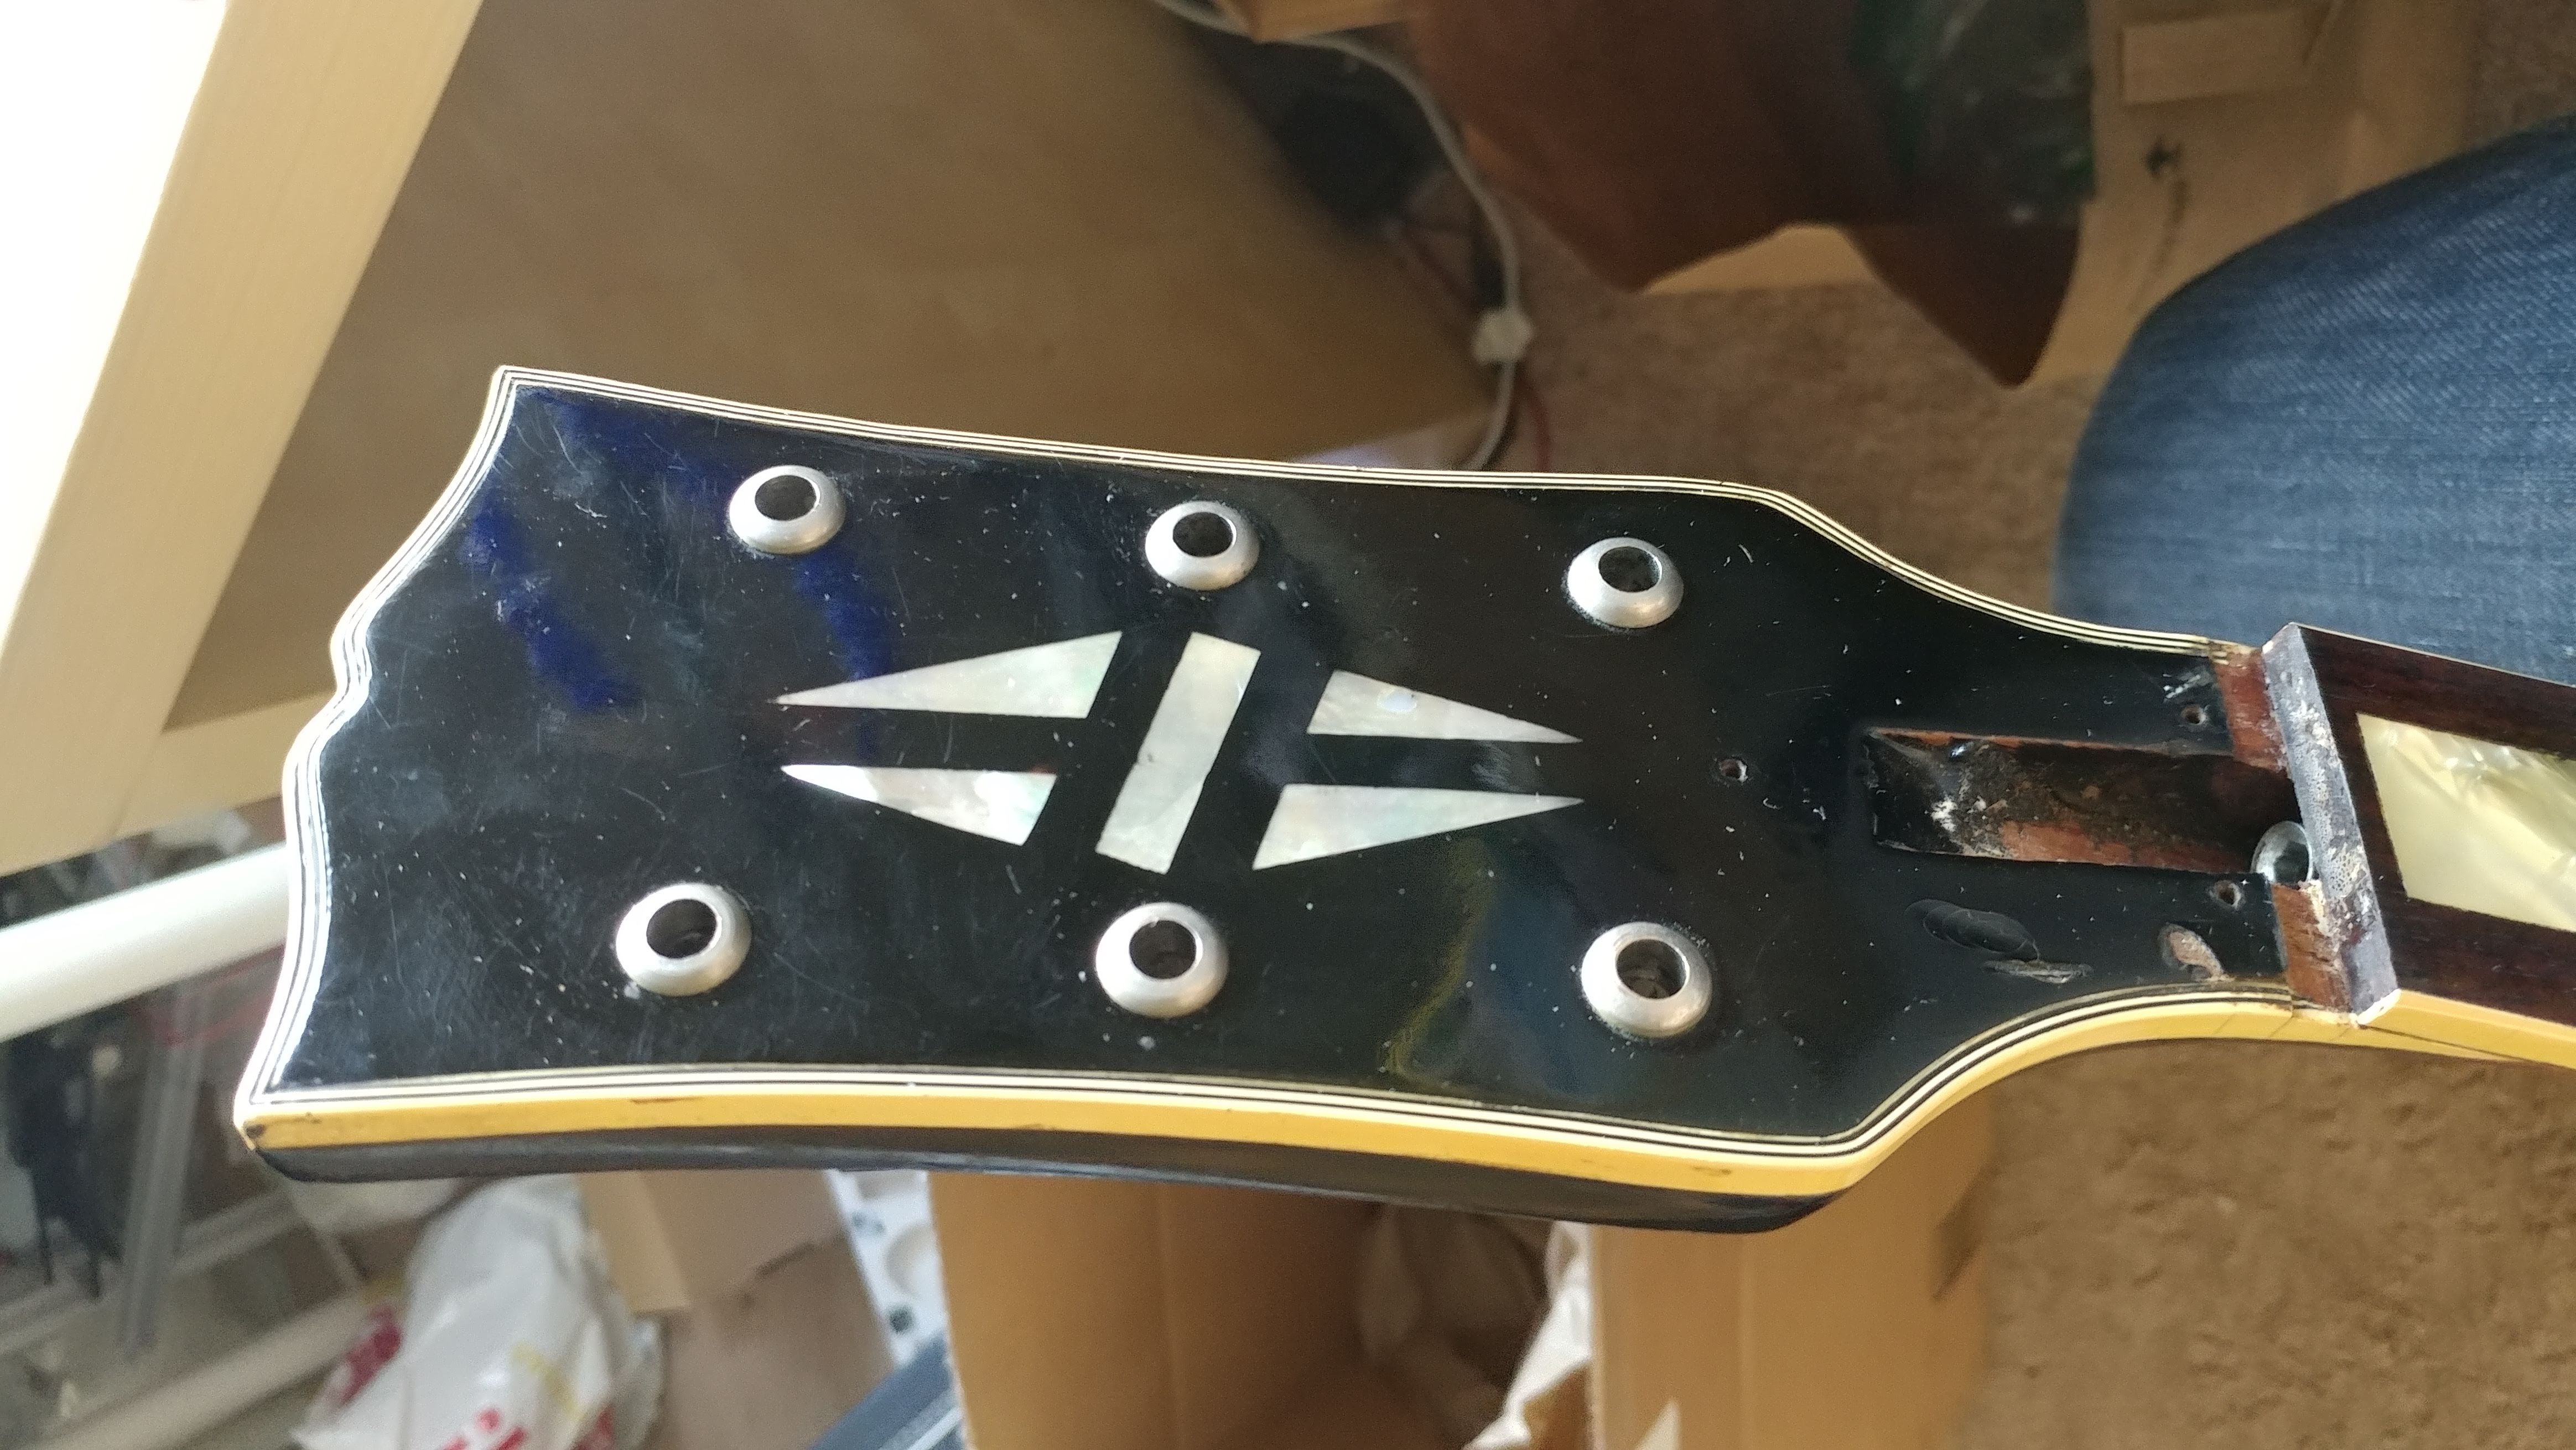
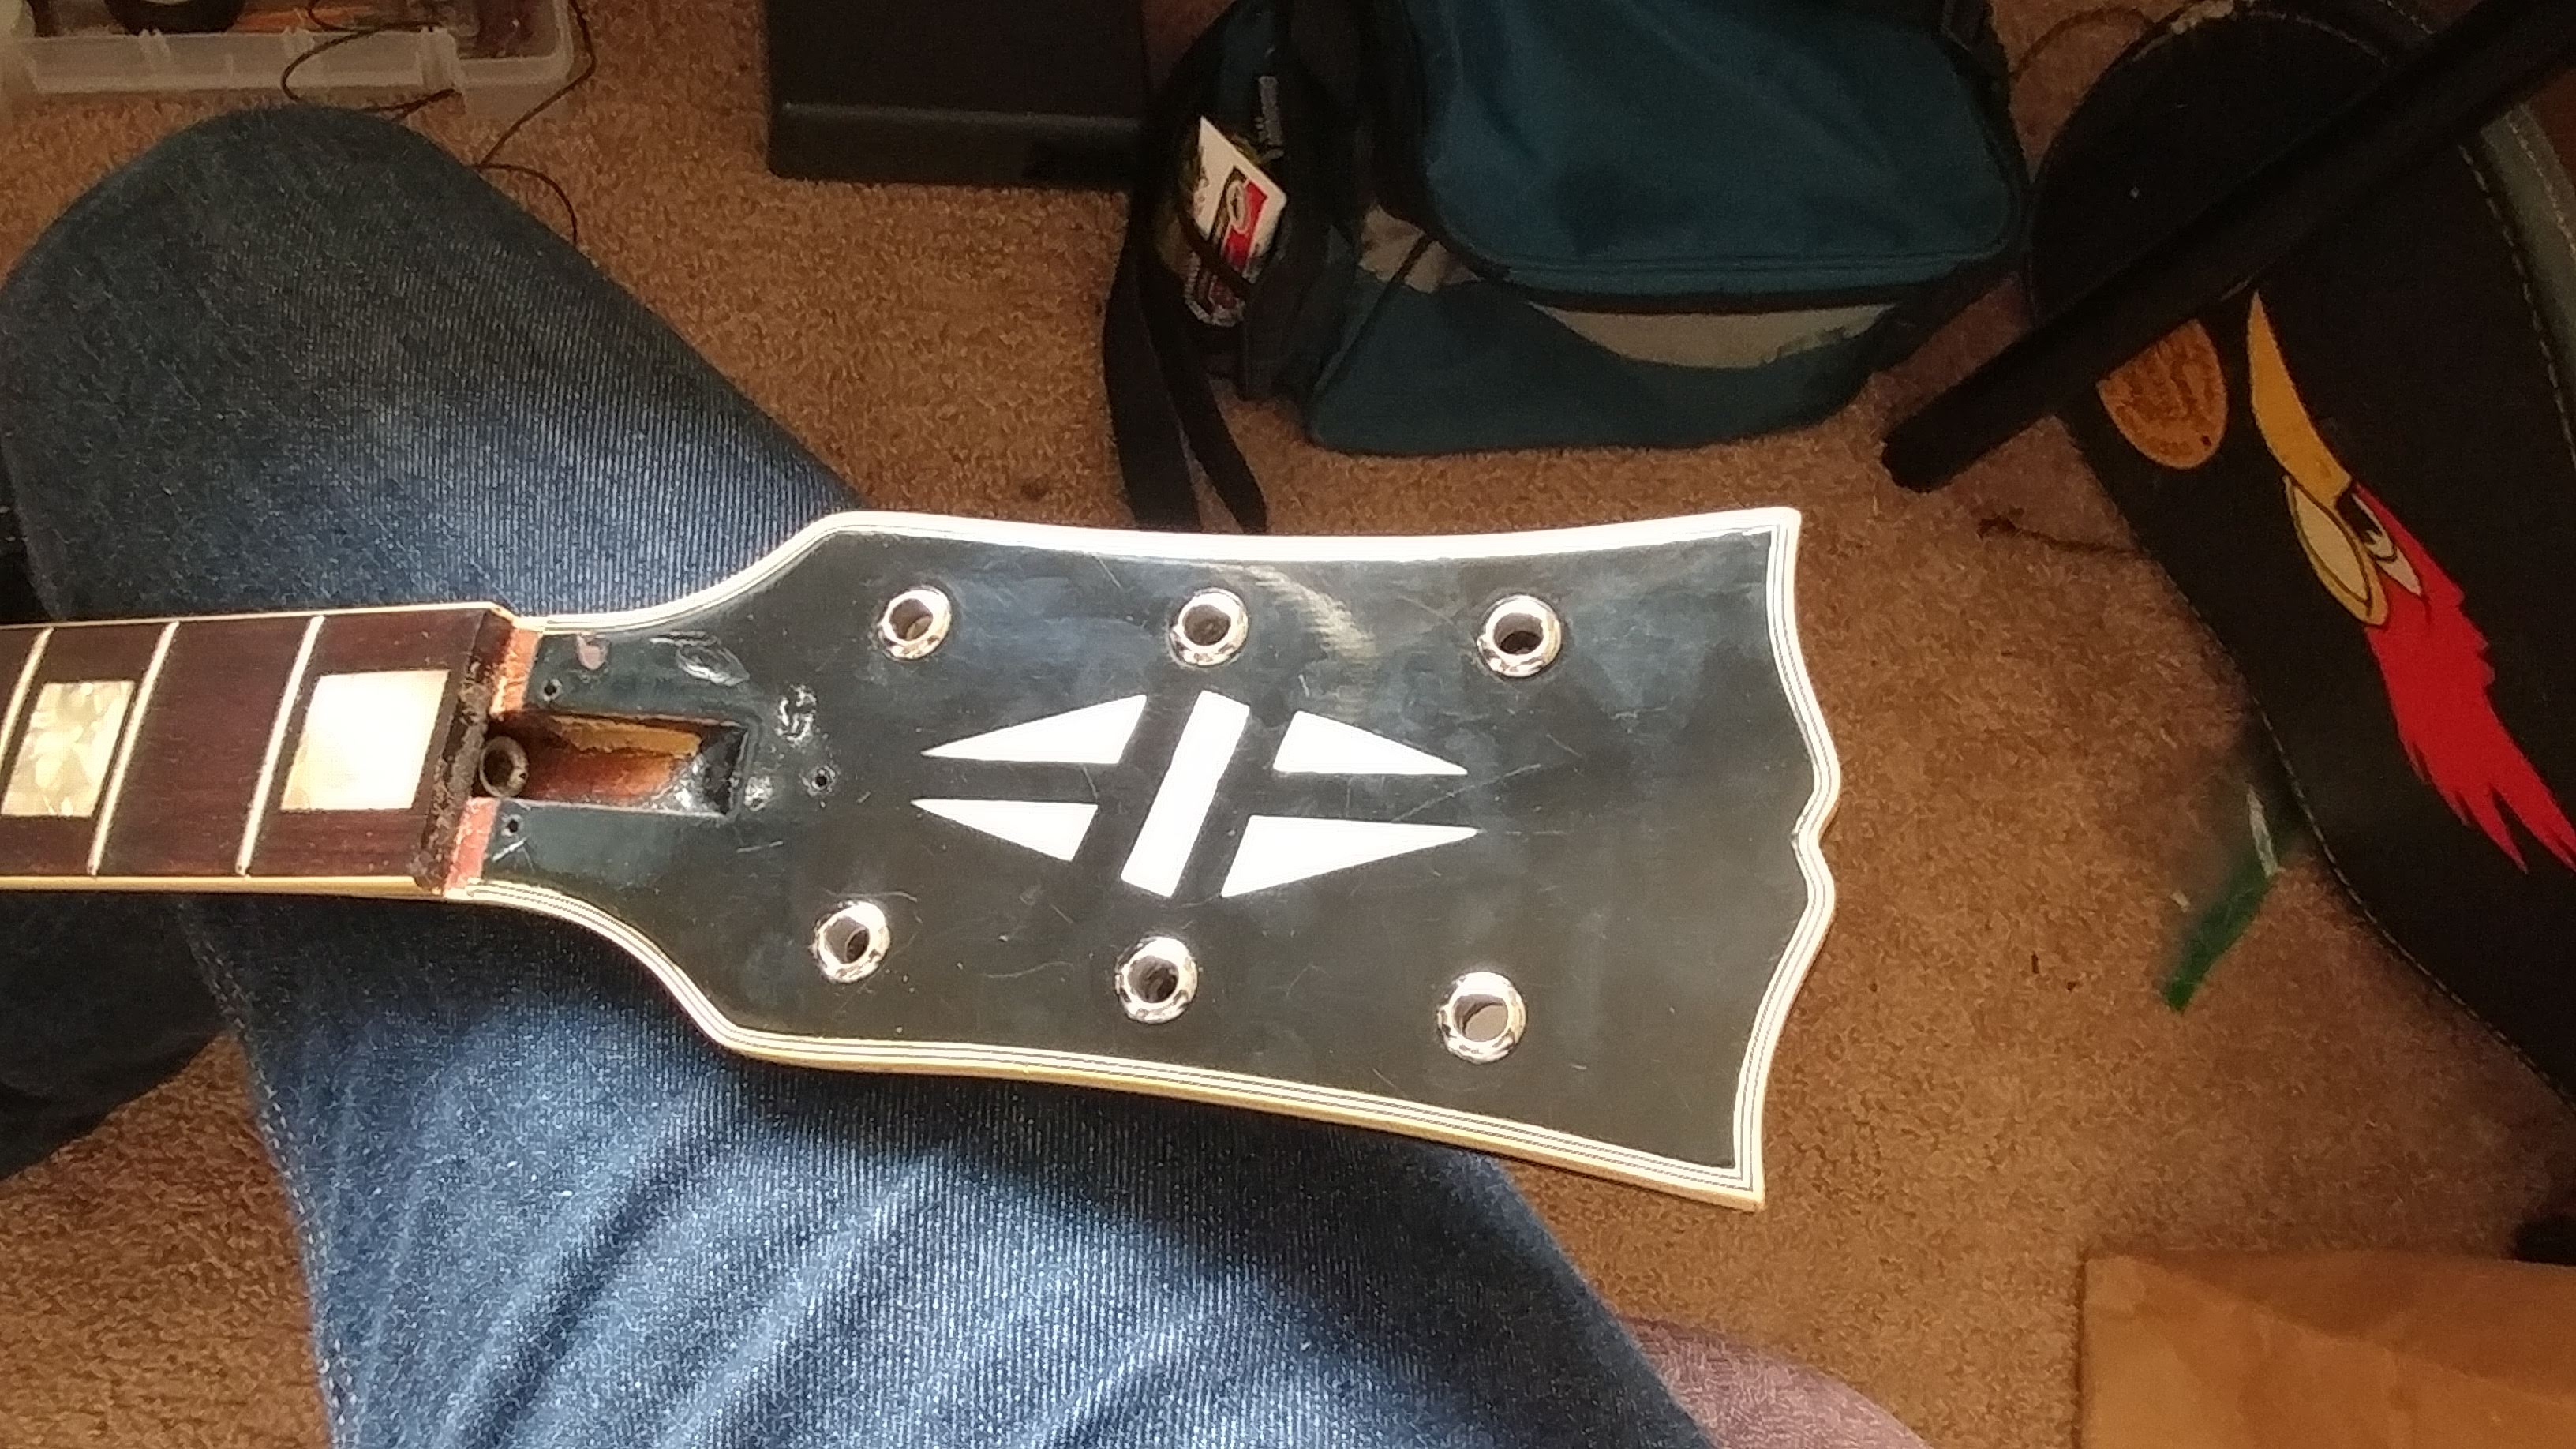
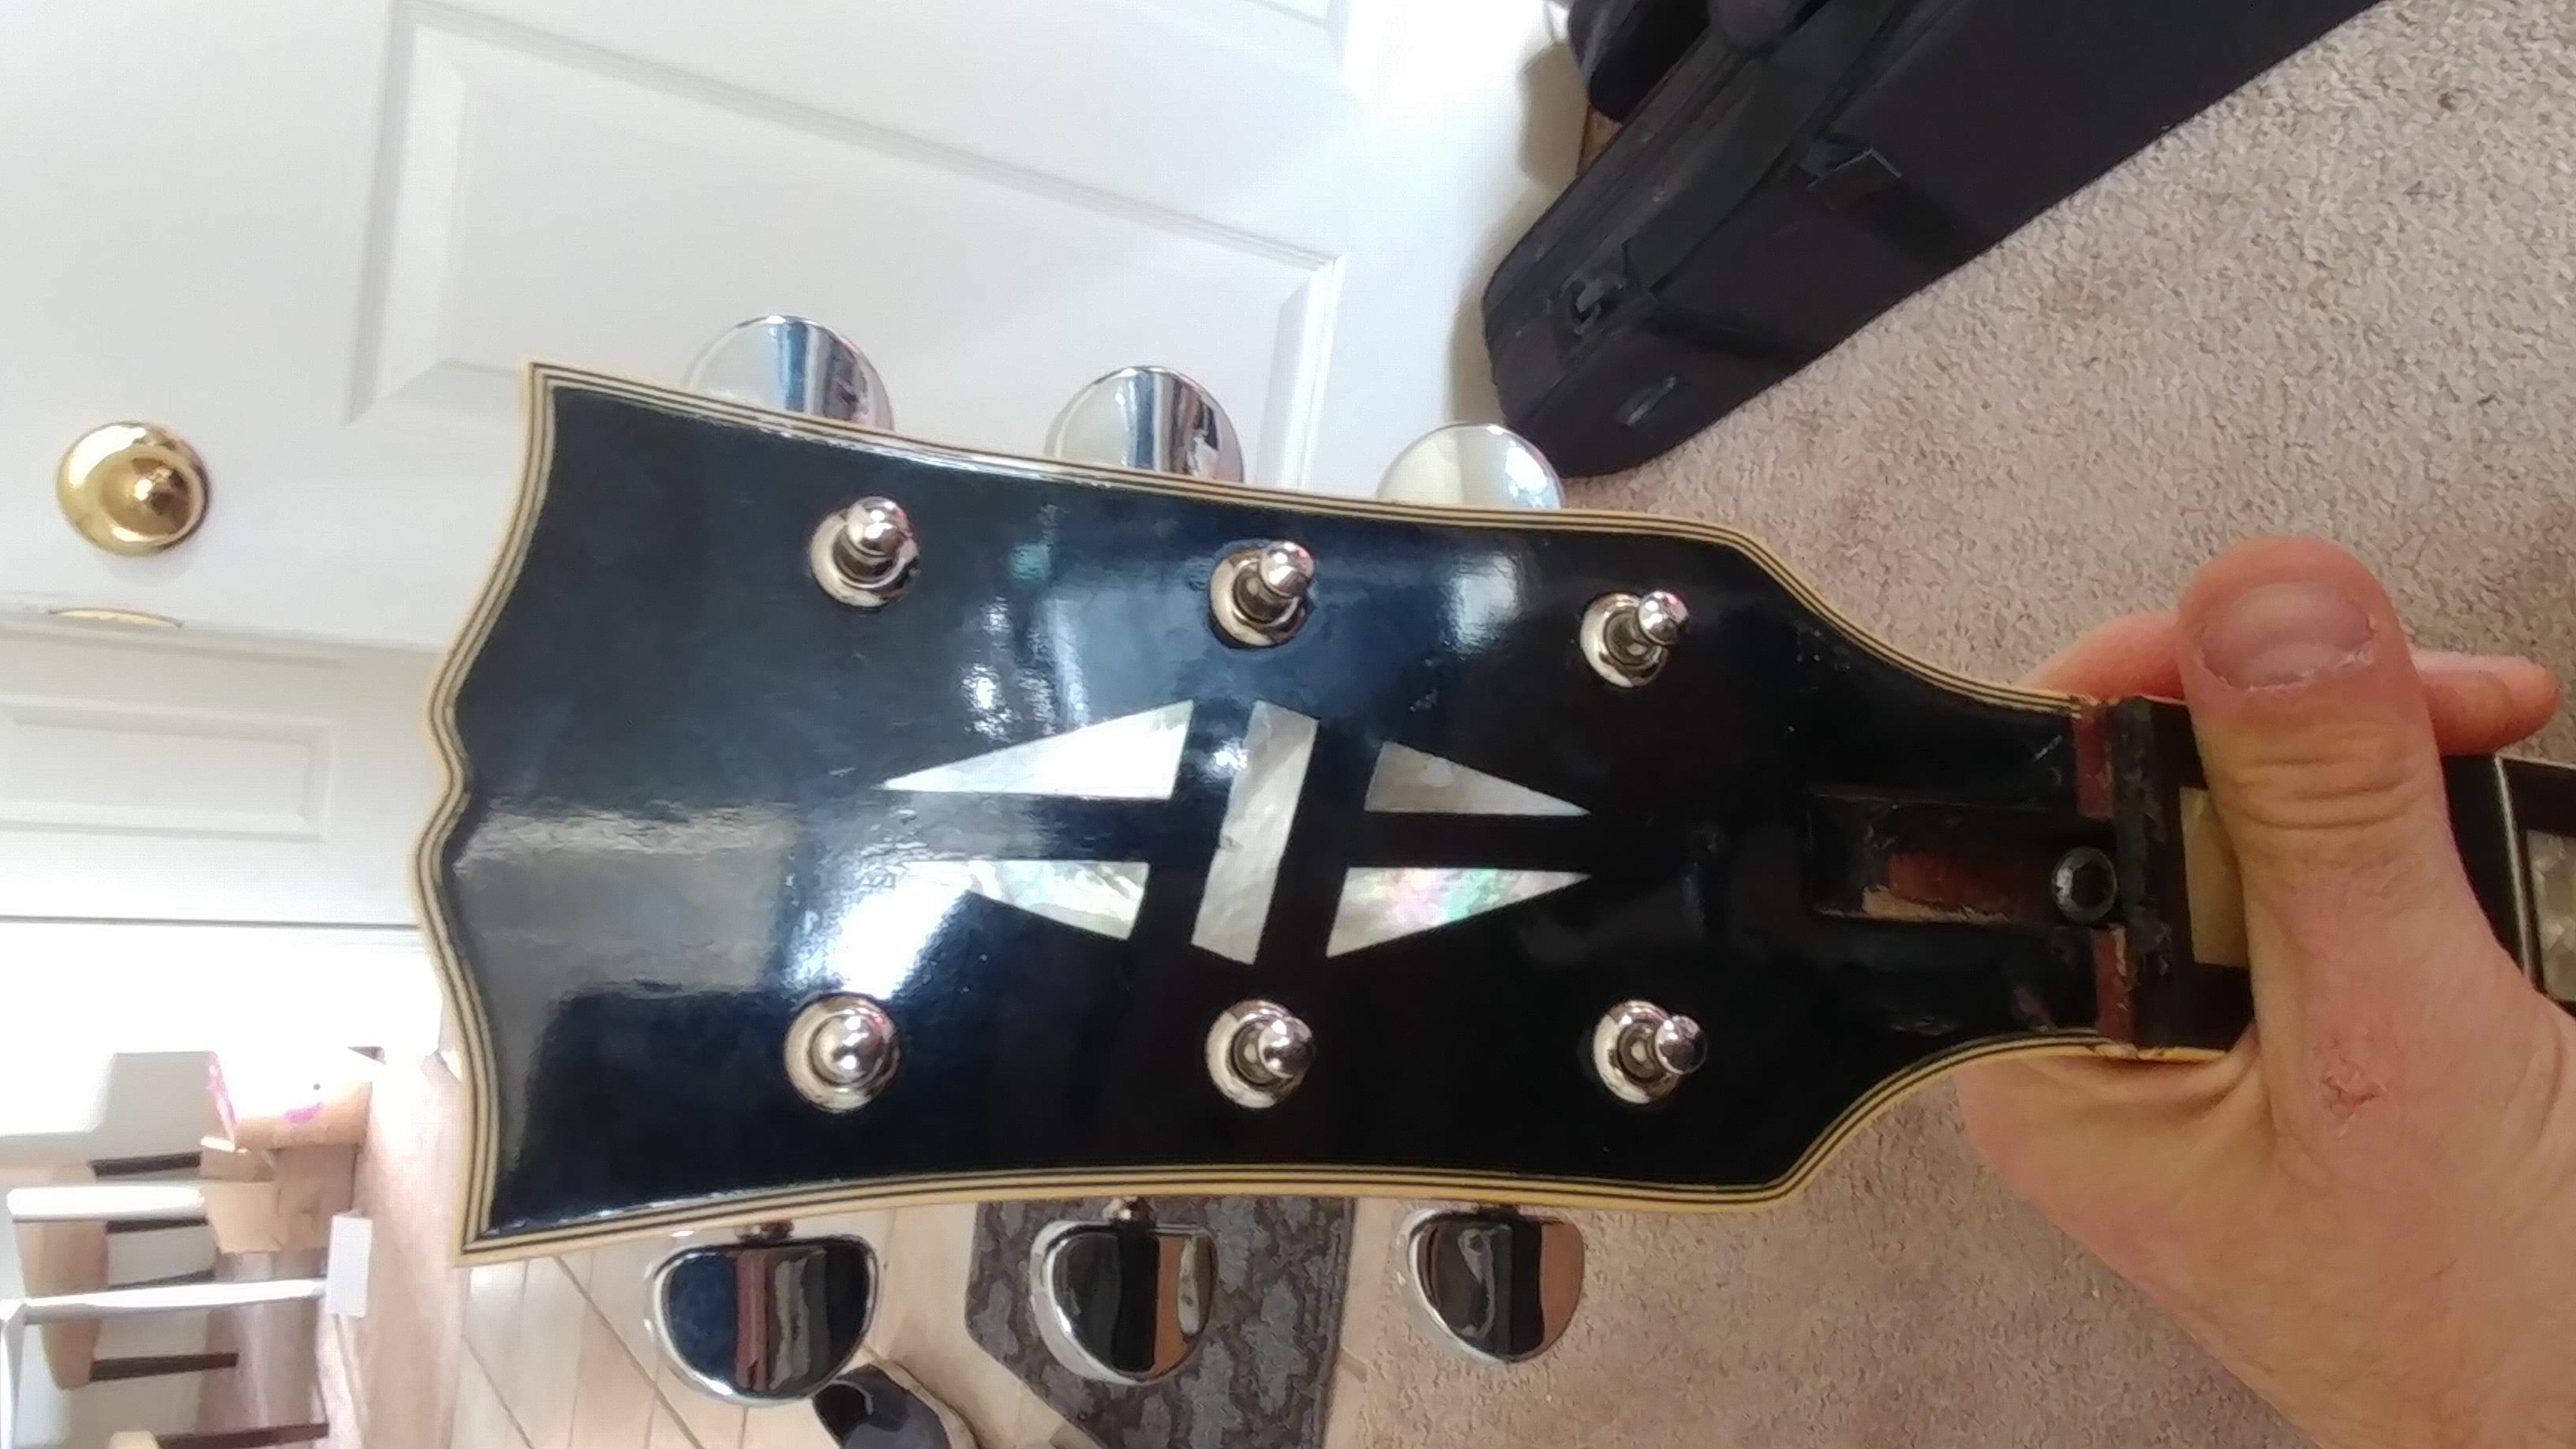
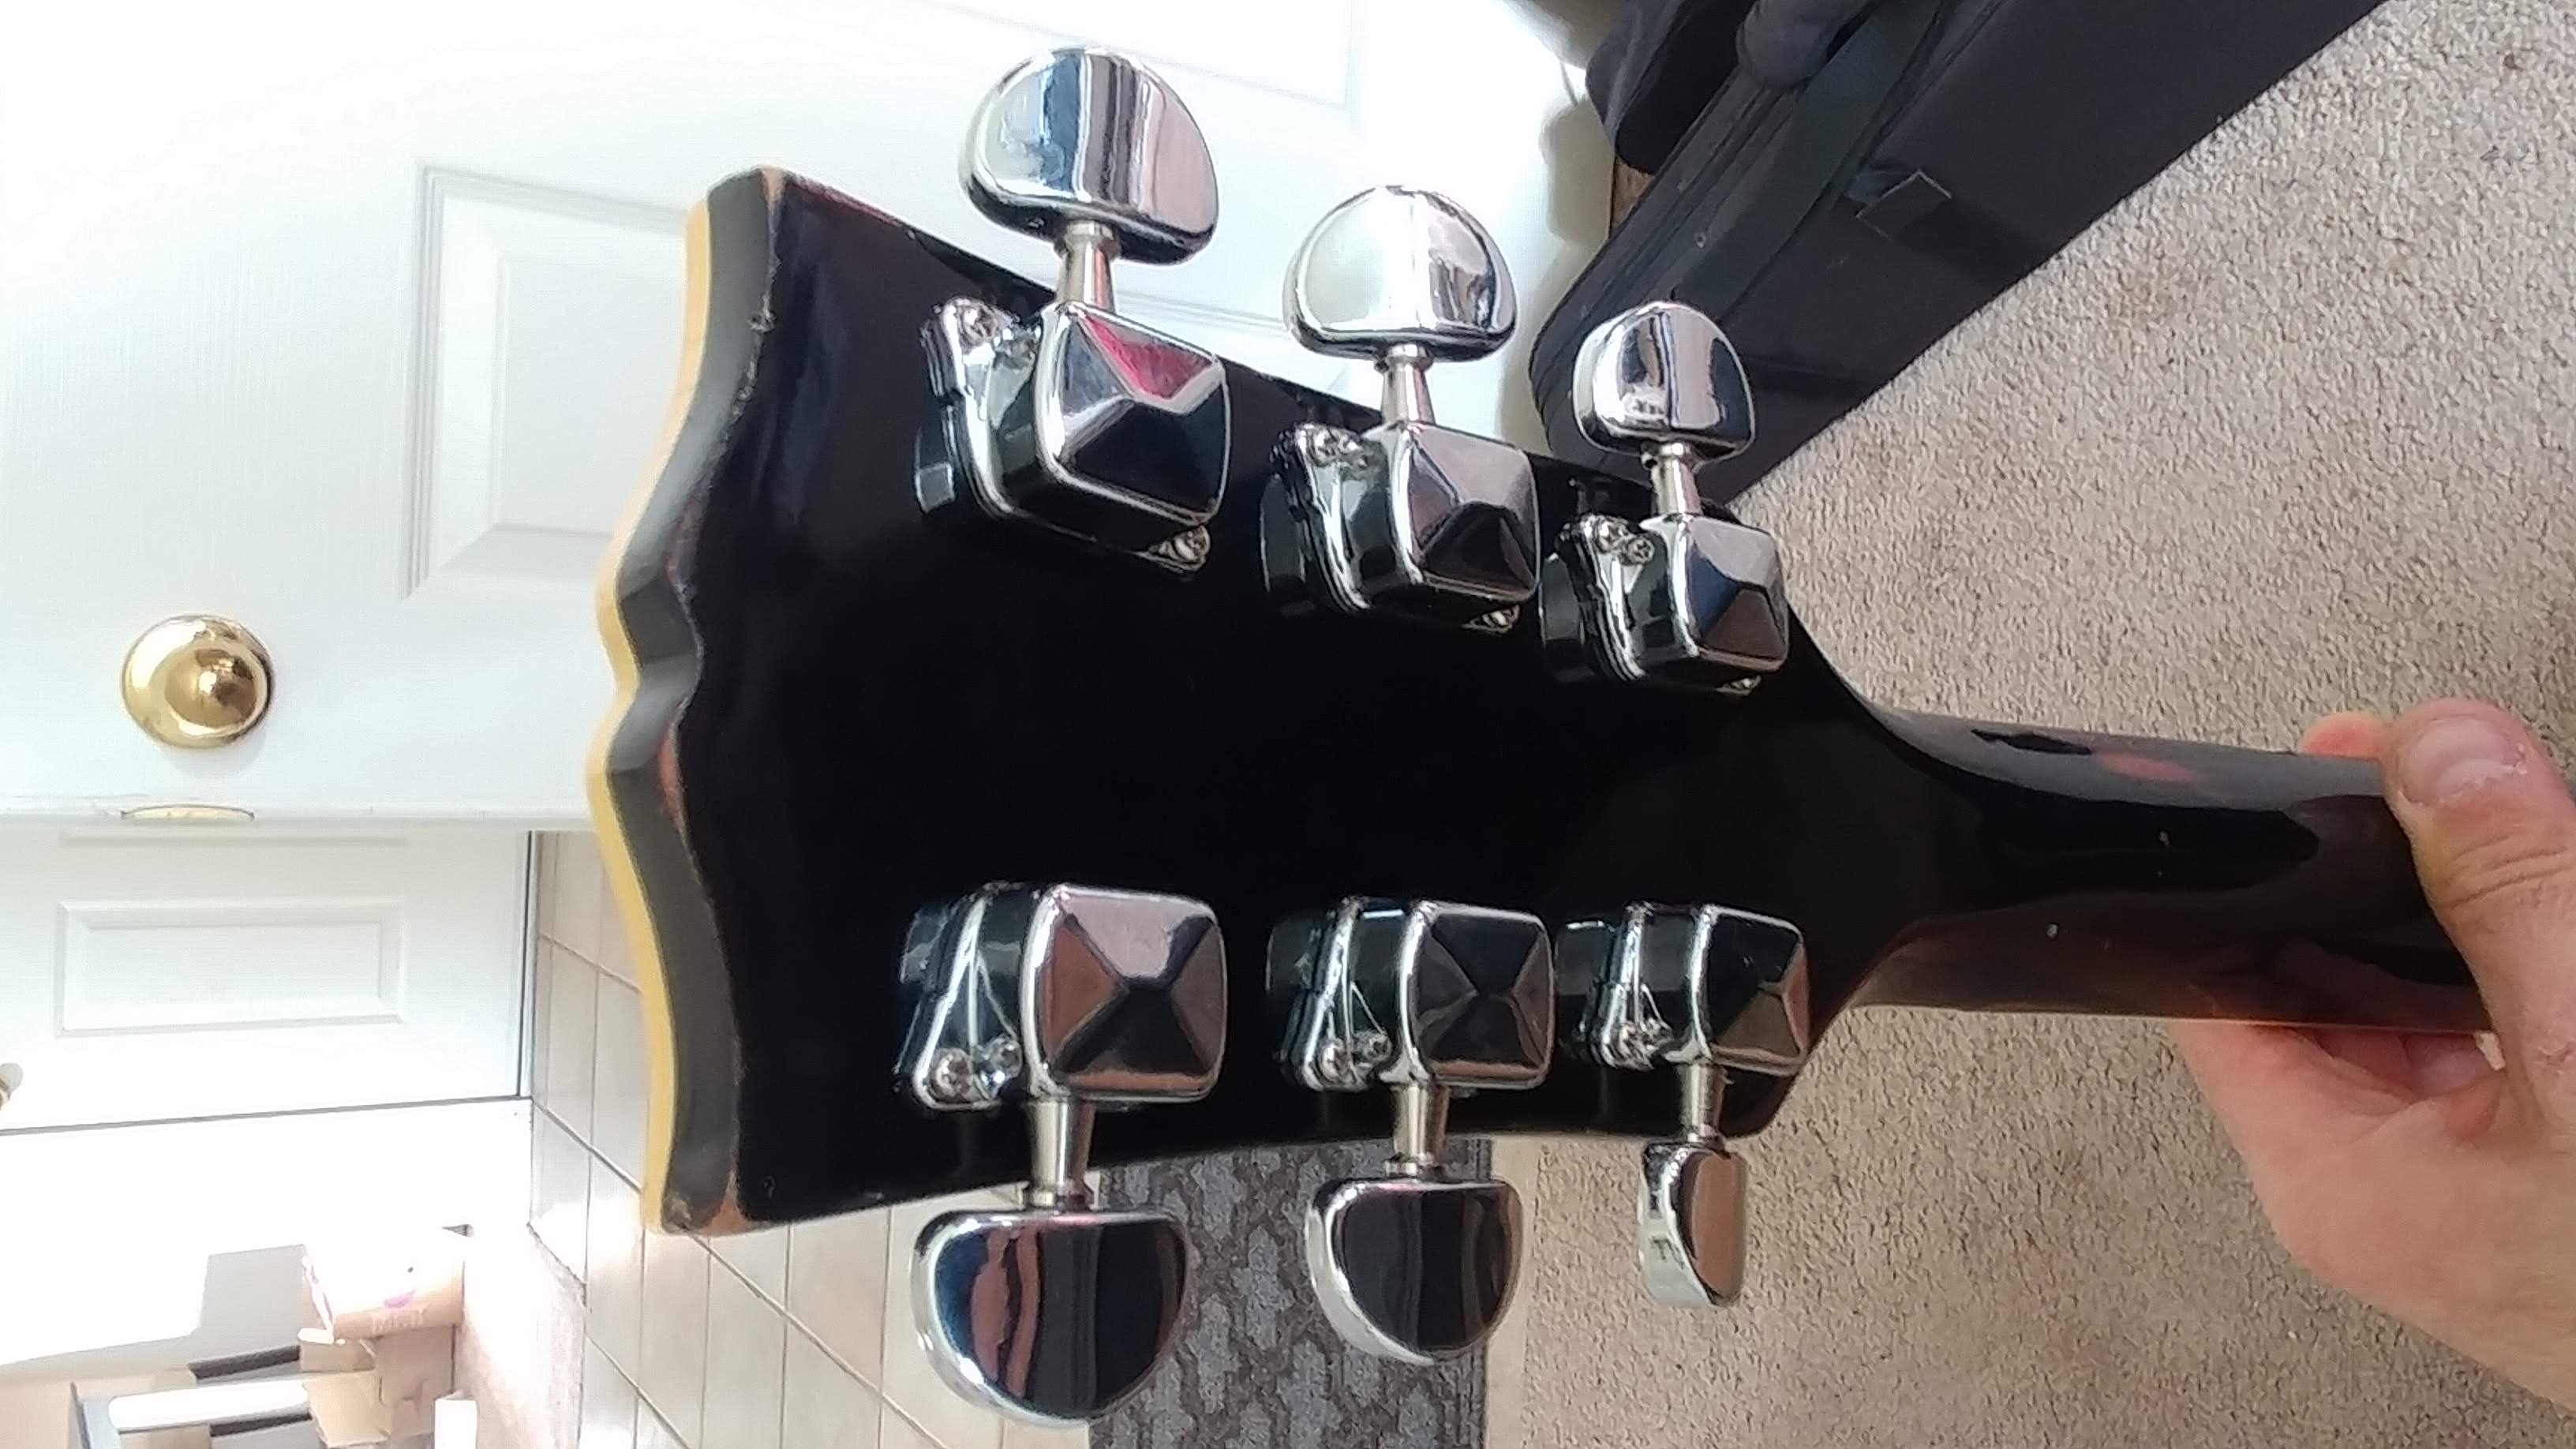
Headstock
The headstock didn’t look too bad but I definitely wanted to replace the tuning pegs since the current ones were rusty and hard to turn. I found some tuning pegs that had the same dimensions and hole placement and they just hapened to work out well. While I was waiting for the tuning pegs to arrive I polished and buffed the headstock but that did’t improve it much.


Neck, Frets, and Nut
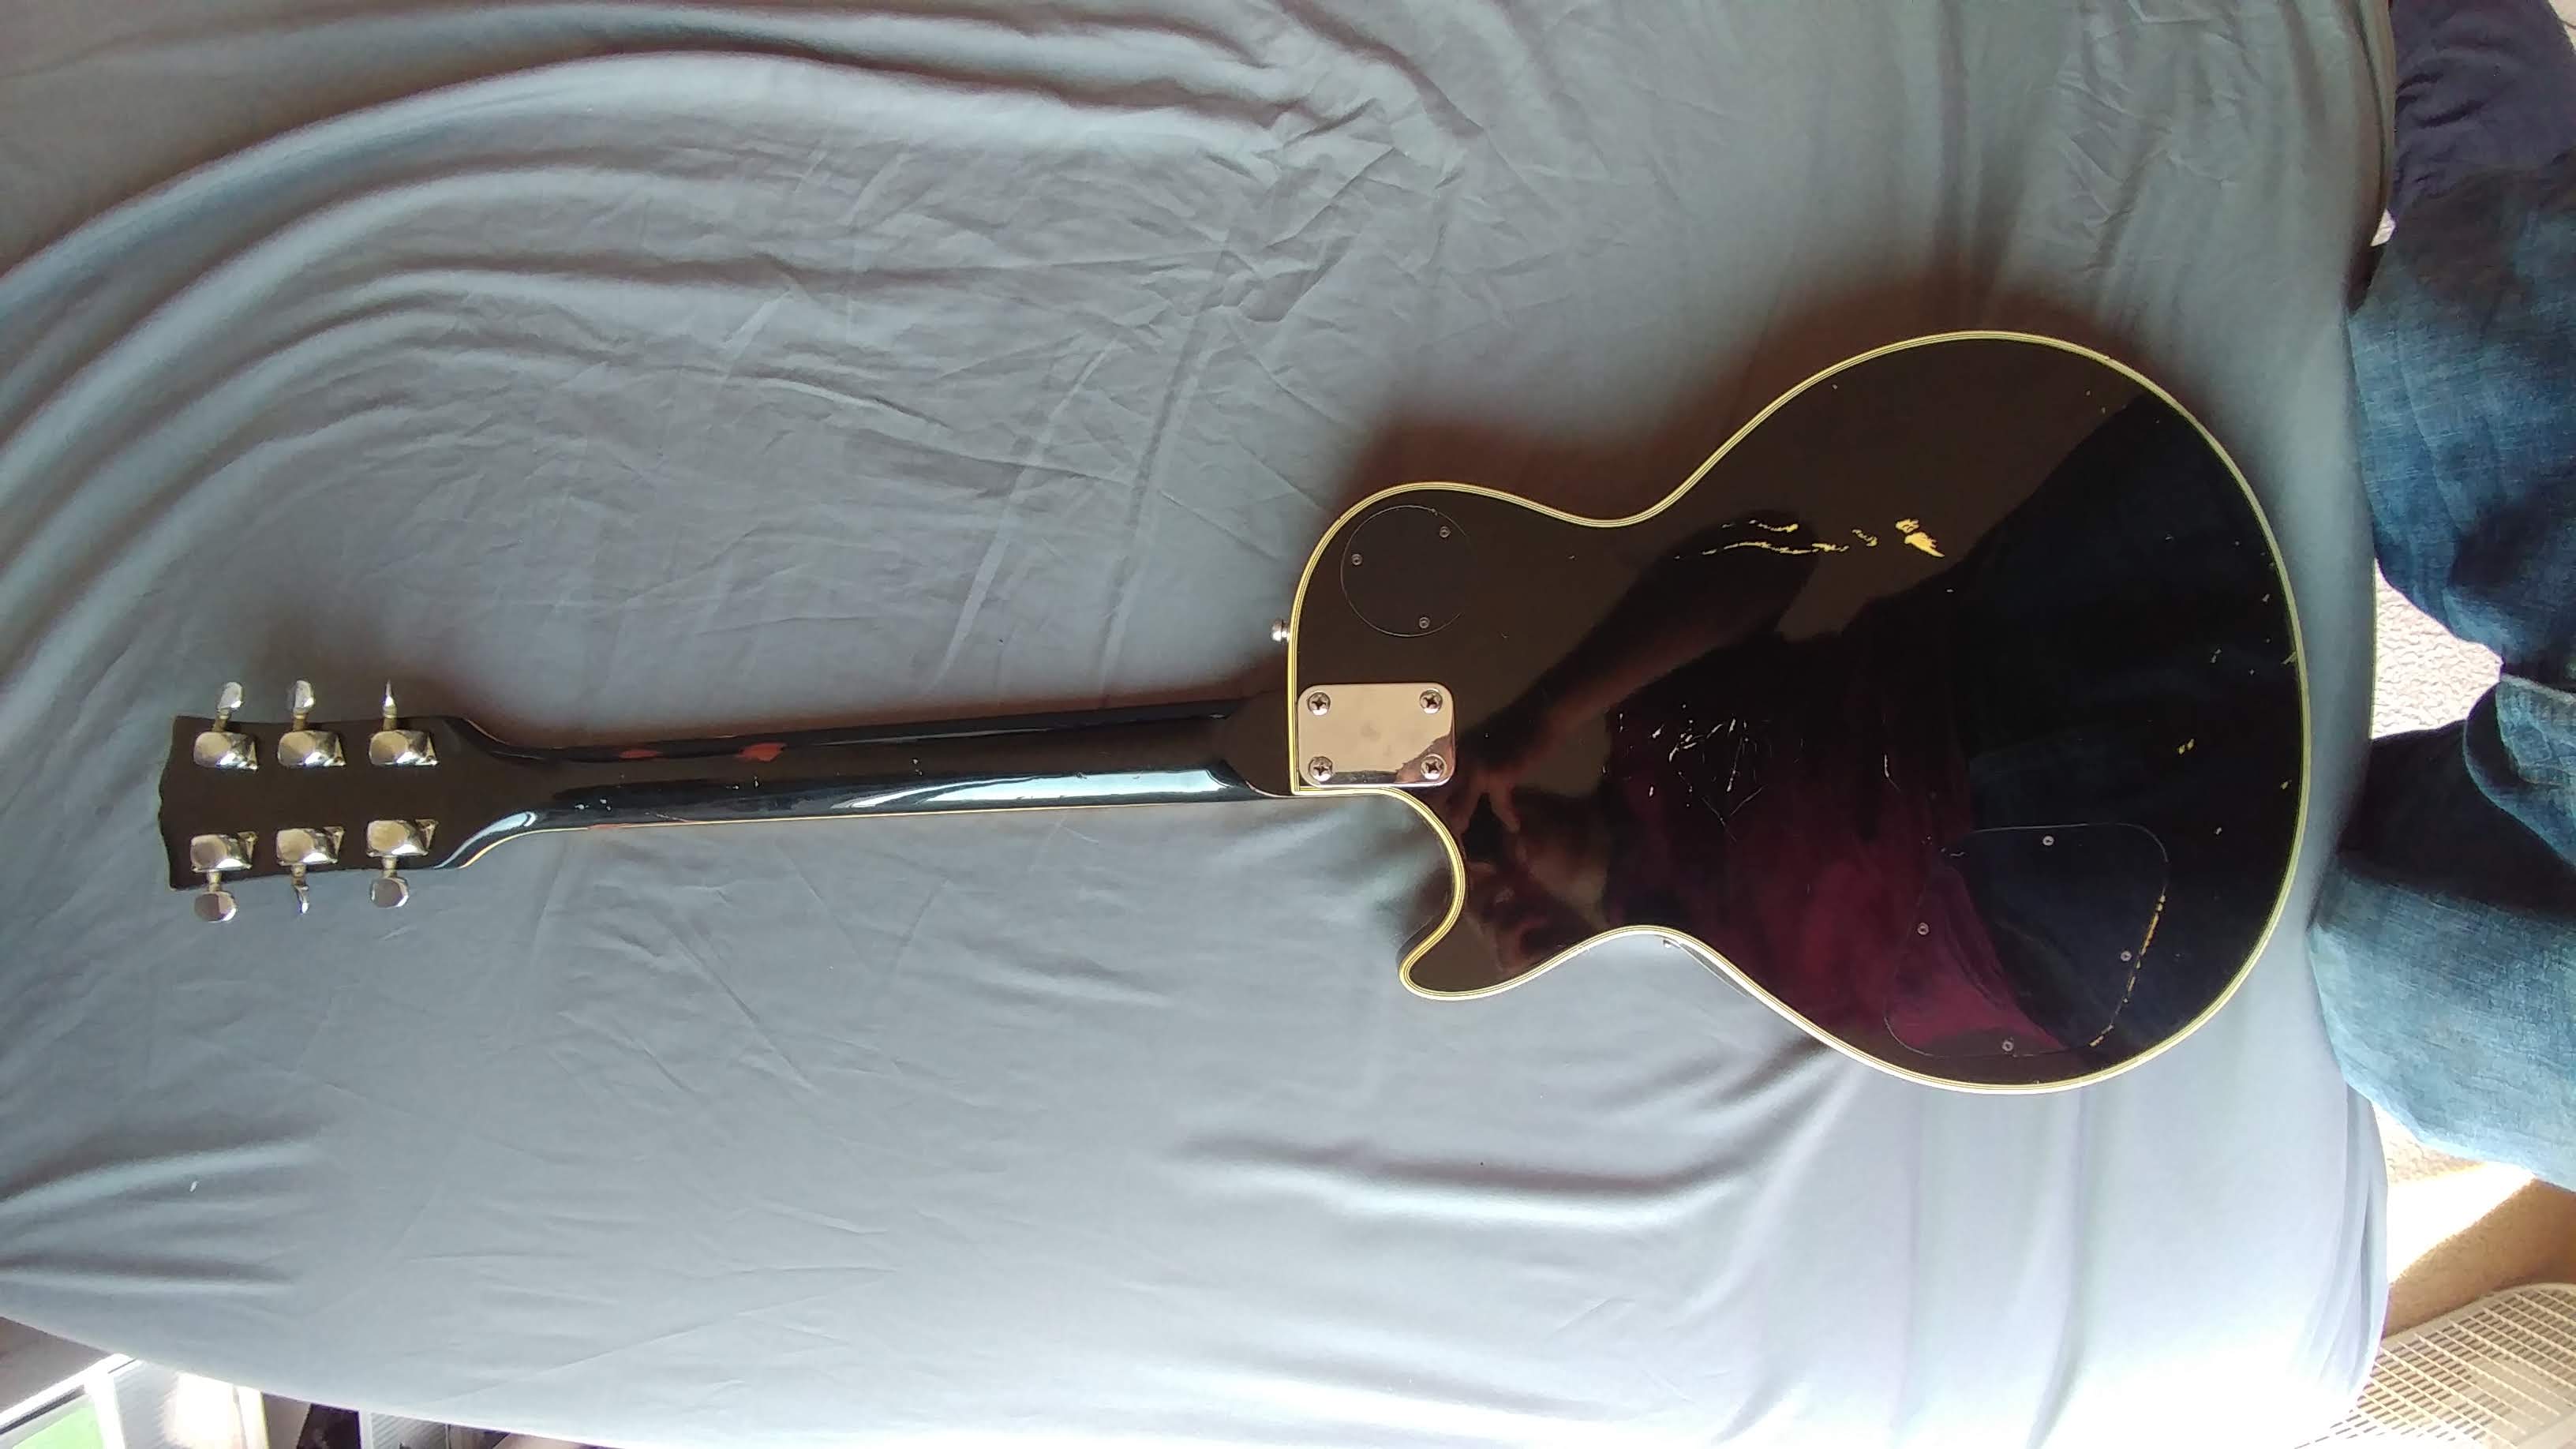
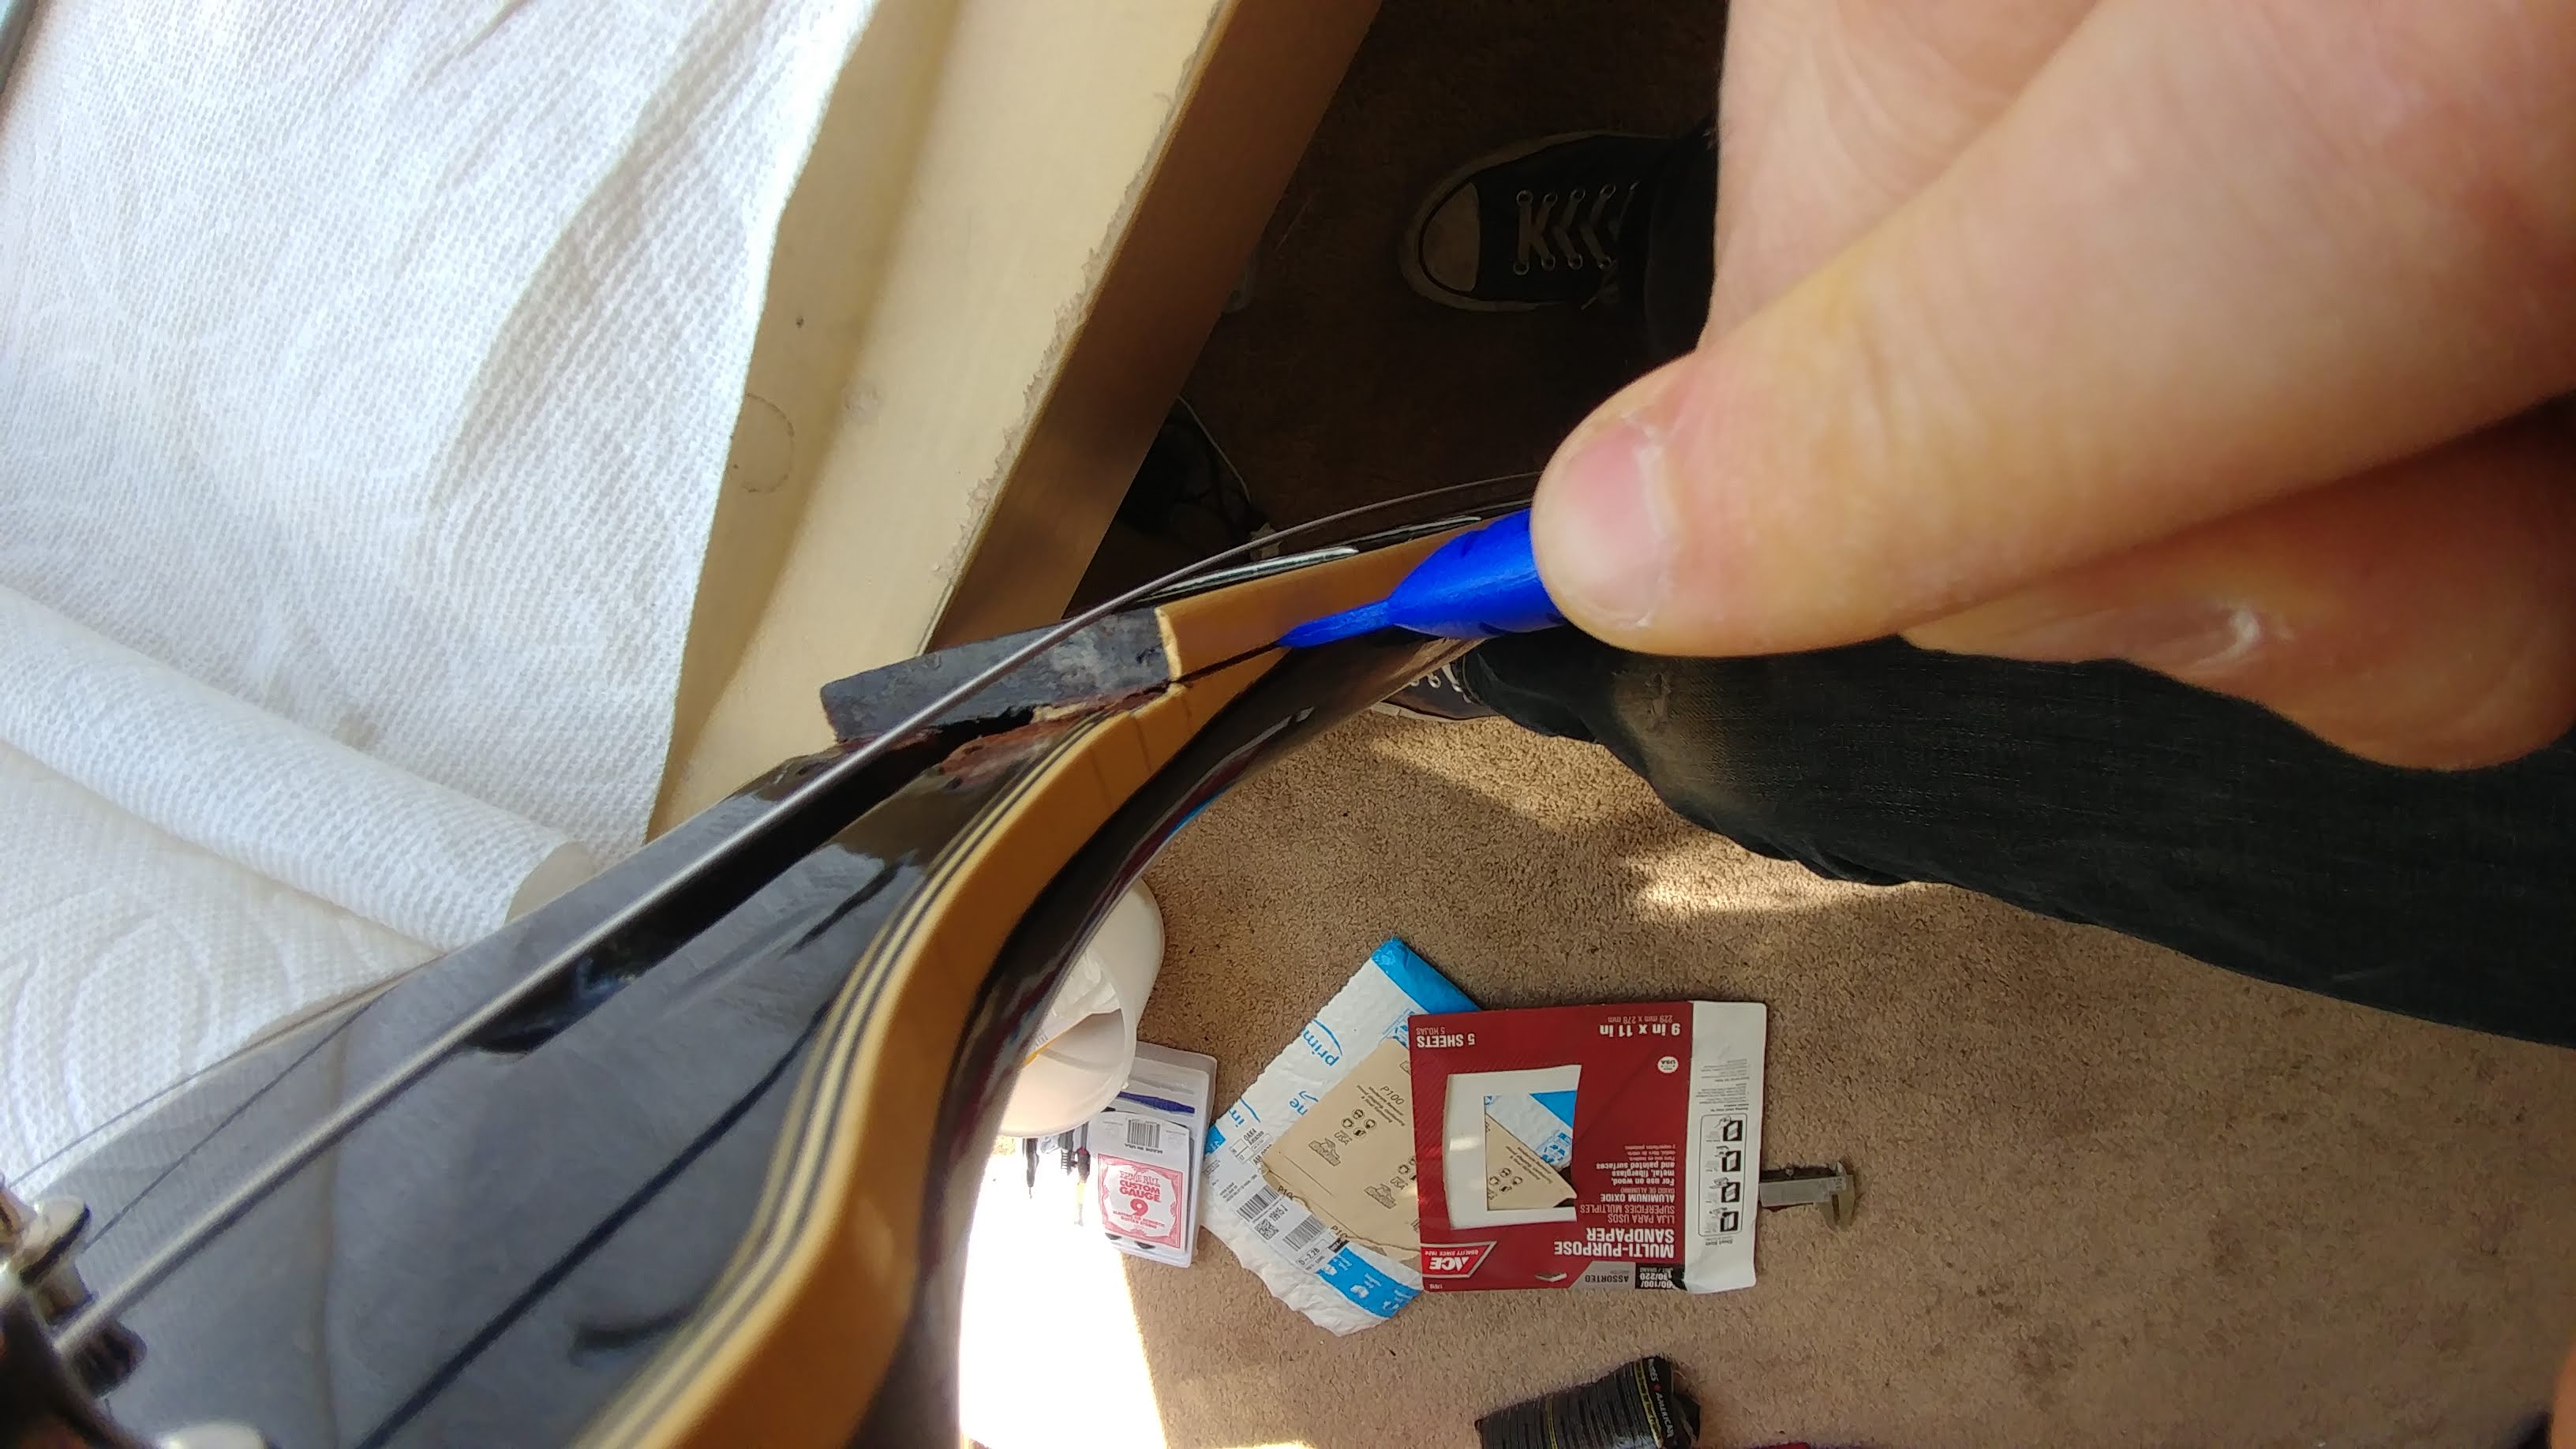
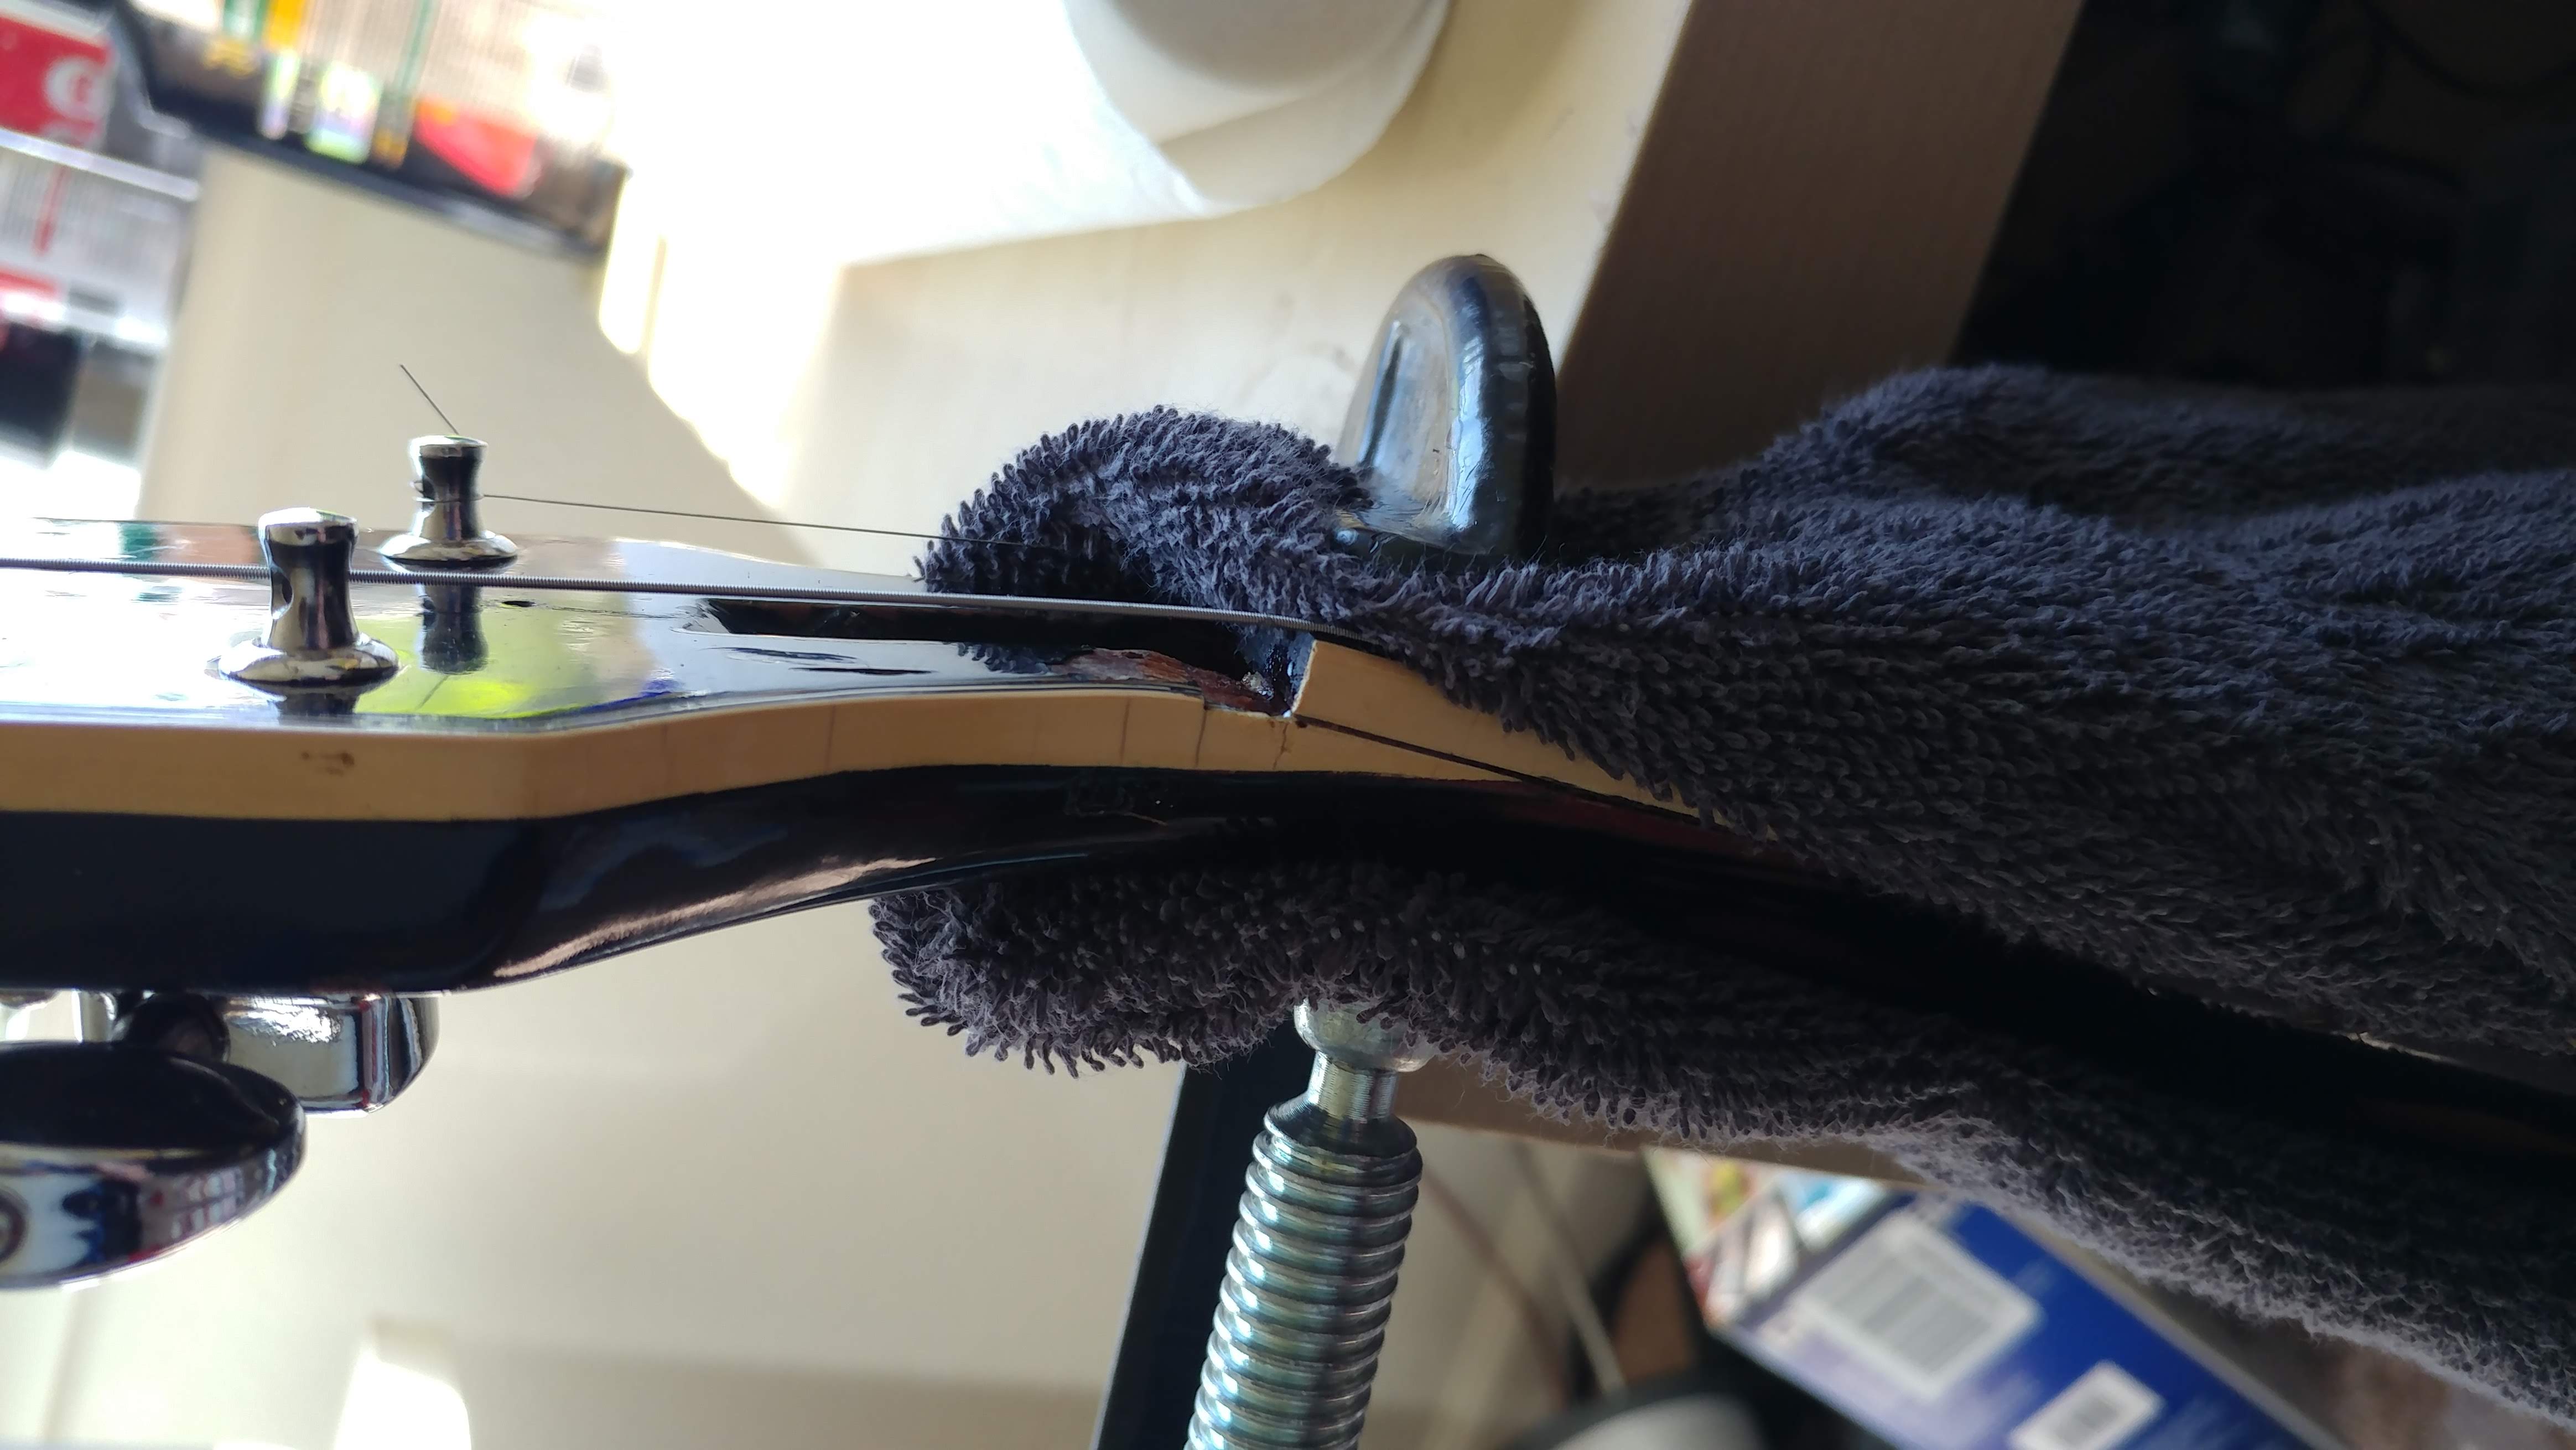
The neck was another huge part of the repair since it was hardly attached to the body.
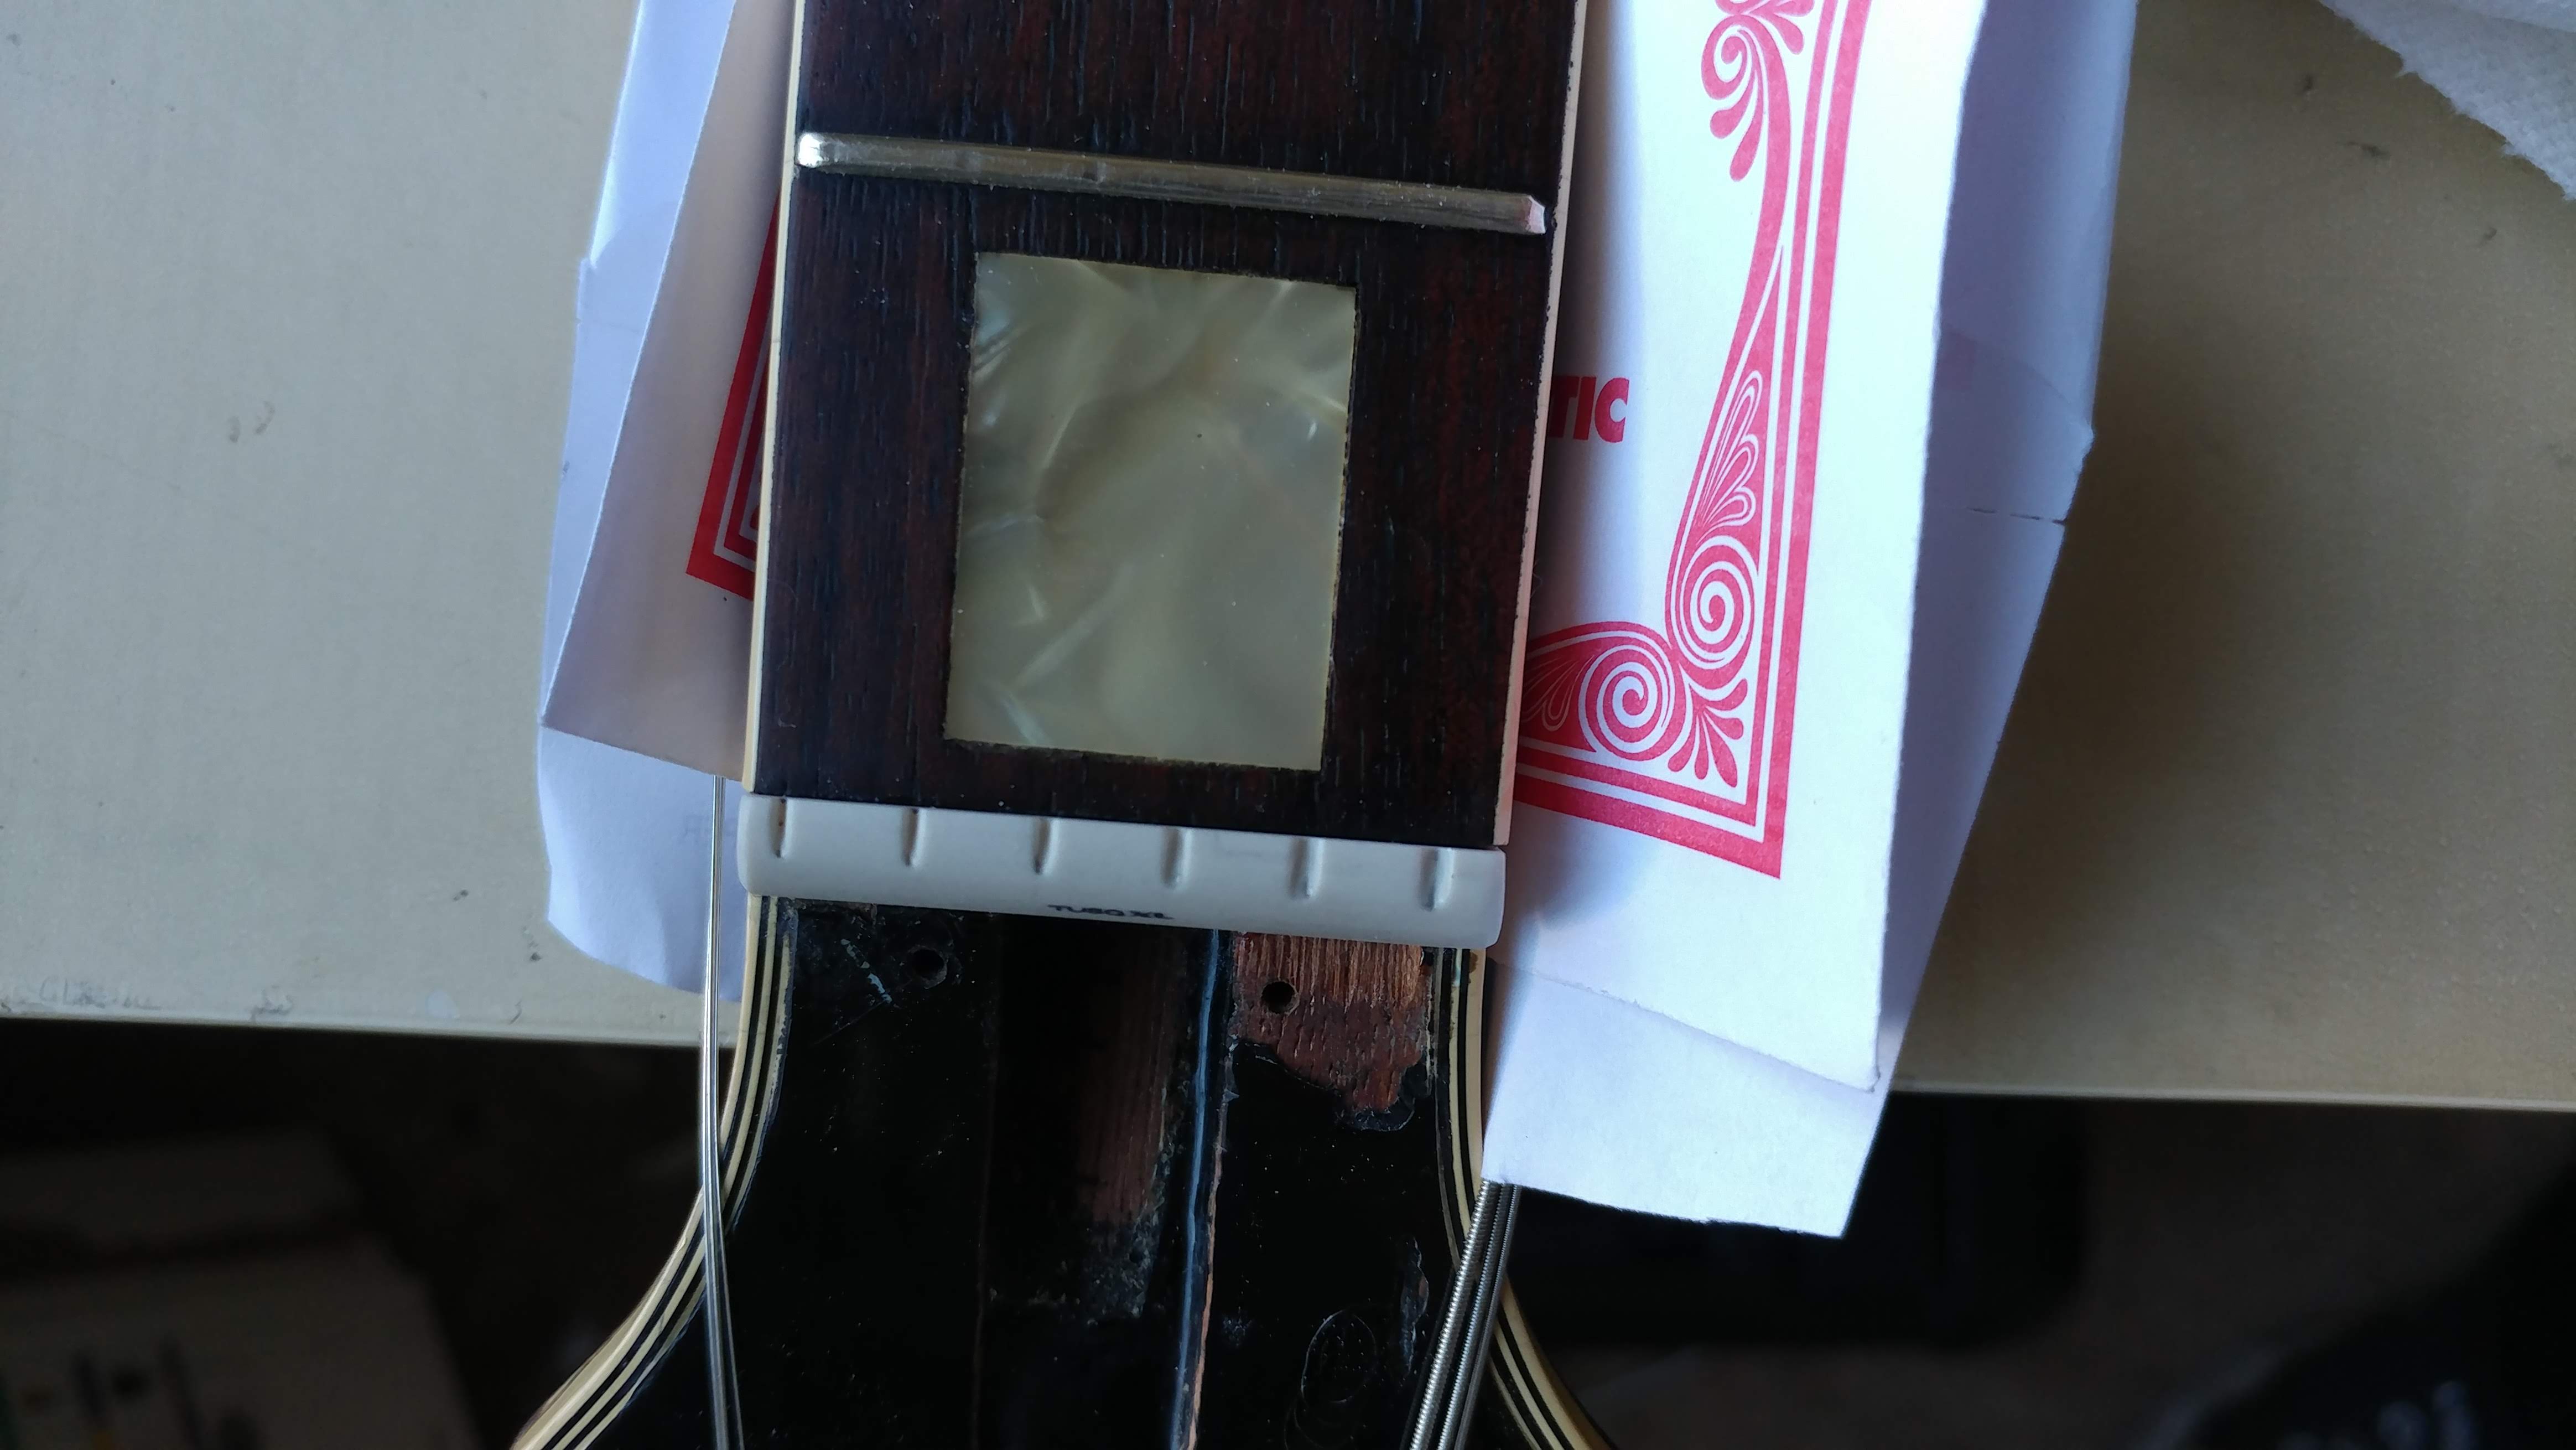
I was able to easily see the freboard slightly pulling off the neck from underneath where the nut would sit. I used this opportunity to put some epoxy into the crevise and clamp the fretboard down to the neck. Although the lifting was slight I wanted to make sure the problem wouldn’t become worse.
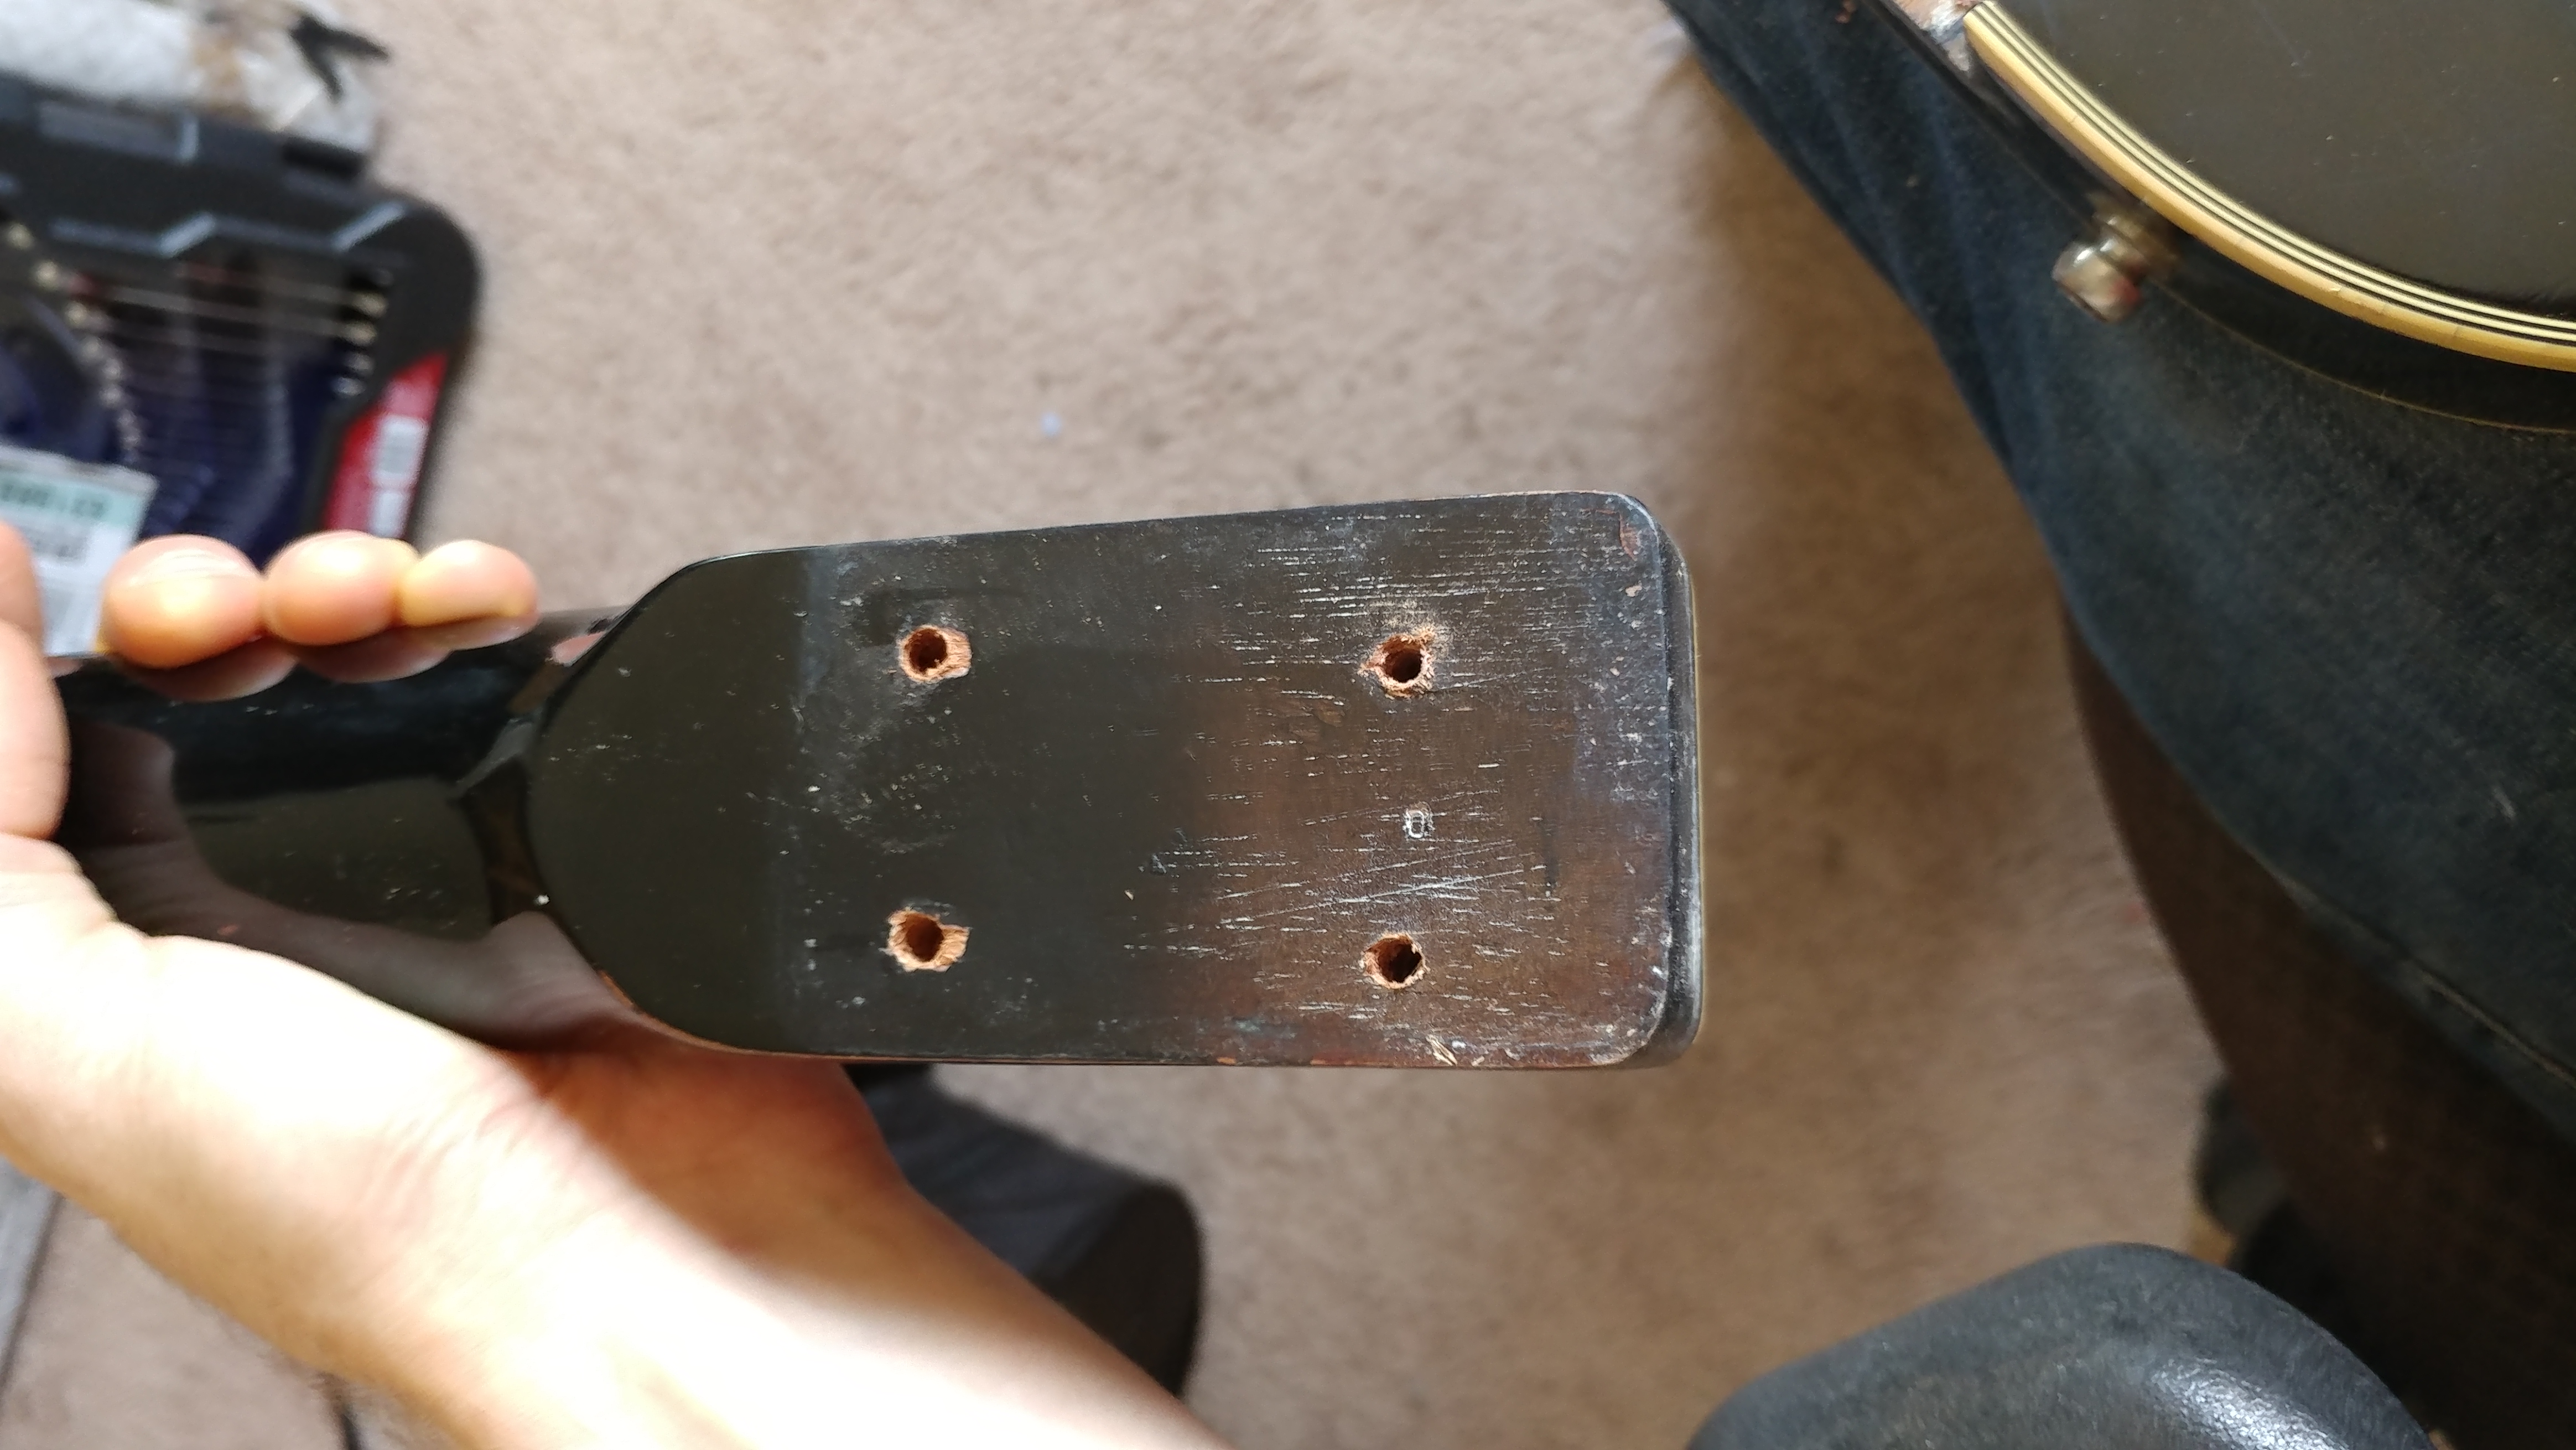
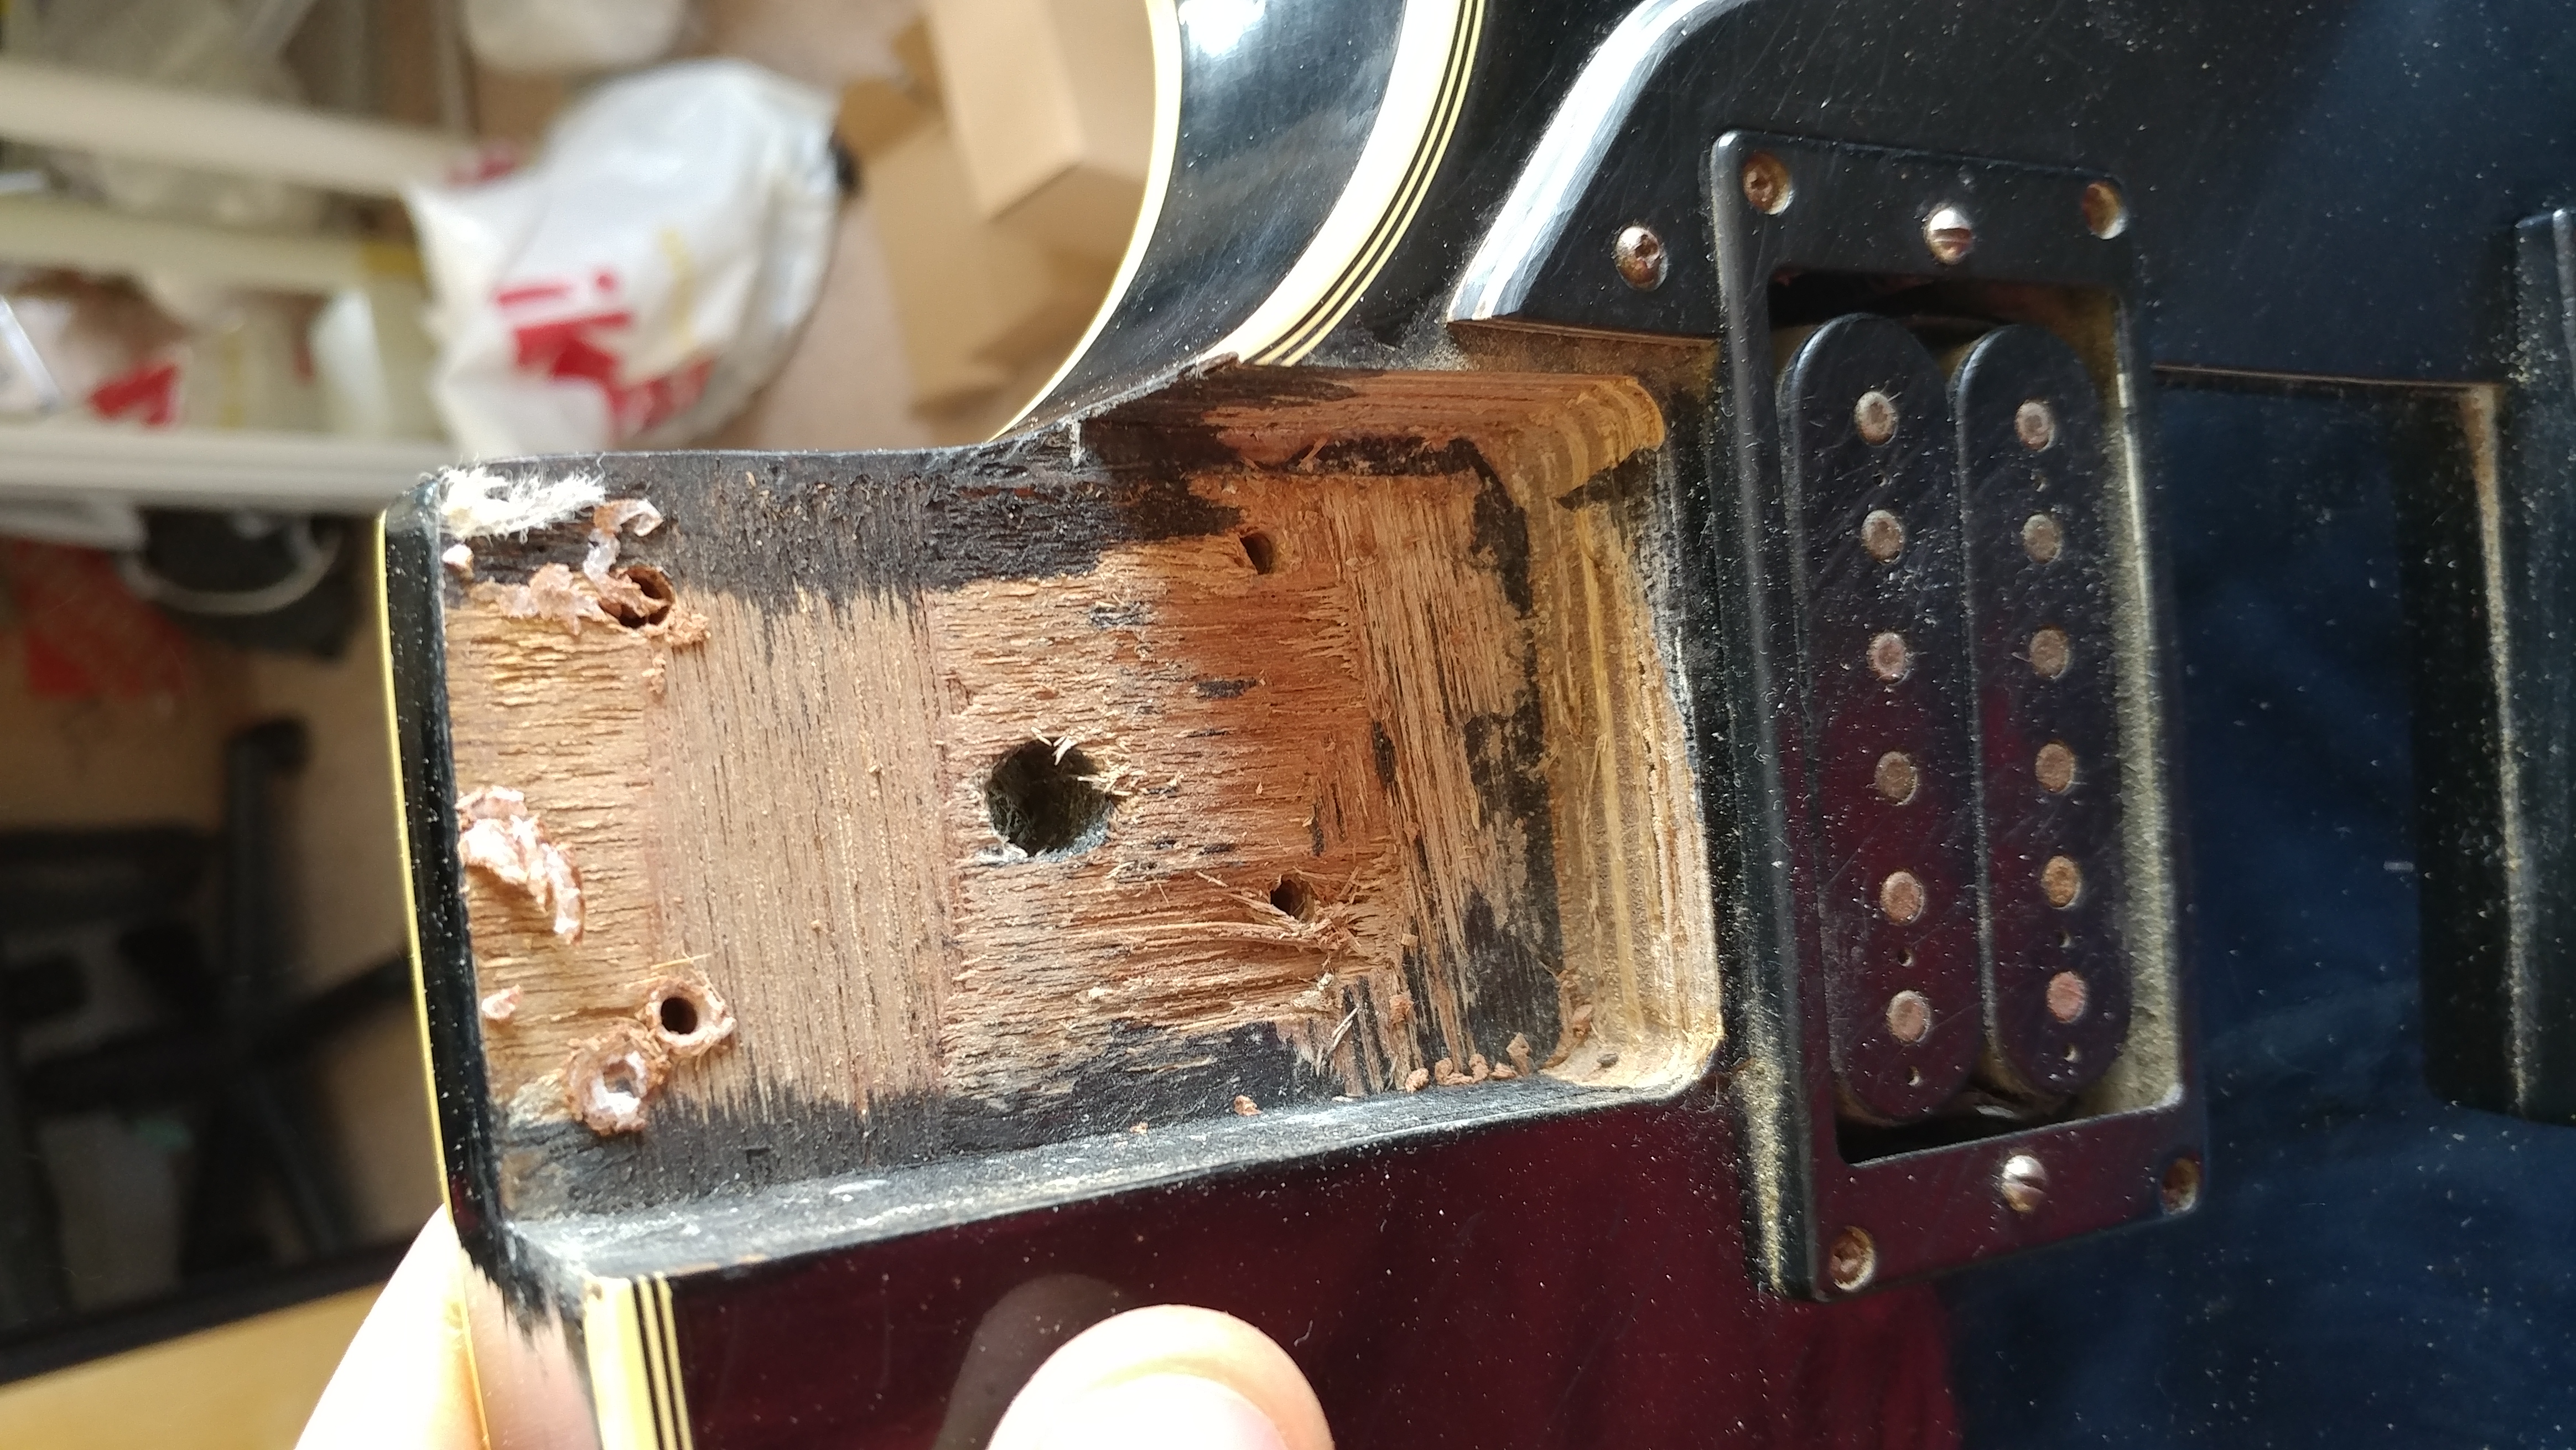
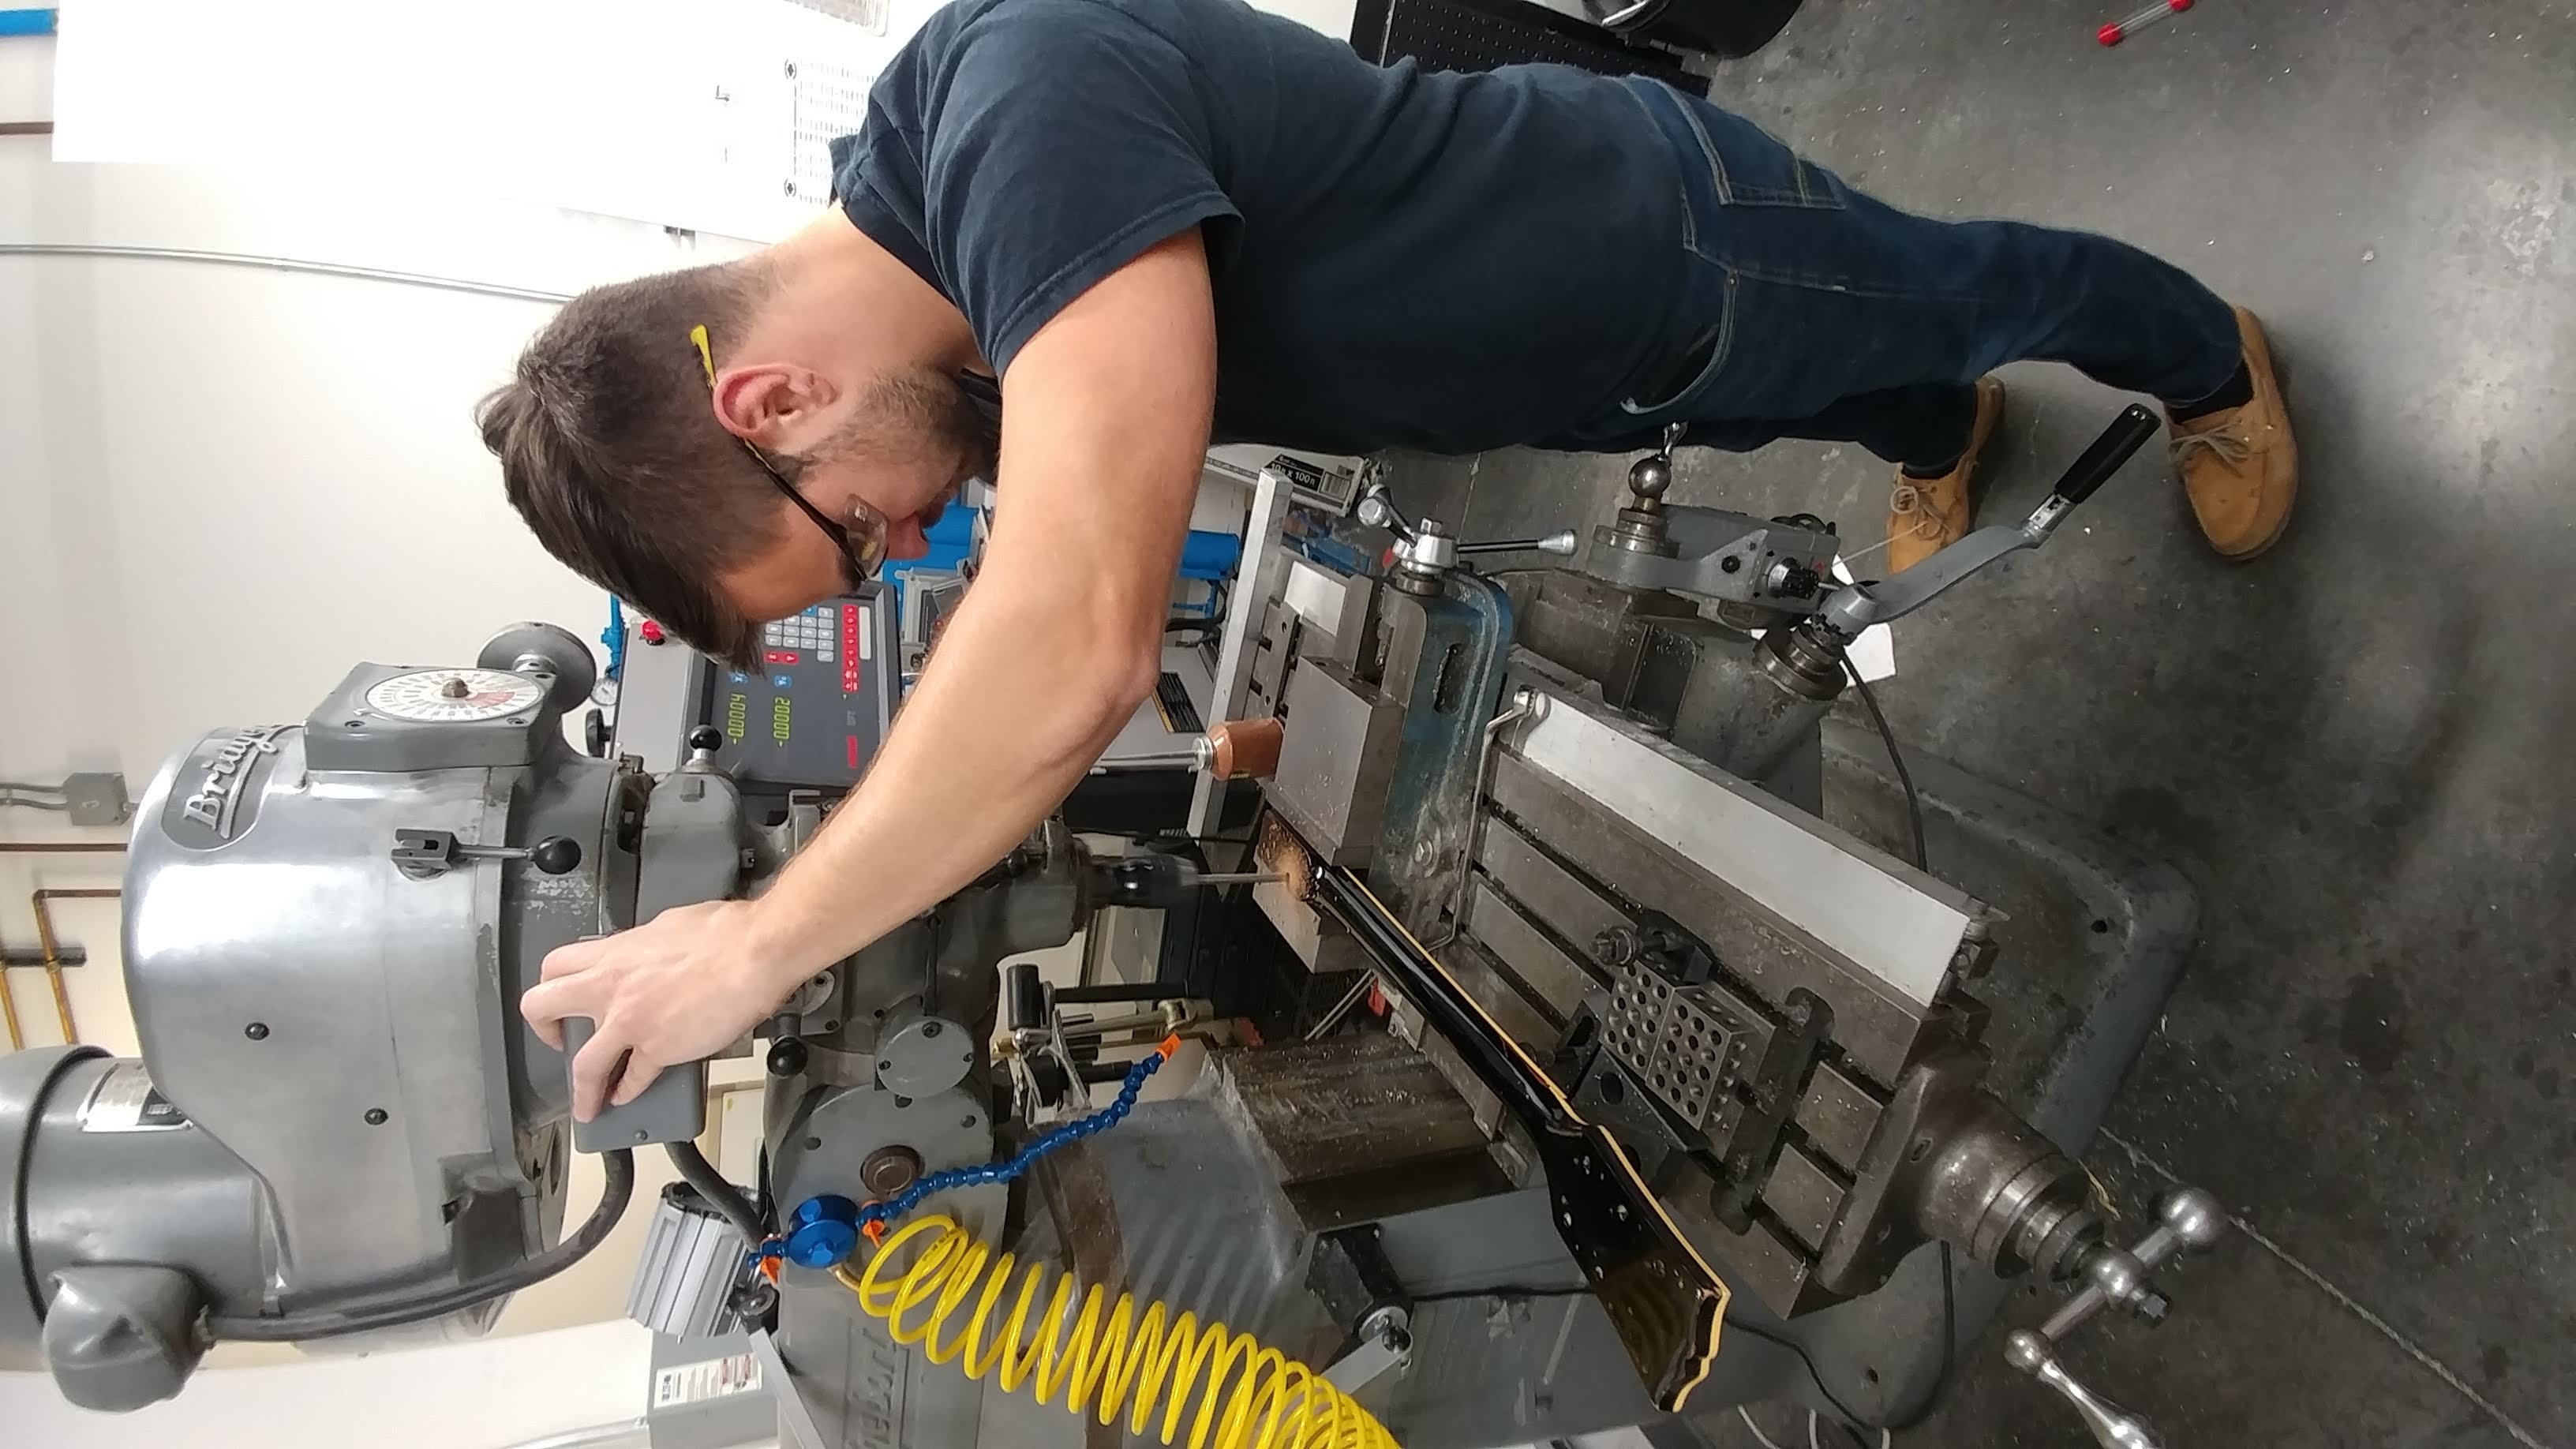
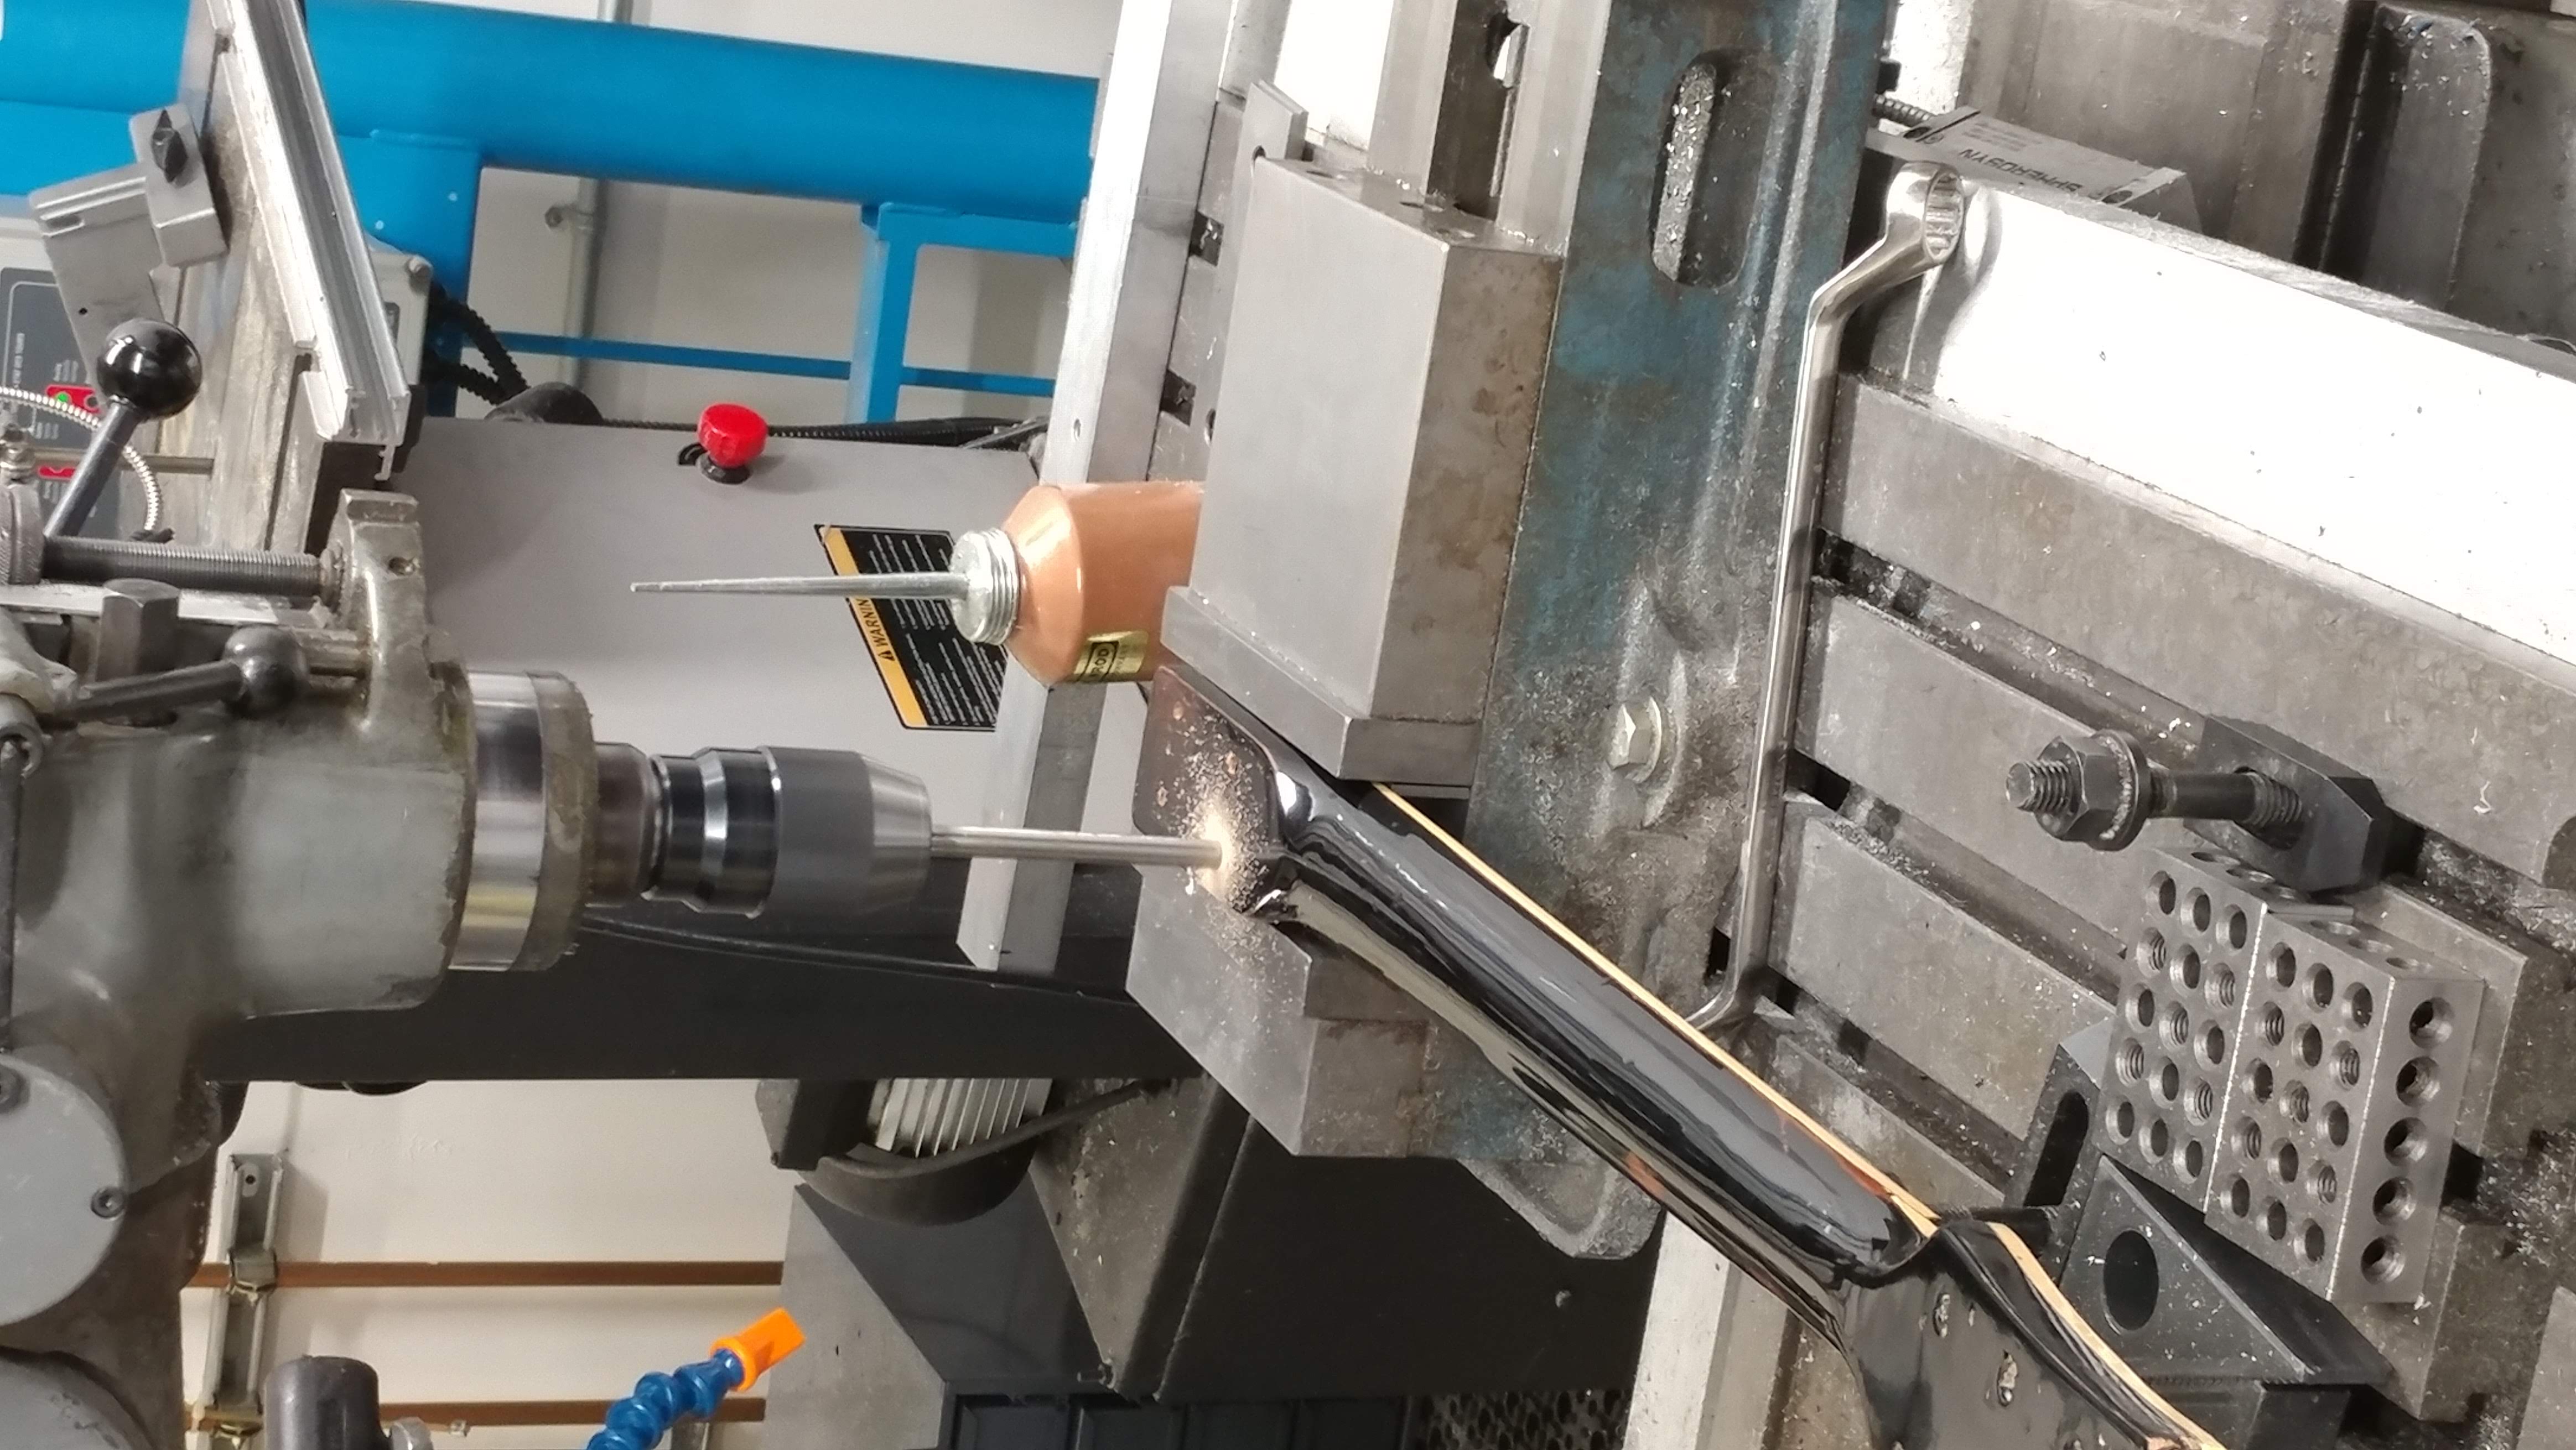
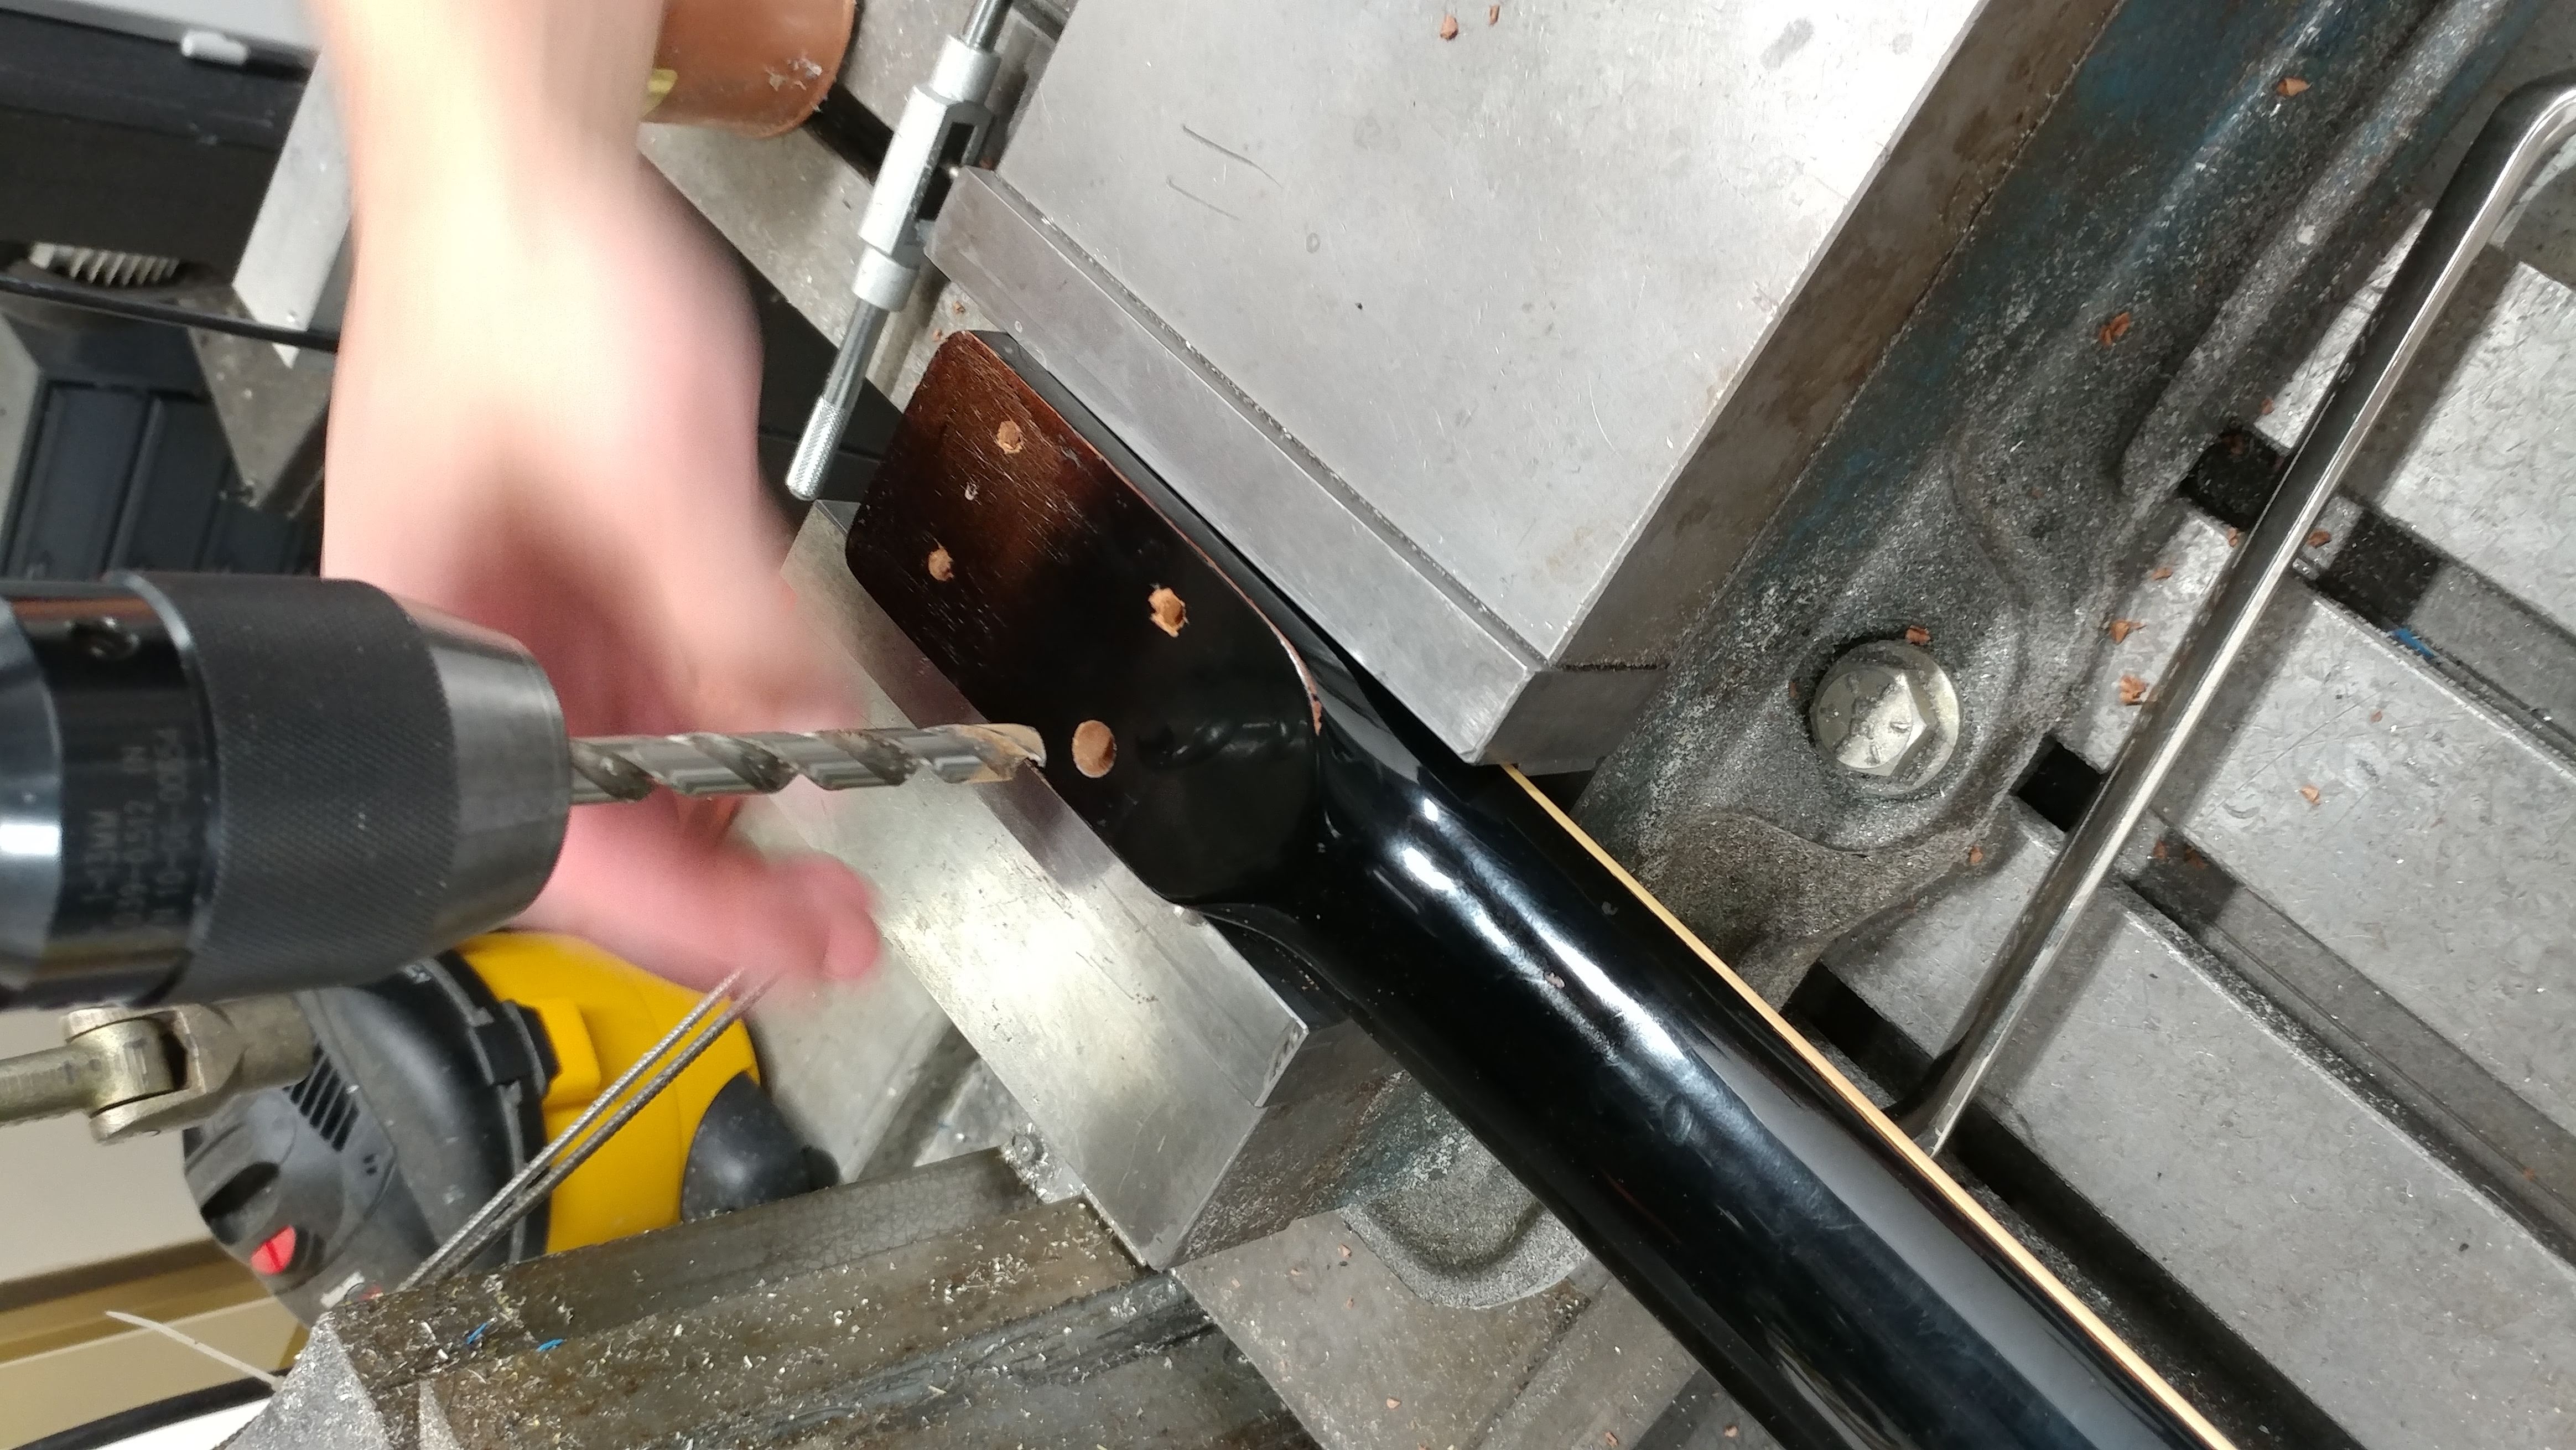
The screw holes in the neck were stripped out so I thought I had to use wood filler to refill the holes and then re-drill and screw the nect in again. My housemate had another idea: since wood filler is not always reliable in the long term (especially since I wasn’t sure how good it would adhered to the old, cheap wood of the body) he suggested we used a brass threaded inserts. He took some measurements of the screws that originally went into the neck and ordered some threaded inserts on McMaster-Carr along with some coutner-sunk bolts in case we wanted to switch to those.
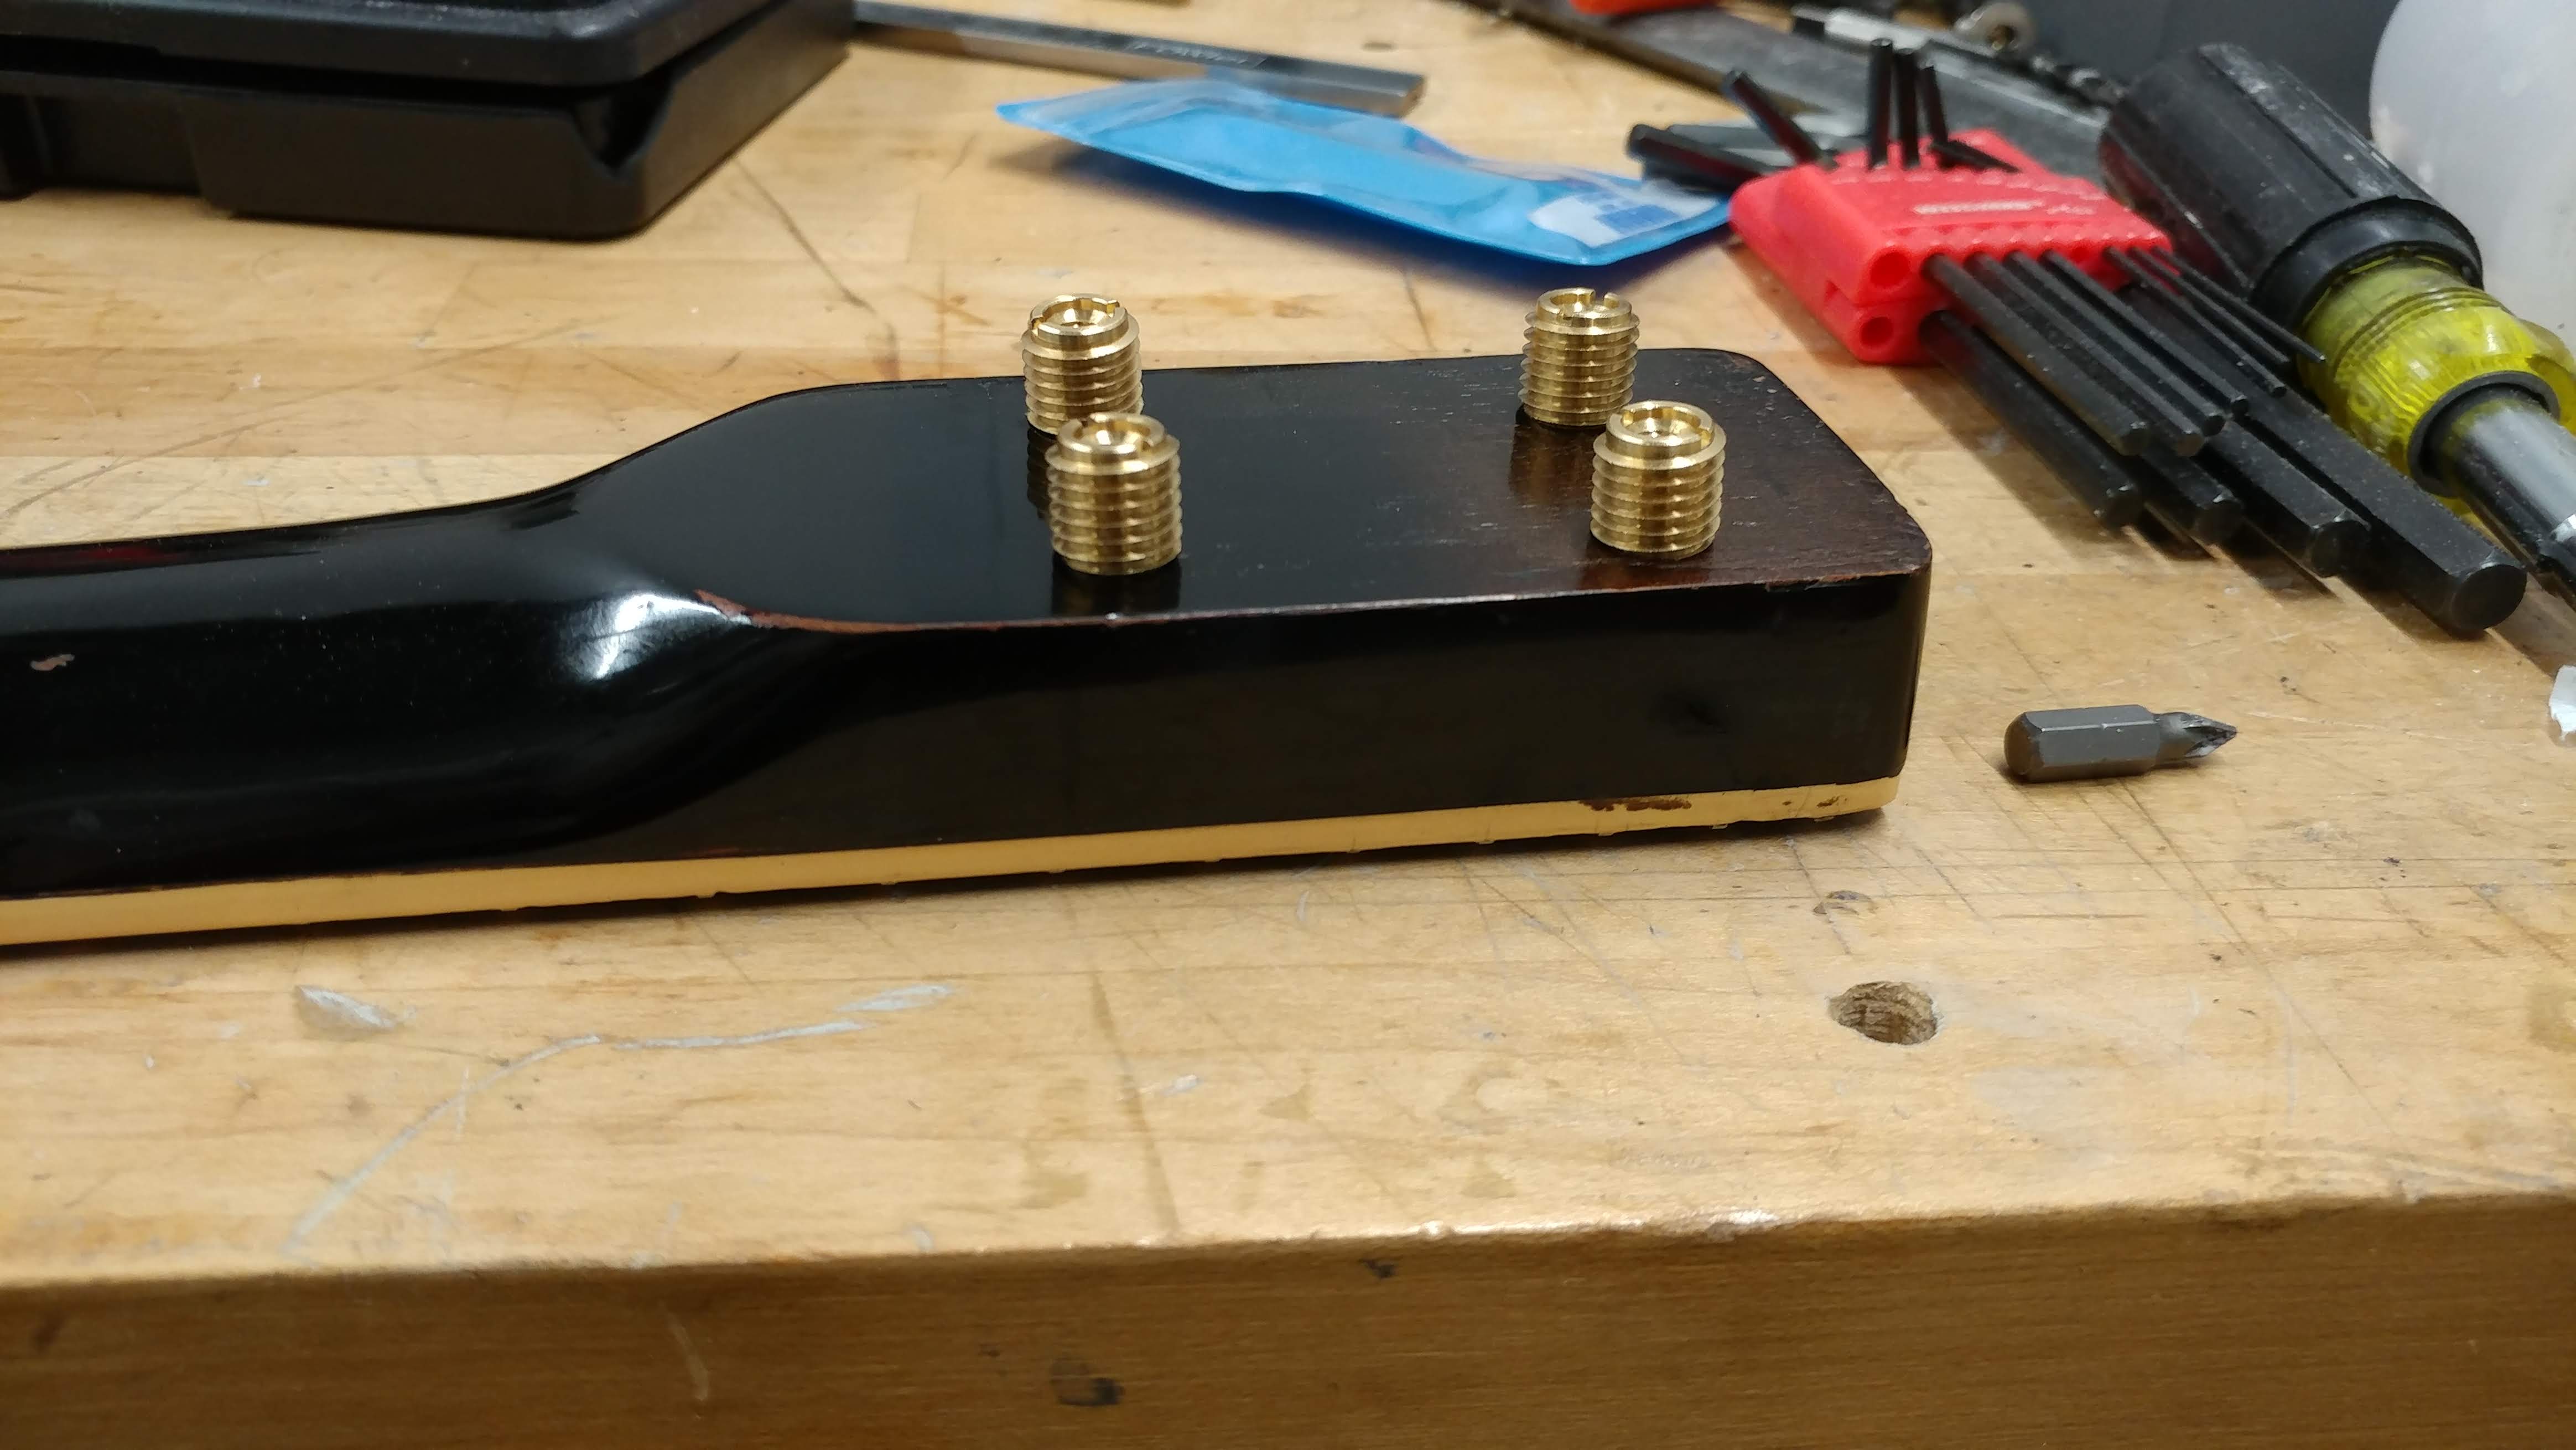
I took the guitar parts to his work where we drilled out the holes for the threaded inserts into the neck on his mill, this was nerve-wracking as some of the holes came very close to the edge of the neck. Fortnately everything worked out well and with some effort we got all the threaded inserts in. One of them seemed to be a little angled and made a creaking noise when we screwed in the bolt but since the neck was (hopefully) never to be removed again I felt comfortable with it. I walked out of his machine shop with a guitar in one piece (but with still lots of work to do).

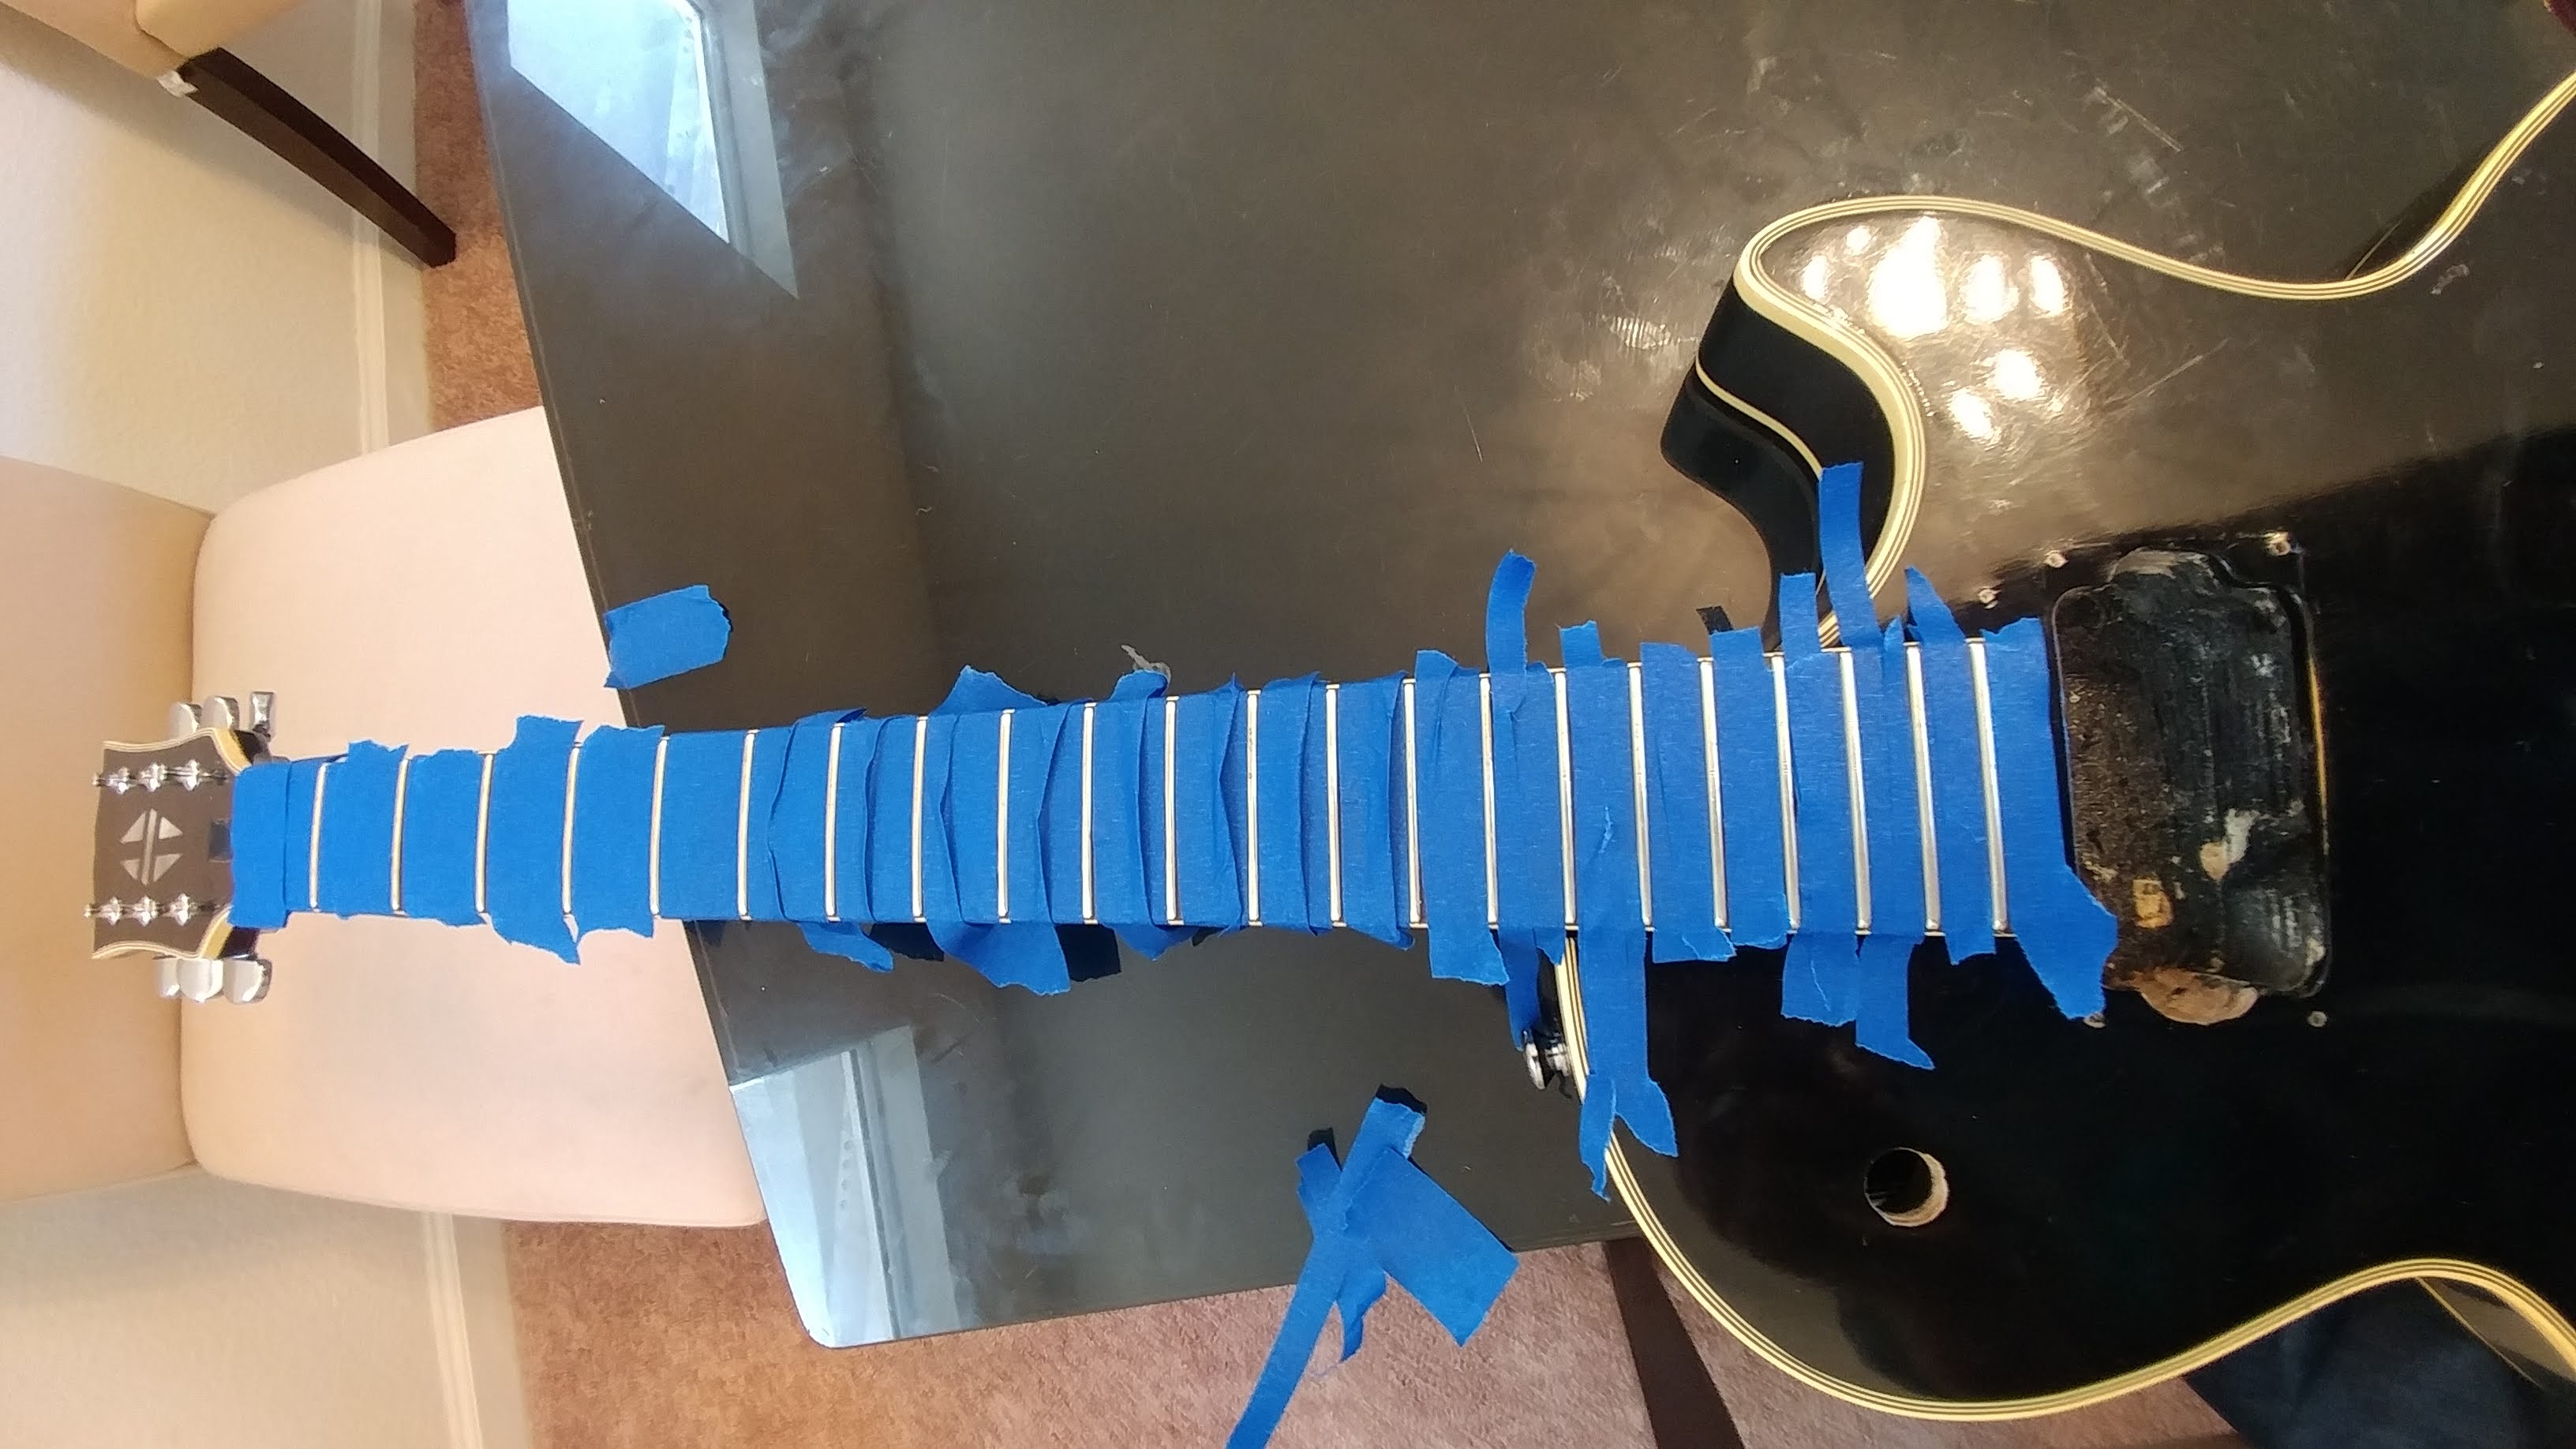
With the neck attached I taped off the fretboard and took soome 0000 grade steel wool to the frets, scrubbing well. When that was done they were looking surprisingly shiny. For the fretboard I already had rosewood lemon oil to apply to it from my Strat so I applied a good coat (but not too much) and let it sit for a while.
I ordered a TUSQ nut with the same approximate string notches as the Les Paul and I sanded it down to match the original nut and glued it into place with a light bit of glue. I may end up going back to the original nut as it looks more vintage.
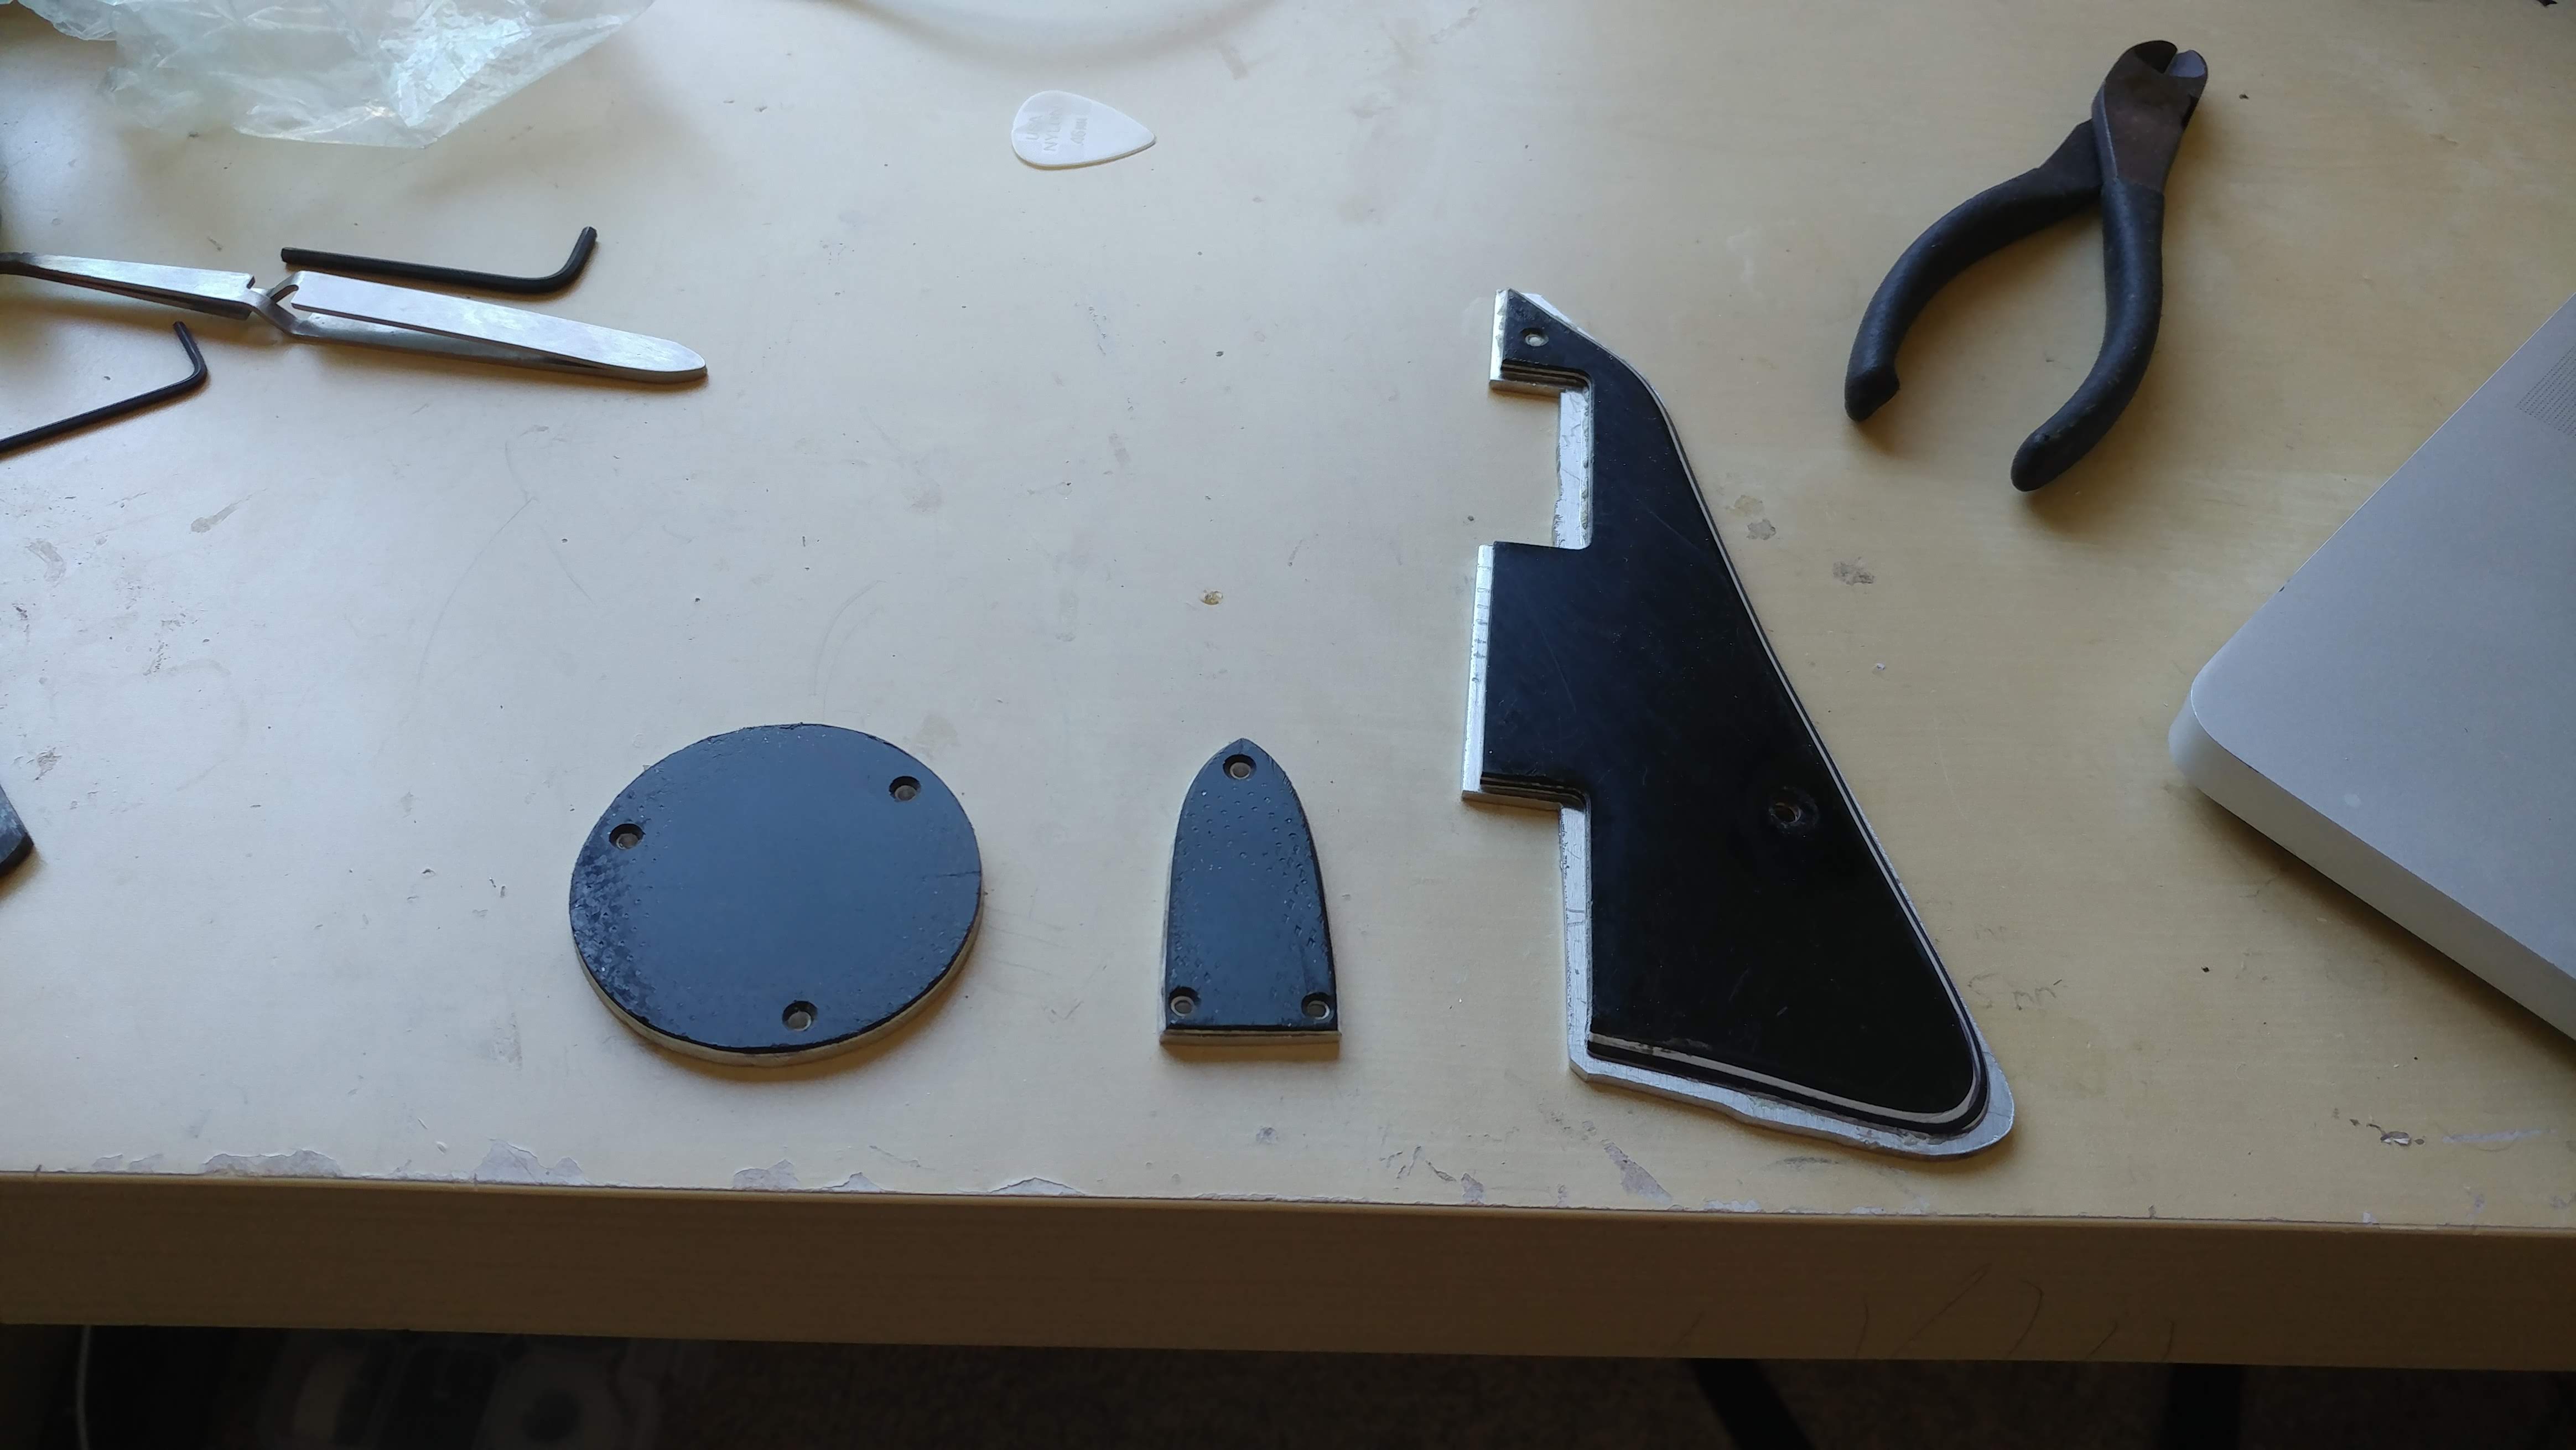
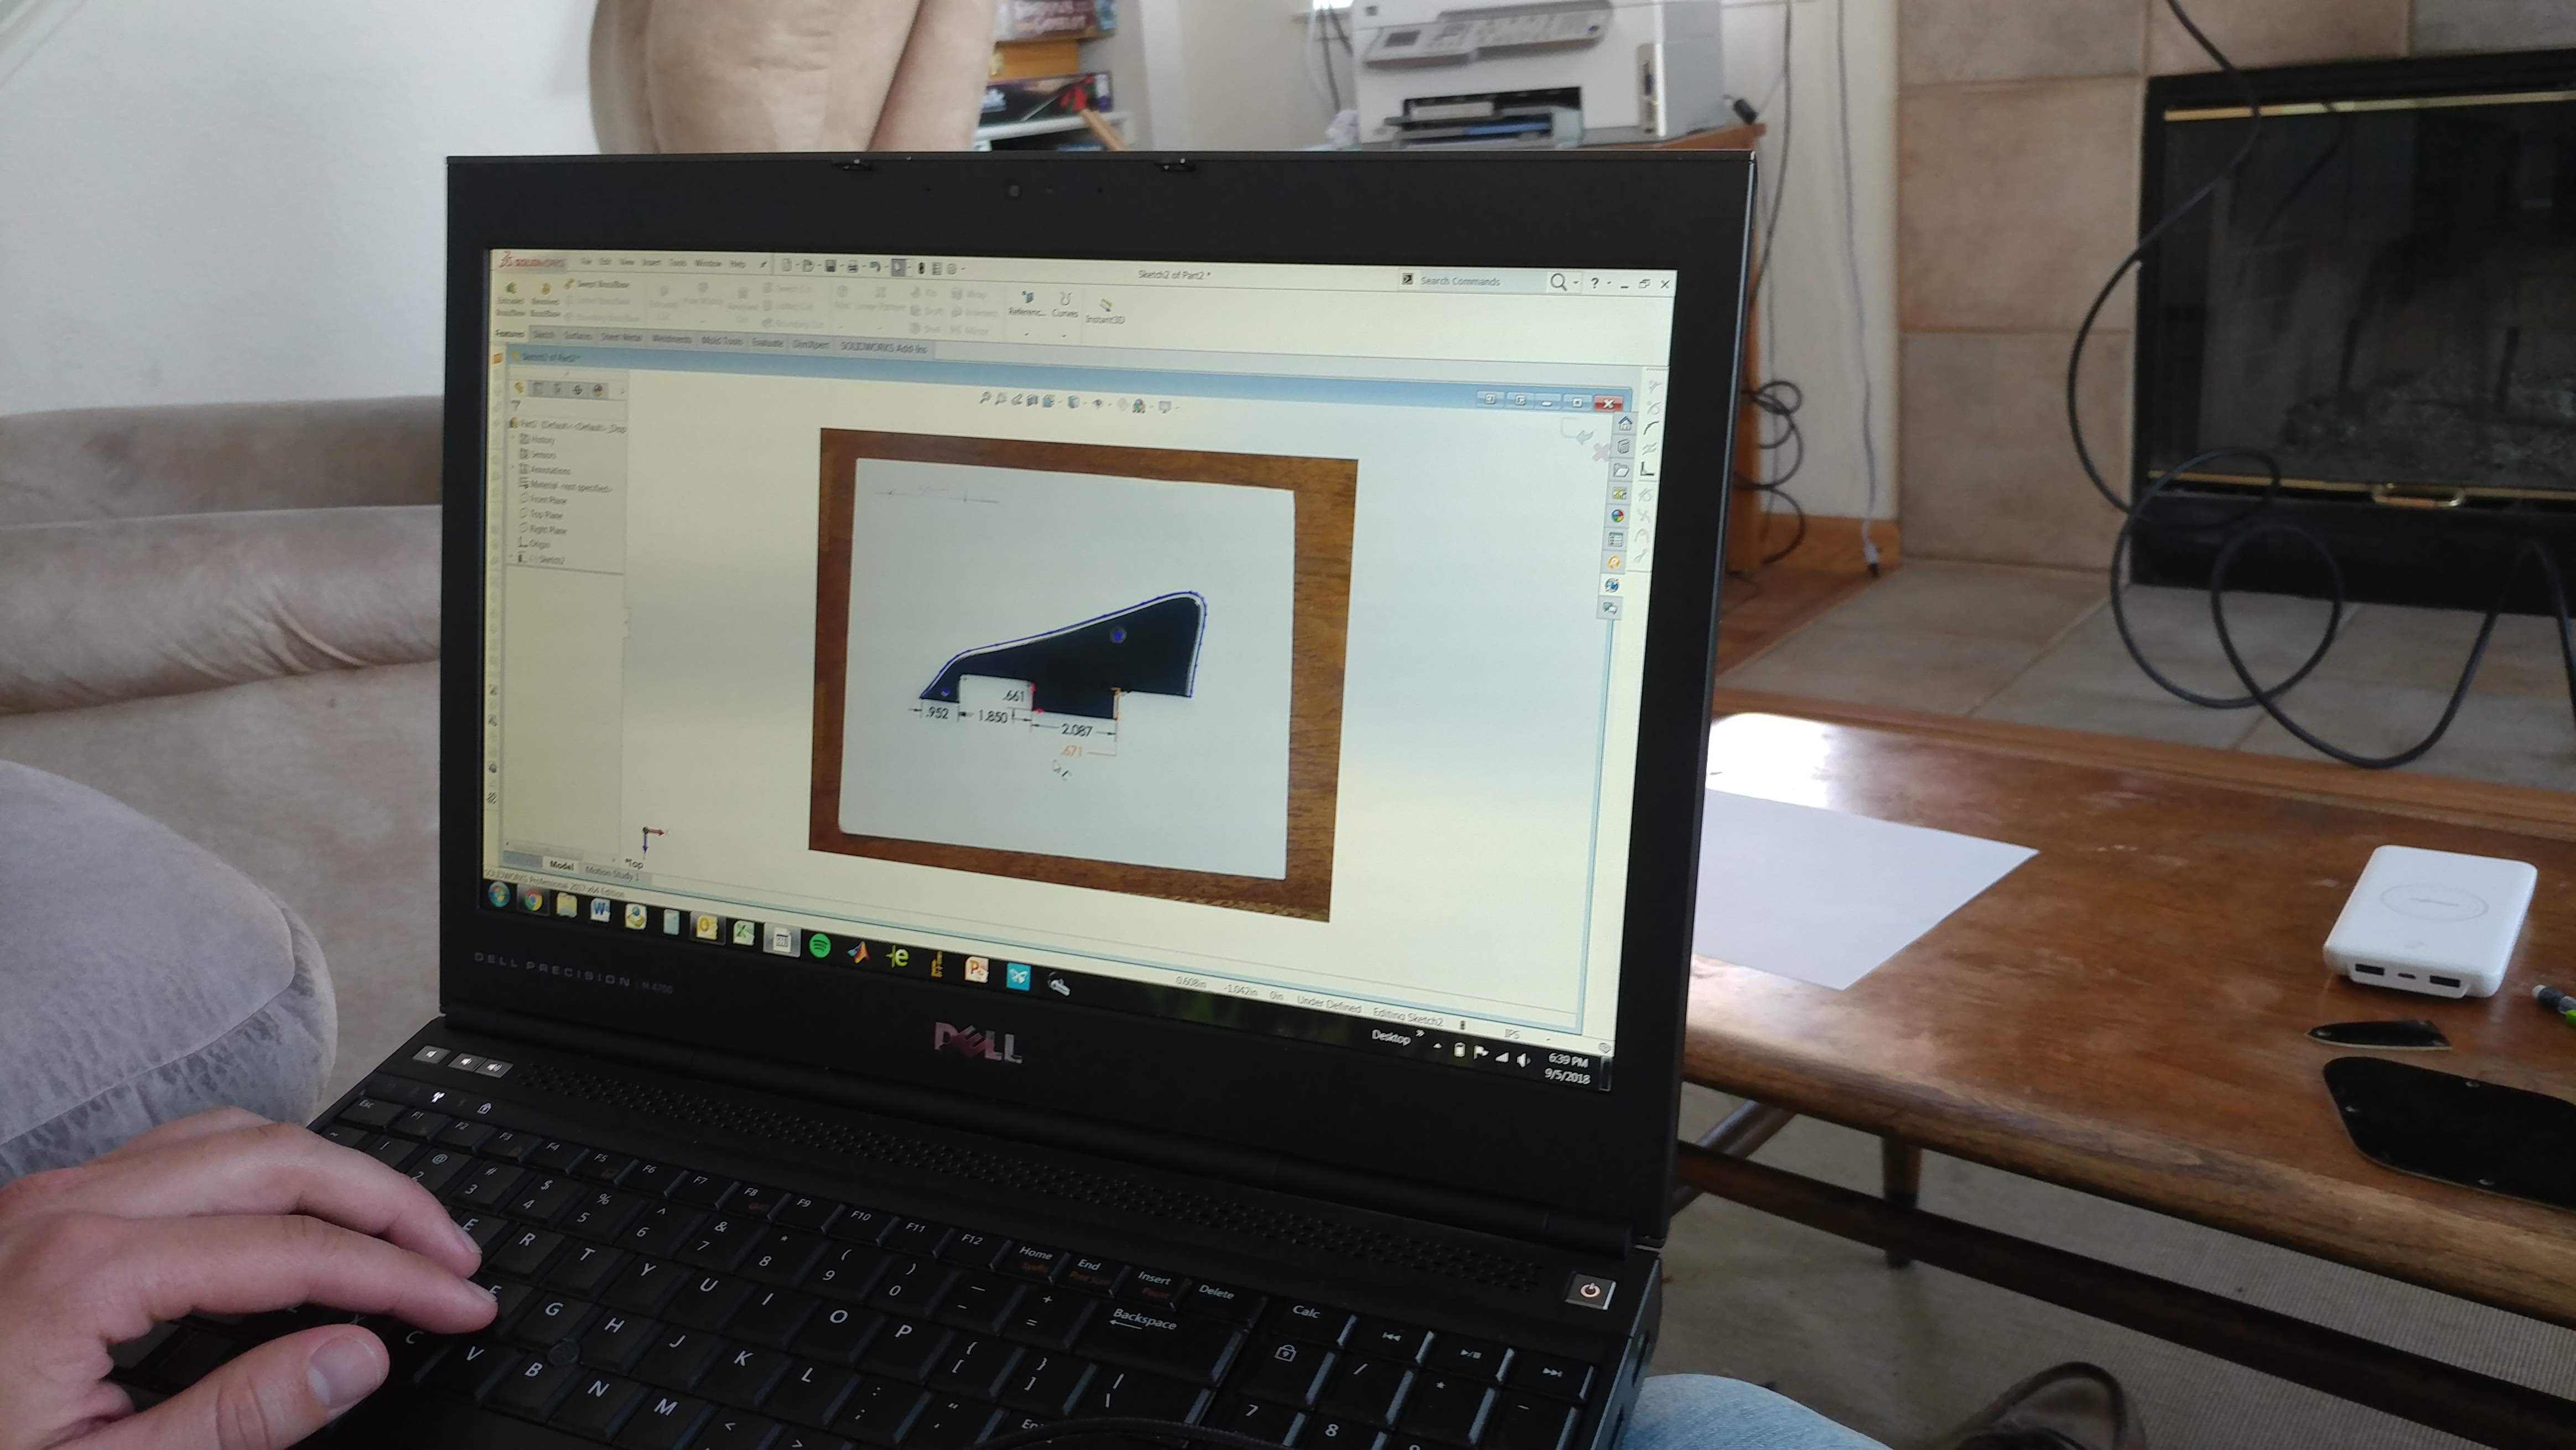
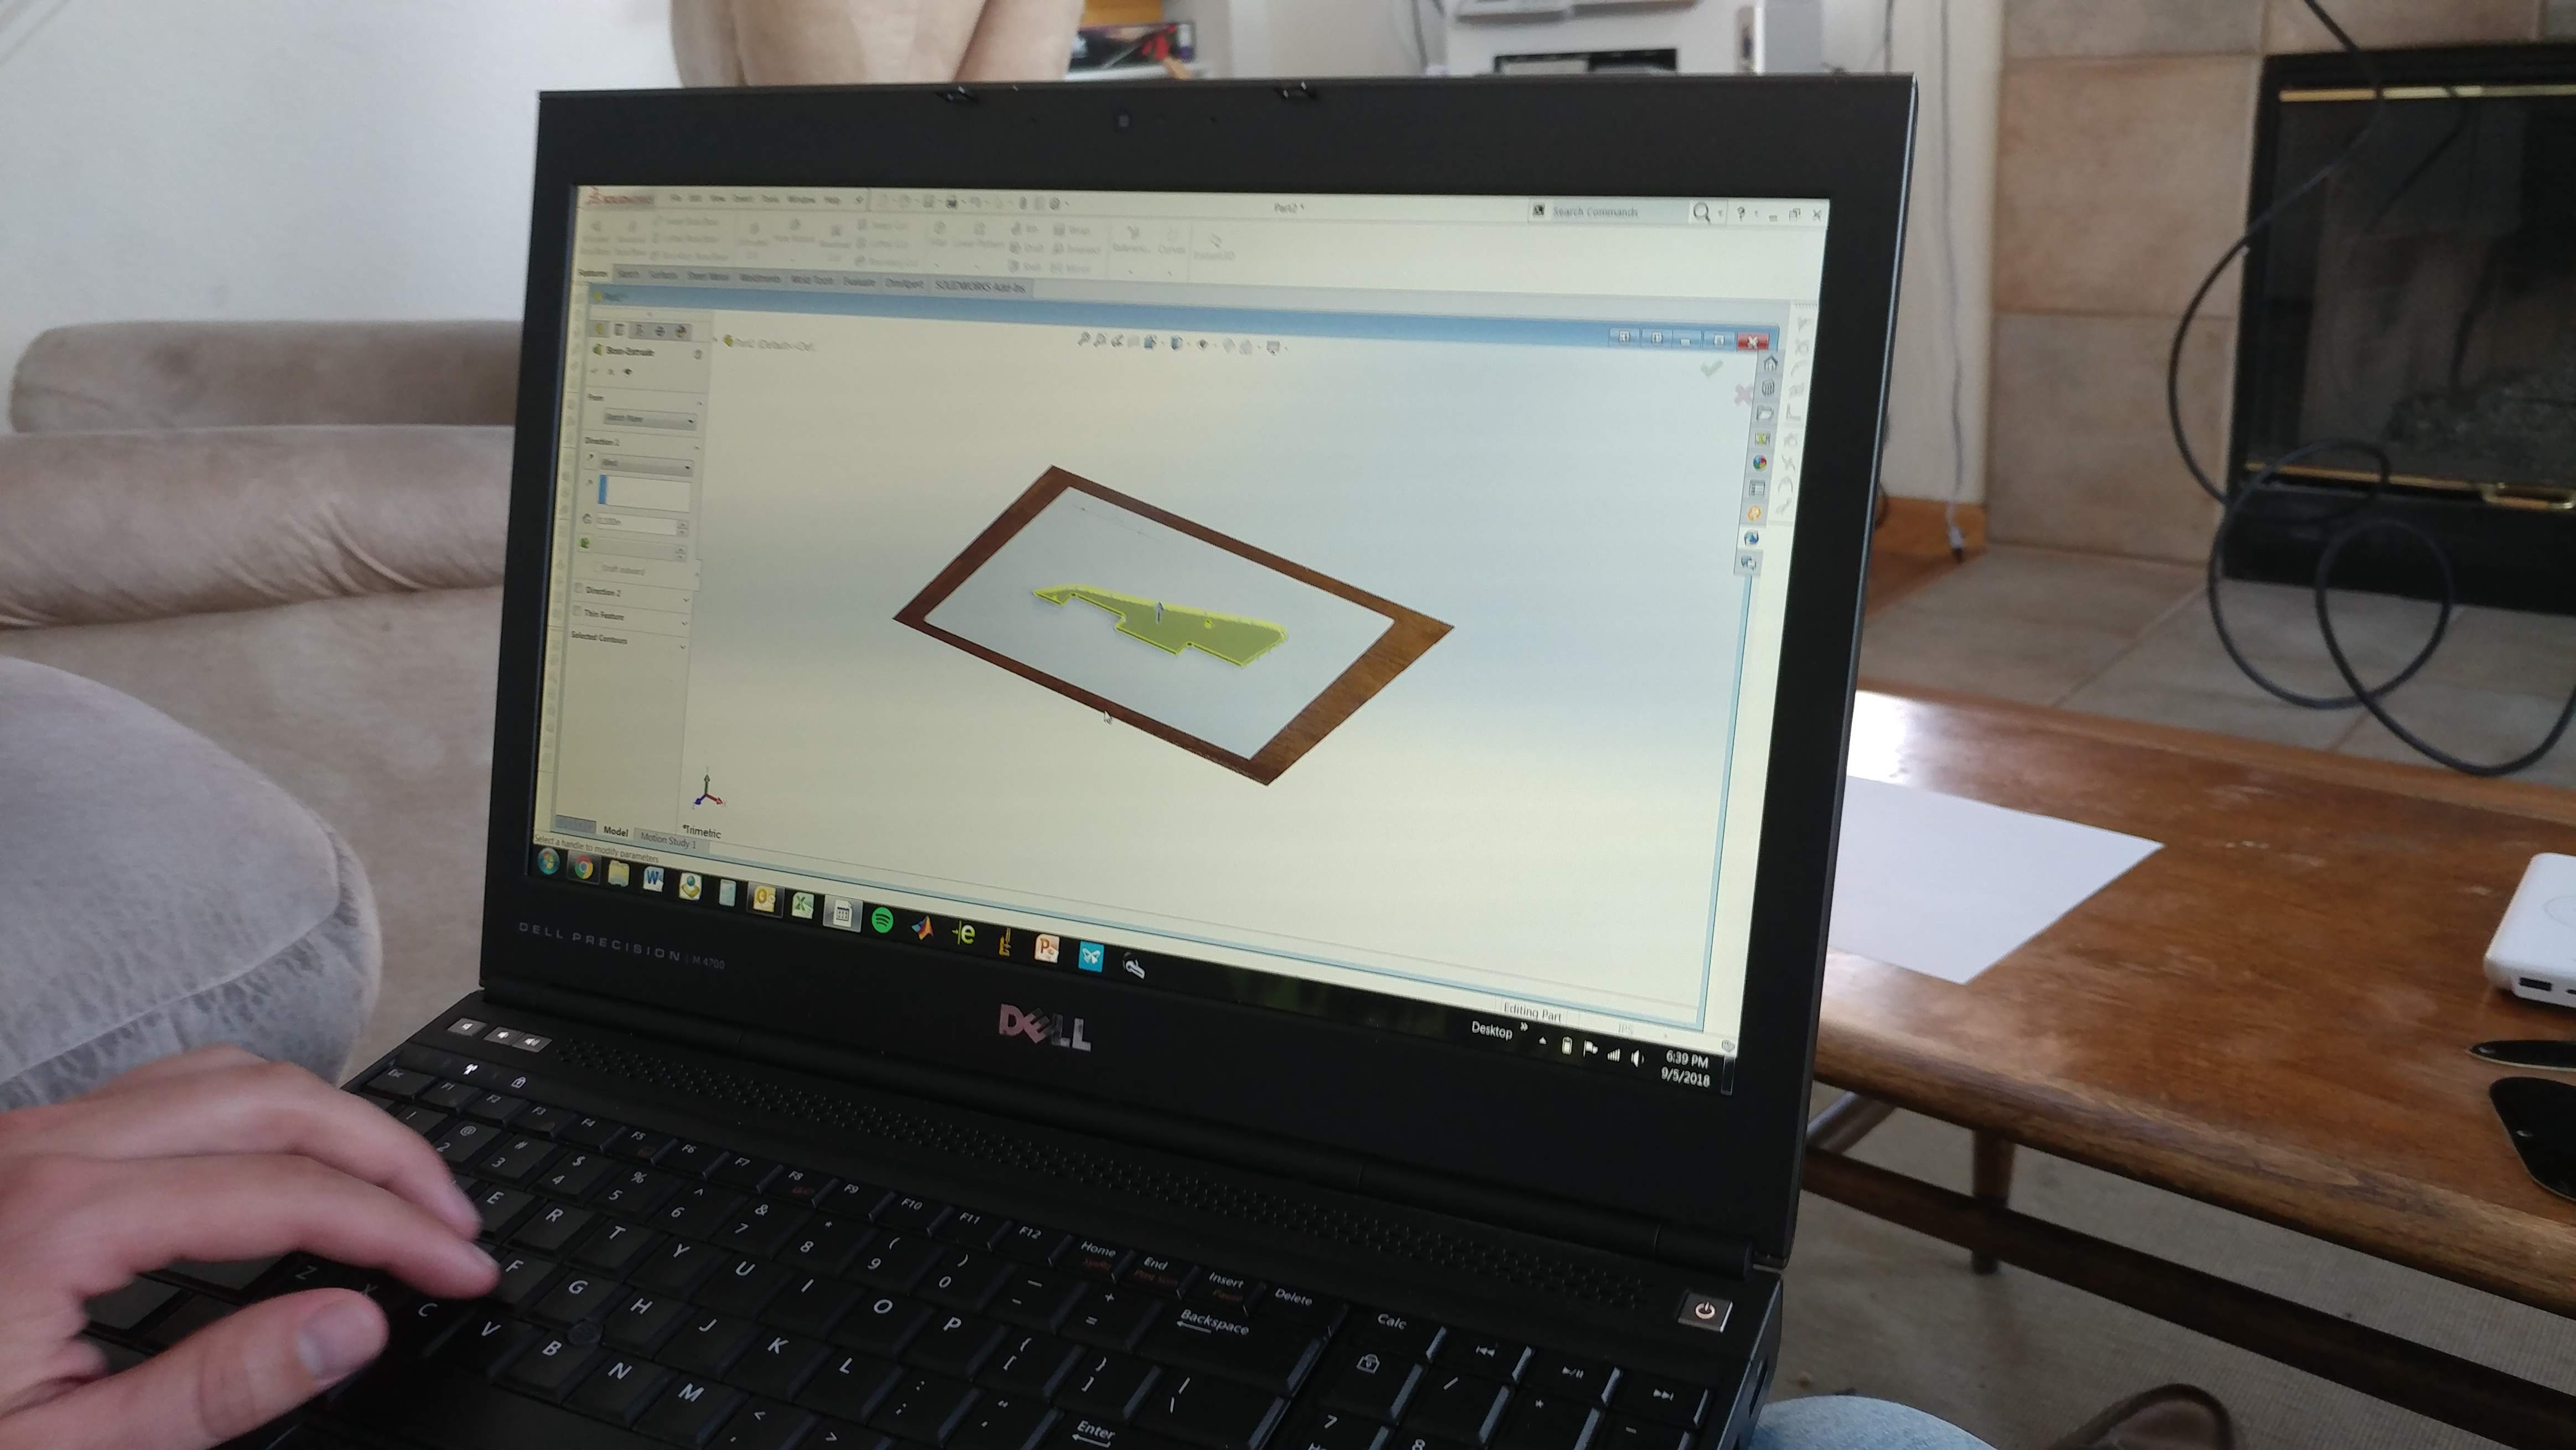
Back plates, Headstock Cover, and Pick Guard
The back plates, headstock cover, and pick guard were all 4-ply plastic with black front and white underside. Althoug there wasn’t anything truly wrong with them I wanted to see if I could make better ones. My housemate helped me dimension them in Solidworks and the initial plan was to CNC route new ones out of aluminum but that plan fell through when the CNC at my housemates work turned out to not be very reliable.
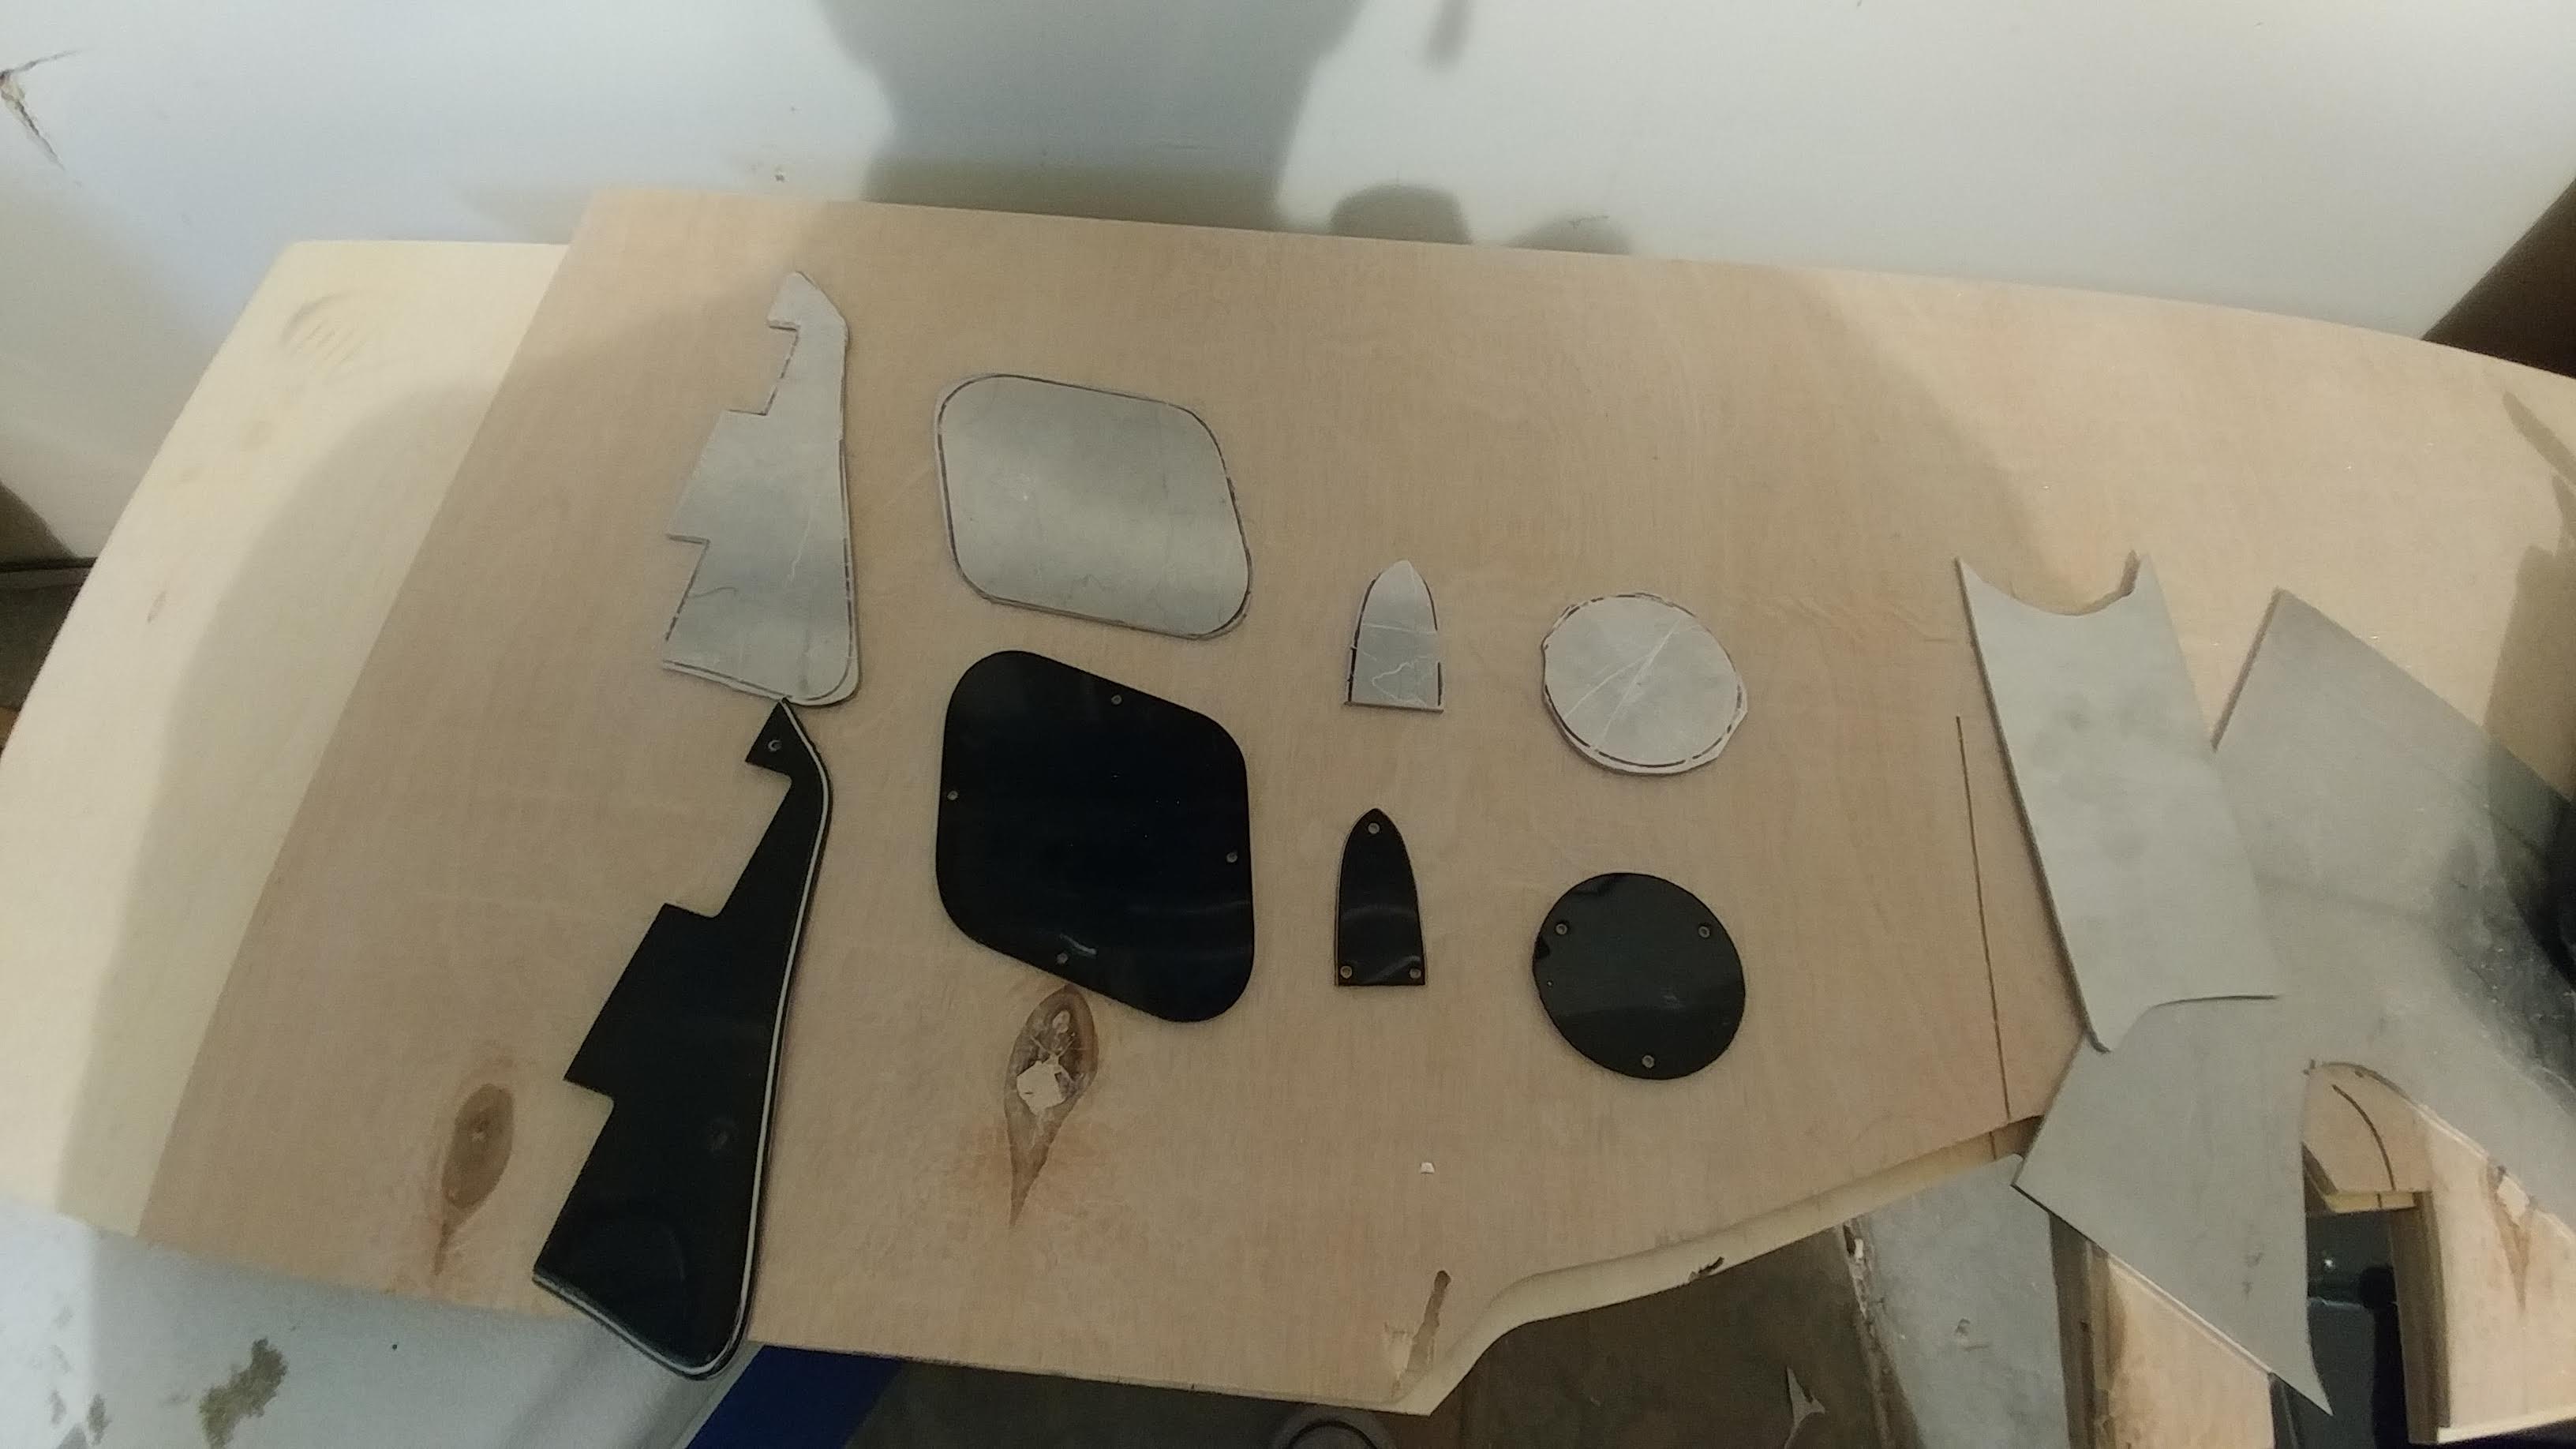
I looked extensively online for parts that matched these but the dimensions were all all in strange ways. It seemed like these whoever made these plastic pieces weren’t making Gibson clones any longer.
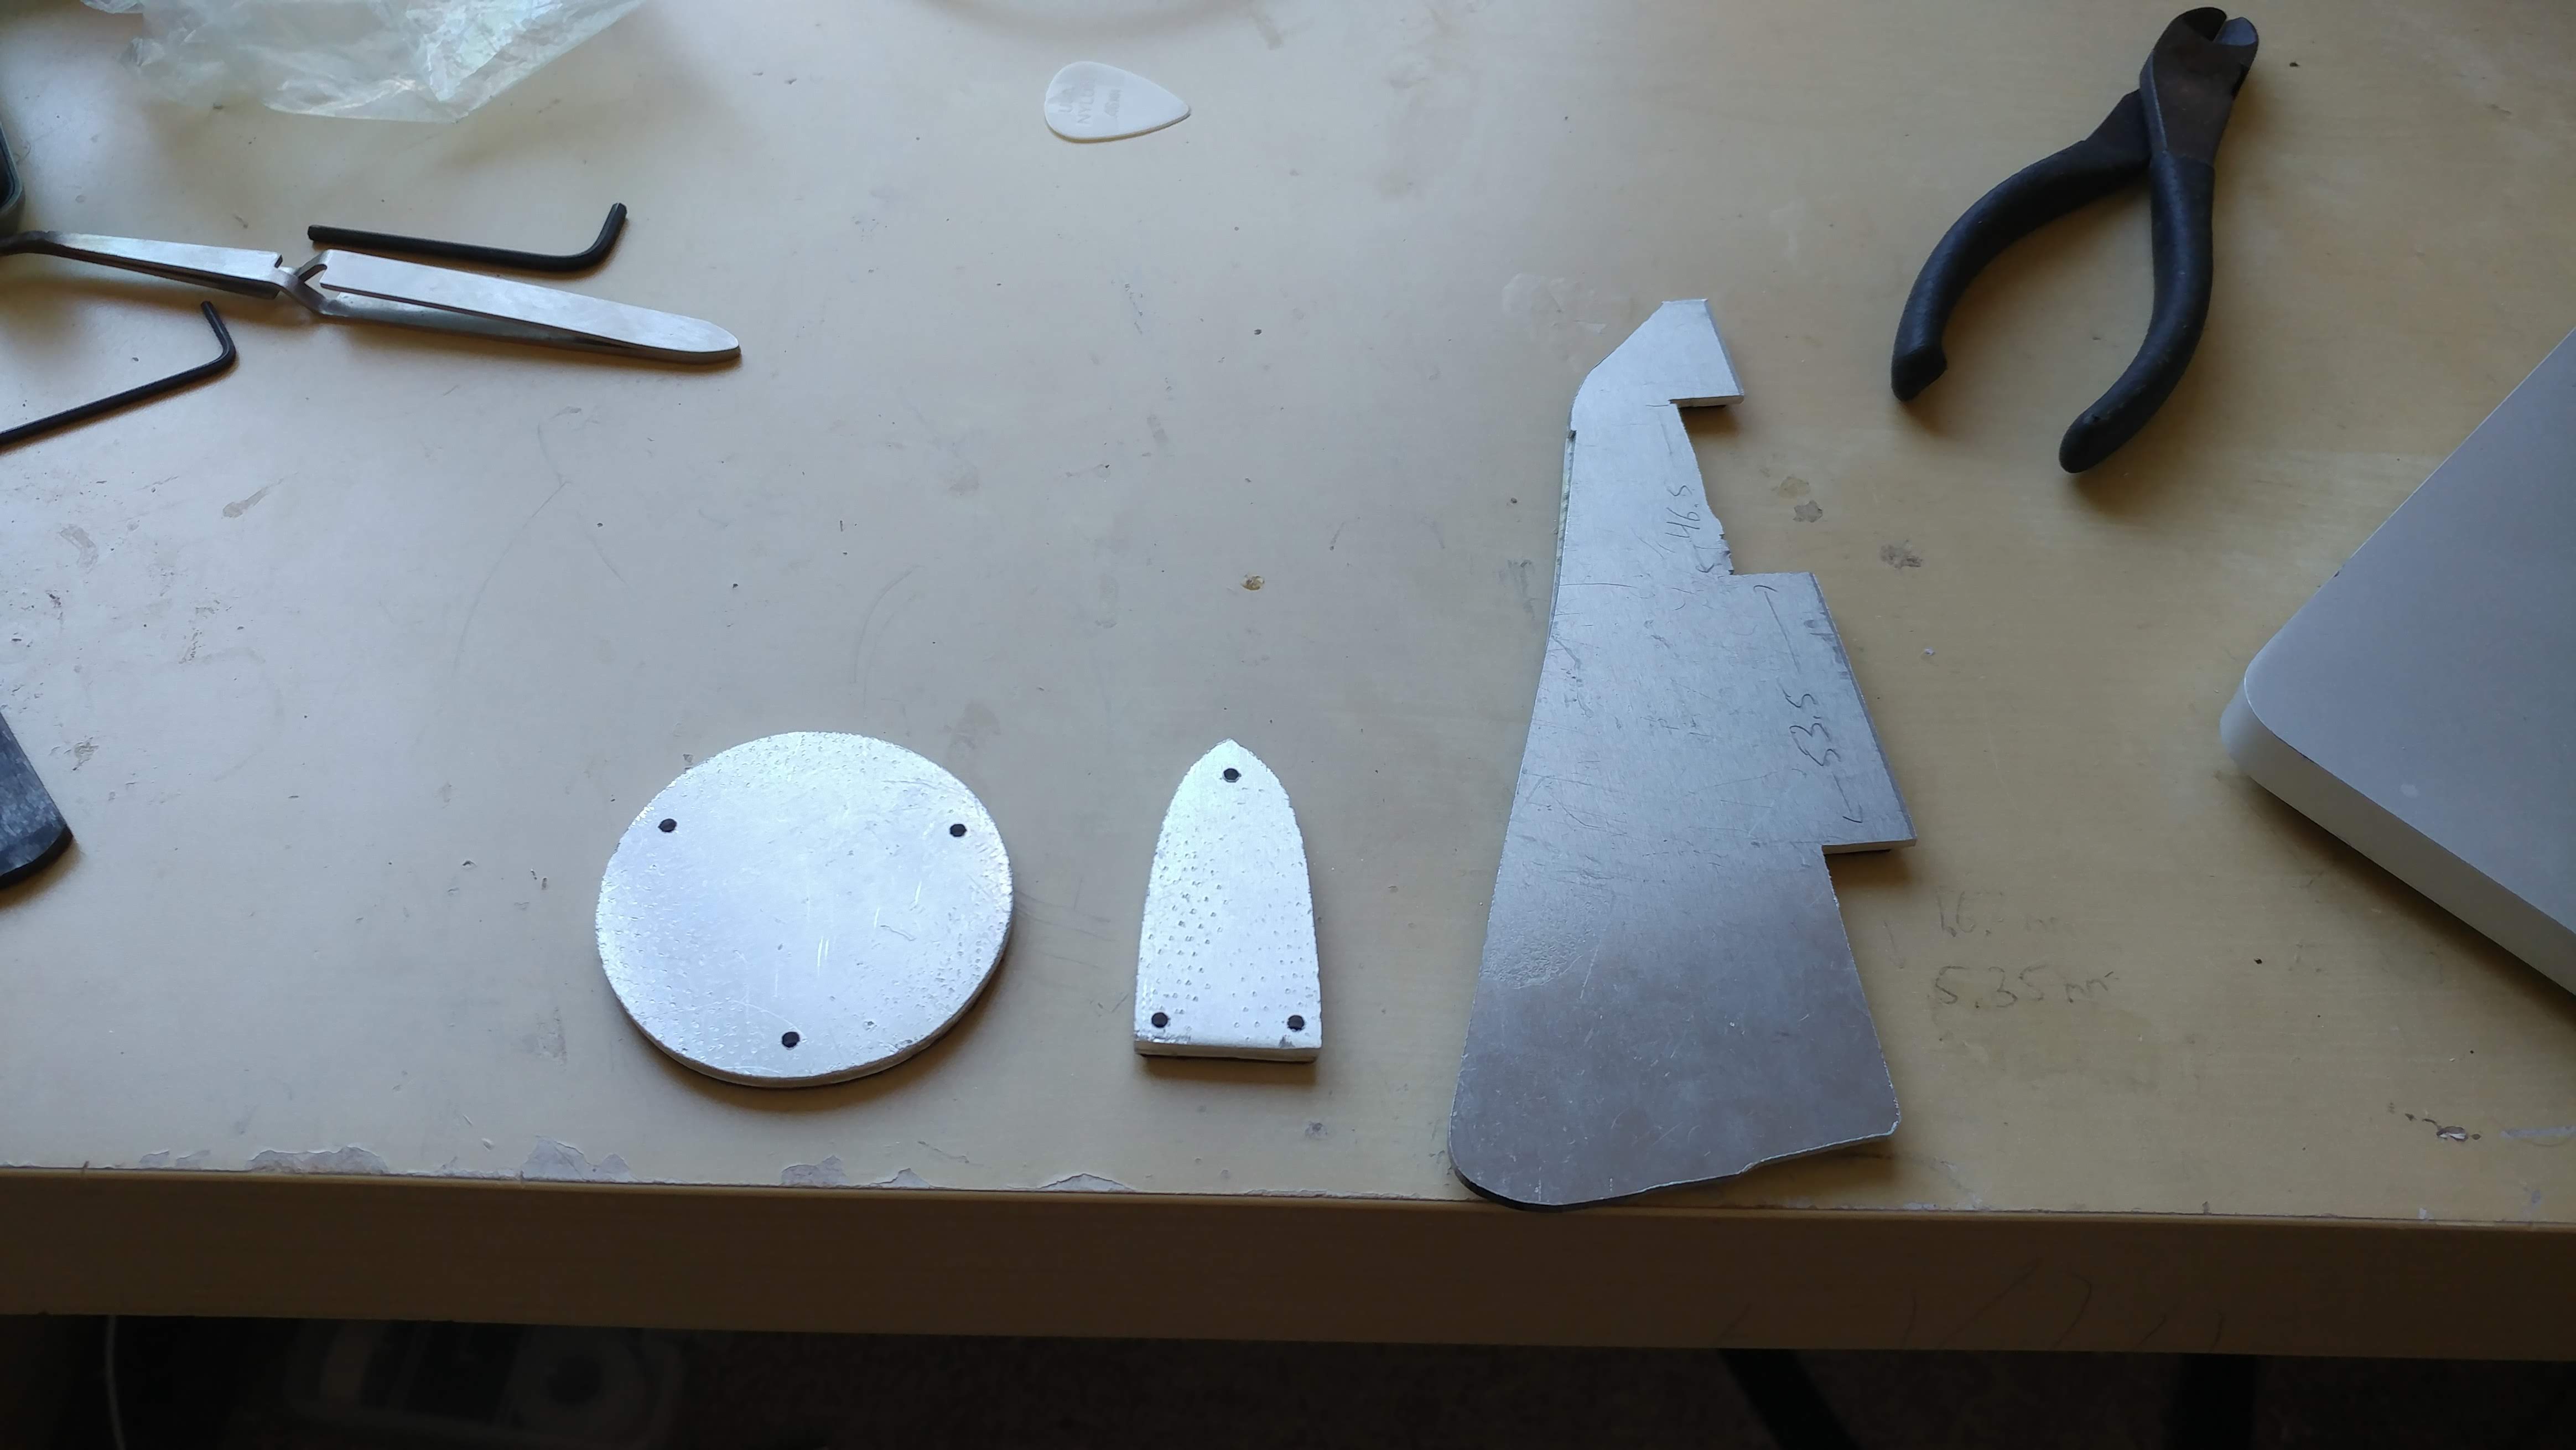
I bought a sheet of 3/32 aluminum (the closest approximate size of the thickness of these parts) and decided to make new parts myself by hand. I super glued the pieces to the aluminum stock and cut the rough shapes out with a jigsaw. Then began a tedious process of filing down the aluminum to the same shape as the plastic. When all was said and done I had pieces that fit well into their original slots. I drilled out the holes for thre screws and used a debur to create counter-sinks for the screws. The last thing I have to do is round the edges.
With the aluminum pieces made I decided they would look nicer with a mirror finish like the neck bolt plate. I ordered some sandpaper with the intention of sanding these pieces to a mirror finish… that plan ended quickly (read: slowly) when I spent hours polishing just on piece and not getting very far. I am still planning to find a place to polish these parts.

Stringing it up
Adjusting the truss, action, and intonation
If you’ve never set up a guitar you may never have had to deal with the truss rod or the action, but these are very important parts of a guitars playability. In short, the truss rod determines how much the neck bends in the center and the action is the height of the strings off the neck (adjusted via the bridge height).
Since the truss rod is buried in the neck it was impossible for me to see if it was corroded (who knows, maybe the guitar neck was submerged in salt water for some time) so I gently adjusted the truss screw with a hex key and found that it did turn, although it creaked with each turn and was very stiff to move. By adjusting the truss and waiting a bit I could tell that it was working, as I could clearly see and measure the neck bowing in and out with my adjustments. This was good news as it meant it was still working.
The bridge height was a little tricky to get down because of the way the posts were angled in the body, it was not easy to adjust just one side and the further out the bridge was the more tension the tail piece applied to the posts. Luckily a good action height was found close to bottoming out on the bridge.
The last step was to set up the intonation which is done at the bridge. This was fairly simple as I’ve done it a few times on my Strat and the process is the same just with a slightly harder to reach screw on the Tun-o-matic style bridge.
The finished product
With the guitar tuned up and putting out sound I was happy with how it ended up. This project ended up being about as much work as I expected (a lot) but I’m happy I put in the effort. It may not be the nicest sounding guitar, nor the highest quality, but it’s a nice momemnto from my Undle and a great learning experience.