This is a project log for the flatbow that I made. I began the project in March 2017 and had a working bow by the end of the month, though I didn’t add all the finishing touches to it until August 2017.
Why I Built a Bow
I have always had some interest in archery as a child though I had only shot a bow once in my life. My aunt took me to the San Francisco archery range when I was about 10 years old and taught me the very basics on her light pound compound bow - although she also owned a recurve we didn’t use it at all. That one instance of archery is the only time I had shot a bow until the completion of this project.
In February of 2017 I went on a business trip to Albuquerque (where Sandia National Labs has its main facility) and met a colleague who worked in the Labs over there, he was working on a different component of the project I was on. After work he took our california team to one of his favorite resturants and chatted over dinner. During this time he spoke about a few of his hobbies - of which included crafting bows and classical guitars. Note that this man was much older than I and somewhat of a luddite, he did not own a cell phone and lived on the other side of the Sandia Mountains on a decent amount of land. He spoke a lot towards the current state of being always connected and he encouraged everyone to take more time to get in touch with nature.
I went home wondering what exactly it took to craft a bow so out of curiosity I started googling around and found poorfolkbows.com, a website dedicated to crafting bows on a budget written by a man named Sam Harper who does the hobby out of his apartment. I read through his most basic tutorial on crafting a /selfbow from a single piece of red oak and was surprised that it didn’t look very hard at all to craft a simple bow, I don’t know why I decided to persue it but I decided to give it a go.
The Bare Minimum
Although I had decided to build a bow I was definitely wary of the cost of getting sucked into a new hobby. I decided I wanted to try and keep expenses as low as possible. Here is the complete tools and materials list I needed to use to build this bow:
-
1" x 2" x 7' Red Oak board from Home Depot - Following Sam Harper’s guide to find one with the absolute straightest grain I sorted through about 30 planks and picked out the one with the most straight grain I could find that also had the growth pattern shown on his website. Cost: $10, Home Depot
-
Shinto Saw Rasp - This rasp was extremely valuable to me and was the main tool I used for forming the bow. It has one coarse side for getting a lot of wood off and a fine side for more detailed work. Admittedly I should have used a different tool - such as hack saw or a draw knife - for the initial forming of the wood but if you have more time than money this tool will do almost everything you need. I heavilty debated getting either this or the Fourrier Rasp (another common tool used for making bows) but decided on this due to the reviews. Cost: $14, Home Depot
-
Draw Saw - This tool was mainly only used for cutting the 7' plank into a 6' plan (for the main bow) and a 1' plank (for the riser). It was cheap and got the job done and I still use it to this day for small wood cutting tasks. Cost: $8, Harbor Freight
-
File Set - This file set had everything i need for some detailed filing of the bow and for foming the nocks. It was cheap and got the job done. If you are looking for specific files the small rat tail file is the most important one here for forming the nocks. Cost: $10, Harbor Freight
-
C Clamps - Needed for clamping when you are sawing and rasping the wood. I got three but only really ever needed two. Cost: $3 each, Harbor Freight
-
Tightbond III Wood Glue - Used for gluing on the backing as well as the riser I did a lot of comparison between Tightbond II and Tightbond III, in the end I think you can use either but Tightbond III is water-proof whereas Tightbond II is only “water resistant.” I have found many uses for the glue after the project was complete Cost: $10, Amazon
-
Linen Fabric - This isn’t strictly necessary but it helps reinforce the back of the bow from splintering - as I will explain later. Just got a big sheet of fabric in a natural brown color. Cost: $10, Amazon
-
4' Metal Ruler - for various Measurements Cost: $5, Harbor Freigt
As well as materials for the bow I also build a “tillering tree” which is necessary for gettign the proper curvature. I will explain more below but for that it required the following:
-
Spruce 2x4 - Made the basic frame from some cheap 2x4s. Cost: $X, Home Depot
-
Pulley - Necessary for drawing the bow from a distance to observe the curvature. Cost: $4, Ace Hardware
-
Bike Hook - Used to secure the pulley to the 2x4, you can do this in any fashion that works. Cost: Had it lying around, but originally from a 6-pack of bike hooks on Amazon, $12
-
50 ft Paracord - Used to draw the bow from a distange Cost: $5, Amazon
-
Luggage scale - This is used to measure the weight of the bow when it is drawn out to different distances. Cost: $10, Amazon
-
Drill - For drilling holes in 1" spacings Cost: Housemate had one
-
Assorted Nails and Screws - For assemply Cost: ~$5, Ace Hardware
Starting out
As I said I picked up the straightest grain plank from Home Depot I could find with the proper growth pattern. You want to look on the end for large amounts of “dense” growth which is darker than the the porous growth.
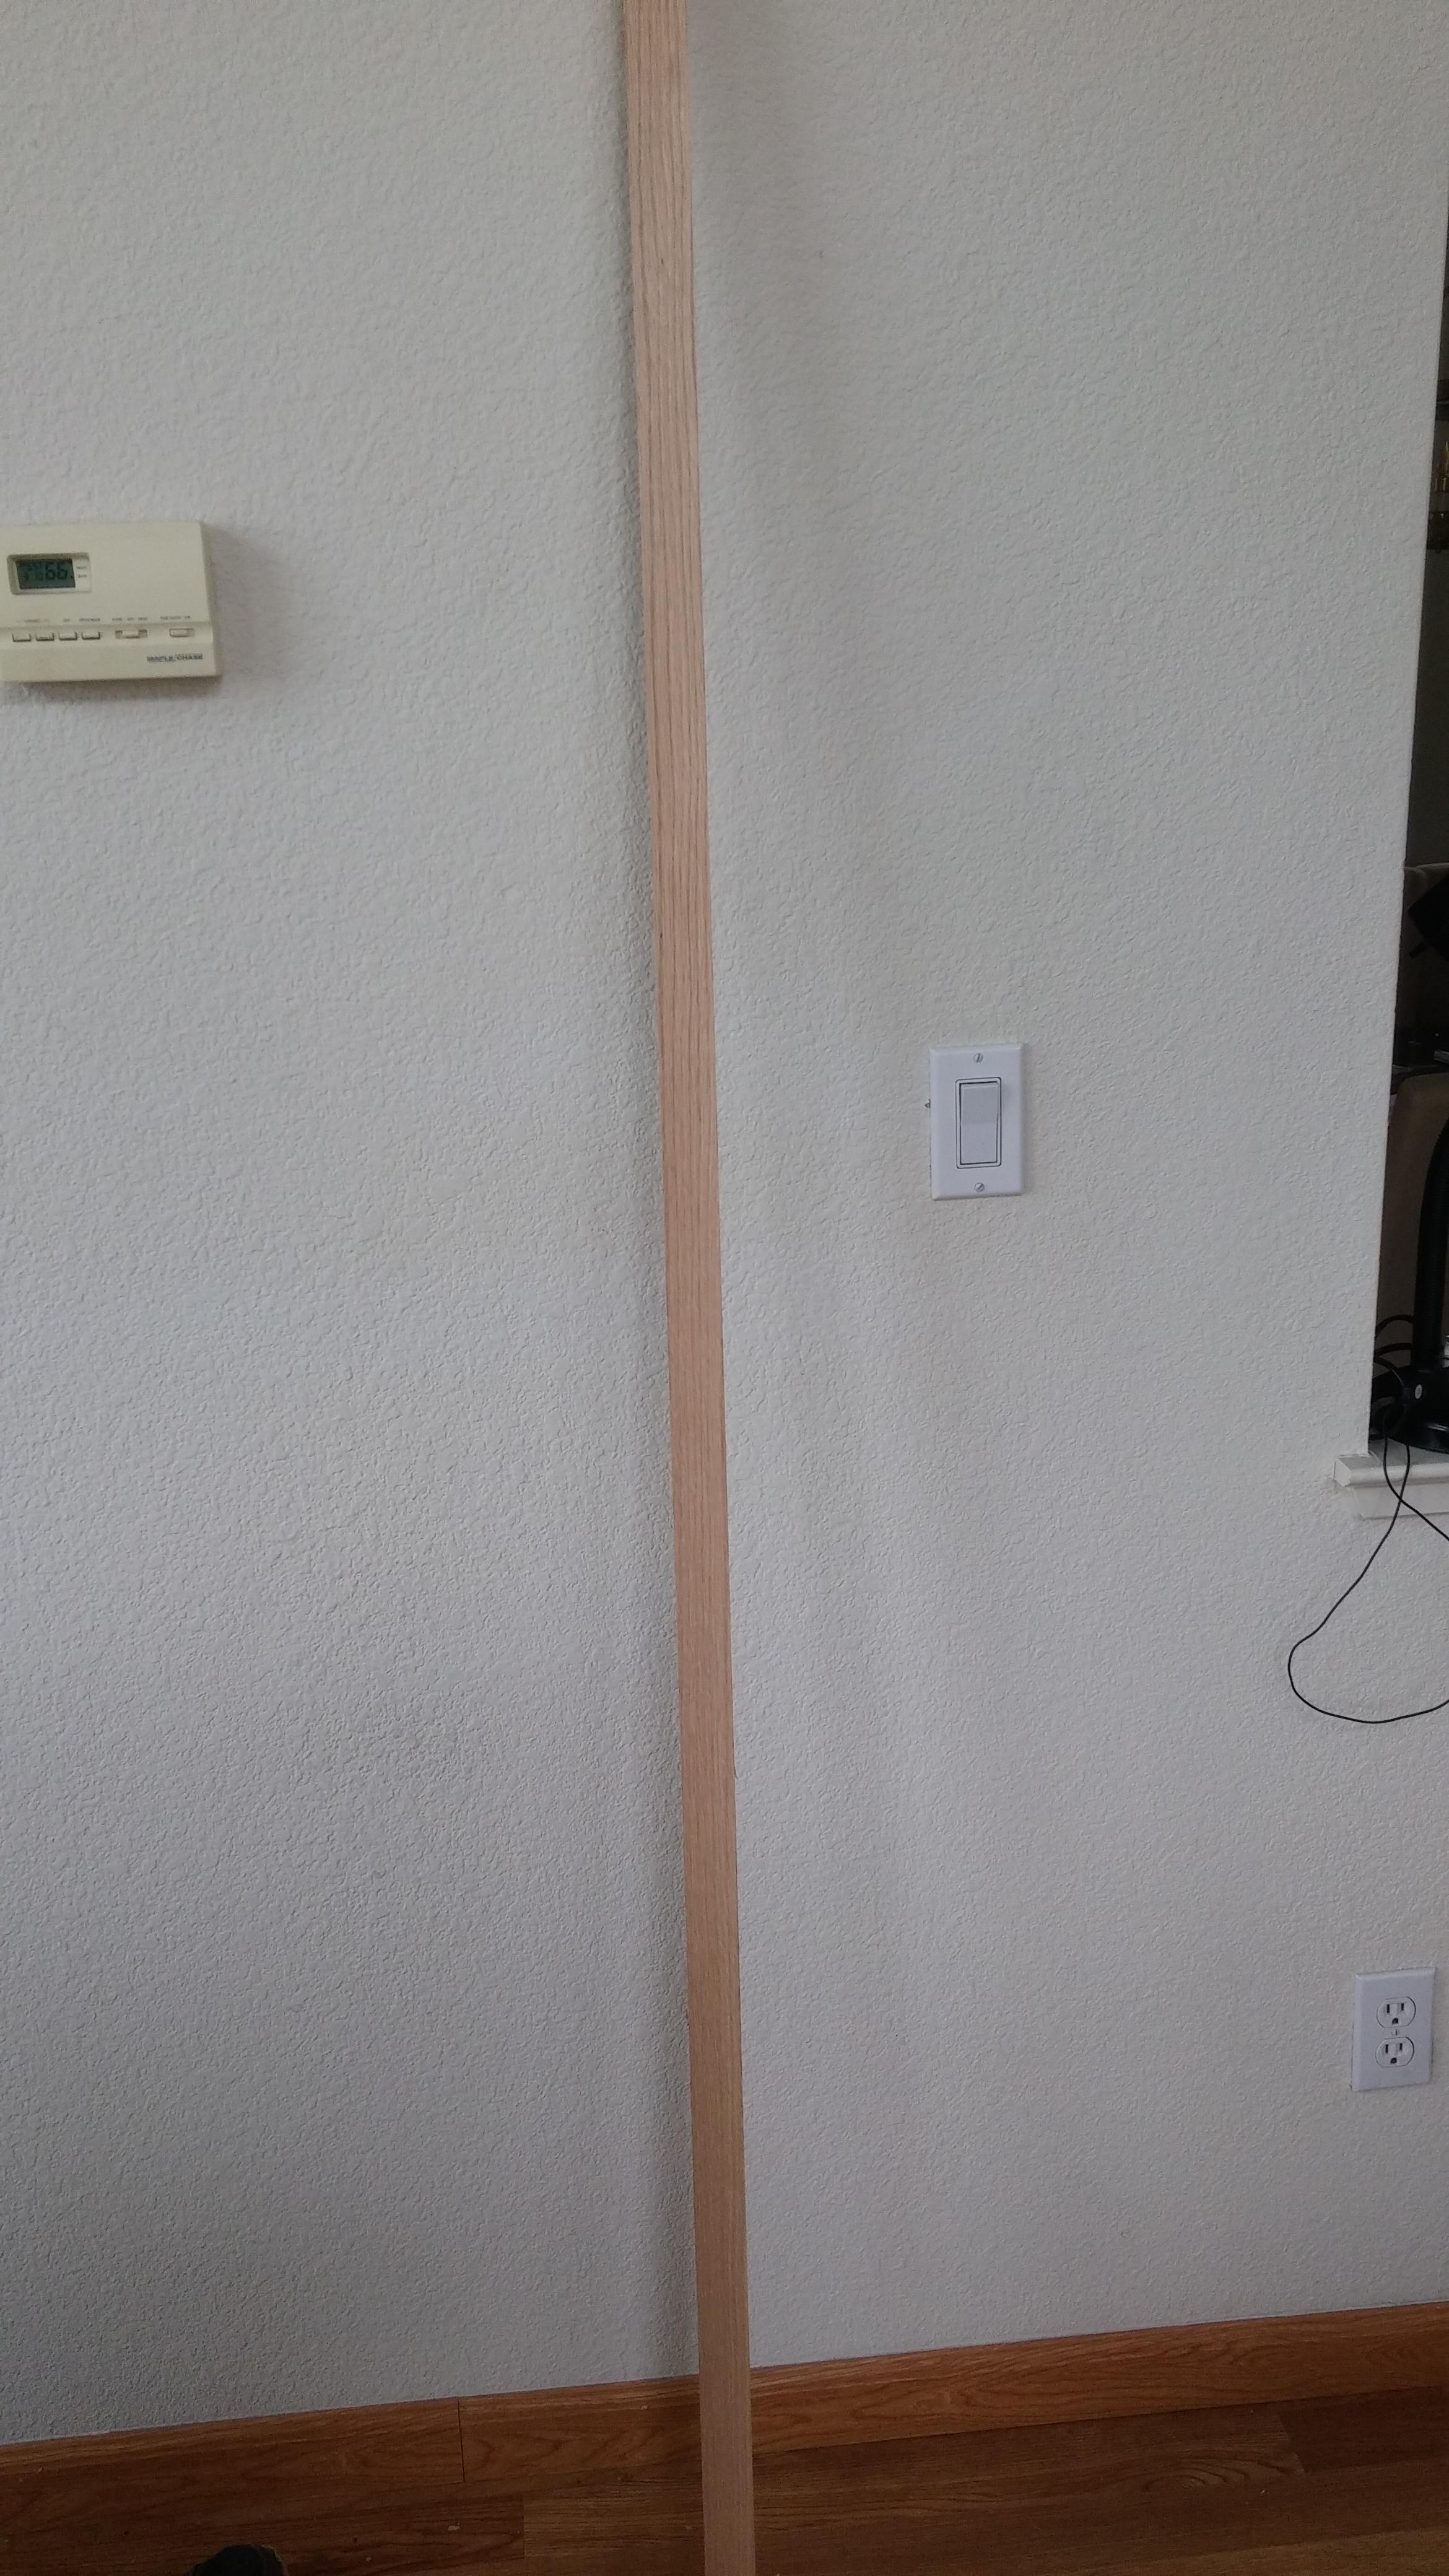
As you can see the grain runs down the boad straight from end to end. This will make it stronger and reduce the possibility of splintering when the bow is drawn back.
The first step was to taper the sides in. I followed Sam Harper’s guide marking out where the riser will be and where the side tapering will begin and spent an afternoon rasping away with the coarse side to form the taper. It took a long time but eventually I got one half of the bow tapered.
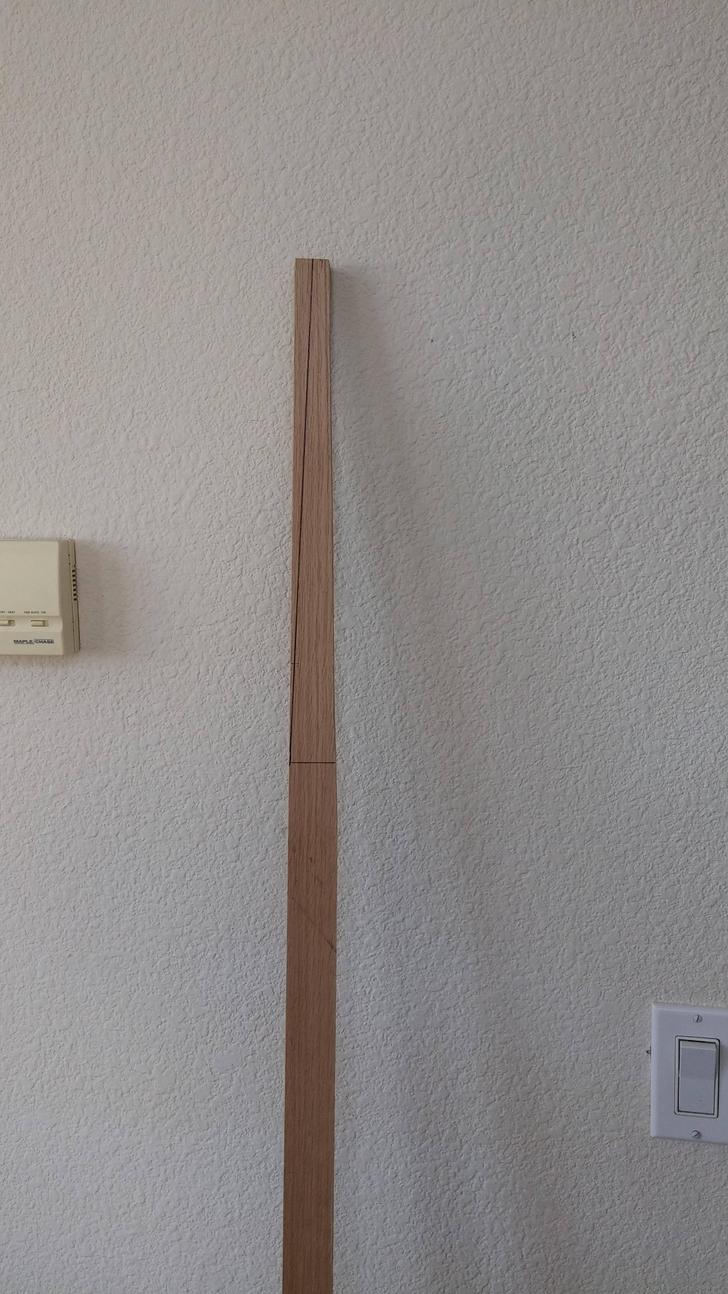

If you look closely at the second picture you can see the taper has a noticeable kink in it. It is more noticeable on the other side of board. The following picture is the second side but flipped to see the other side of the board.
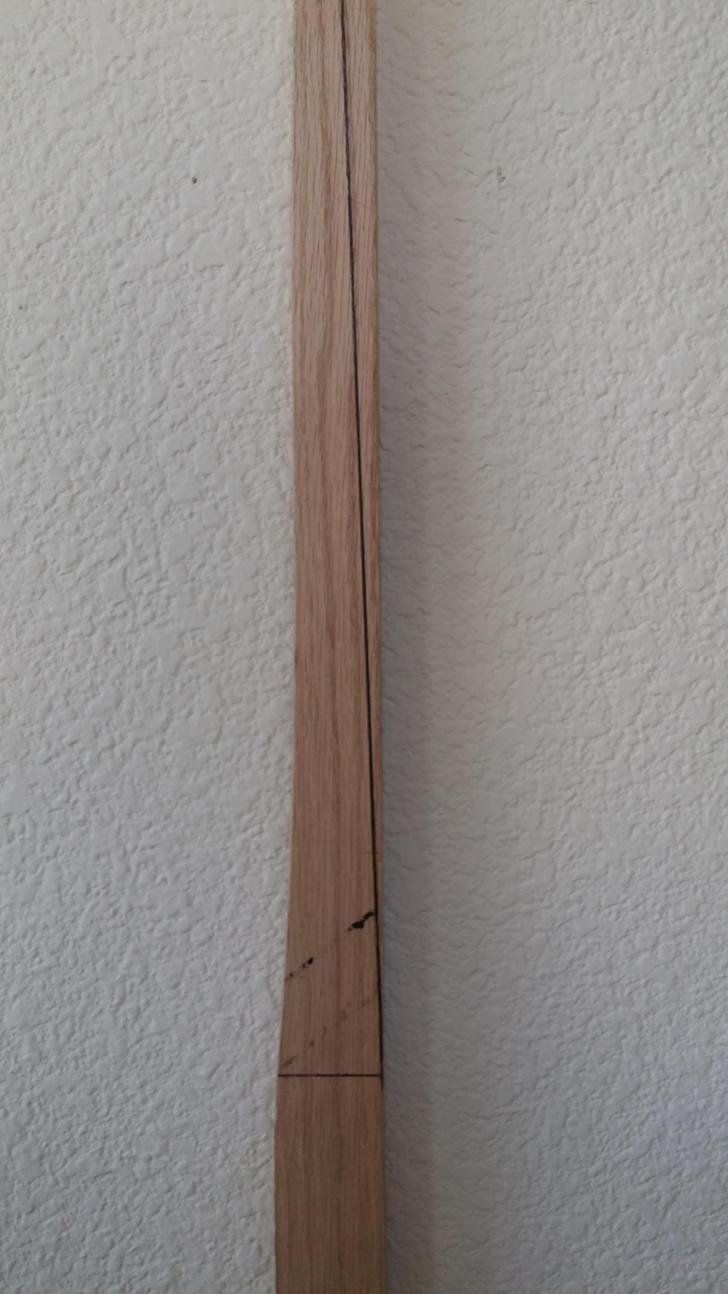
This will create a point of higher pressure when the bow is drawn so I decided to extend the taper of all sides to go all the way to the riser, this will result in a lower overall draw weight but I did not want to risk the bow snapping from pressure on the kink. I finished up the side tapering of the the second half which took all morning.

Then it was time to start tapering the belly. The belly tapering was all done with the fine side of the rasp because it affects the draw weight of the bow about four times more than the side taper does, thus it is important to get right. I carefully followed Sam Harper’s guide and tapers the belly. The belly tapering took the rest of the afternoon.
After the tapering was complete I used the fine side of the rasp to smooth out the corners so they had a small radius on them, this reduces the strain on the corner of the bow when drawn.
The final part of the roughing out the shape of the bow is called “Trapping” (from the word Trapezoid) which means to radius the belly more than the back so that it very vaguely has a trapezoidal figure (the difference actually isnt super large but it is noticeable), this is because when the bow is drawn the back is in tension and the belly is in compression, if you have the same amount of material on the belly compressing against itself it can cause fractures or create knots (called chrisels) which degrade the structural integrity of the bow.
Note: No tapering or radius-ing should ever be done on the area of the belly that the riser will be glued. The back of the bow is okay to radius, but the belly should be a sharp square.
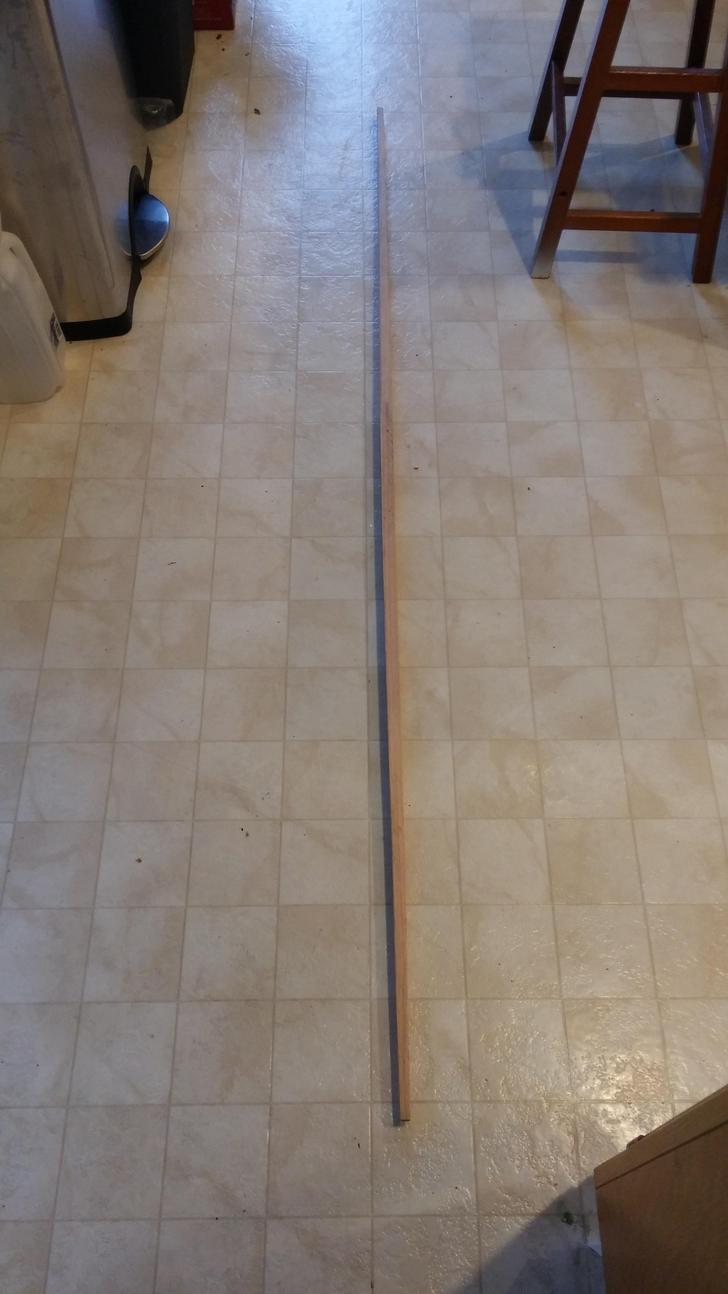
About 10 total hours of rasping and the rough shape of the bow was complete.
Forming the Riser
Once the tapering was done it was time to form the riser. I first cut a 10 inch riser and made sure it was square, then I glued it on and clamped it down and let it set overnight.

After the glue is dried roughly form the riser by drawing out the shape to rough away. The riser should contact the bow at as little of an angle as possible so that its very thin where the bow limbs beging; effectively the risers edge should be cut to resembl a slow exponential or a sigmoid shape where it contacts the bow (it’s up to you how to shape the other side when its closer to the center)
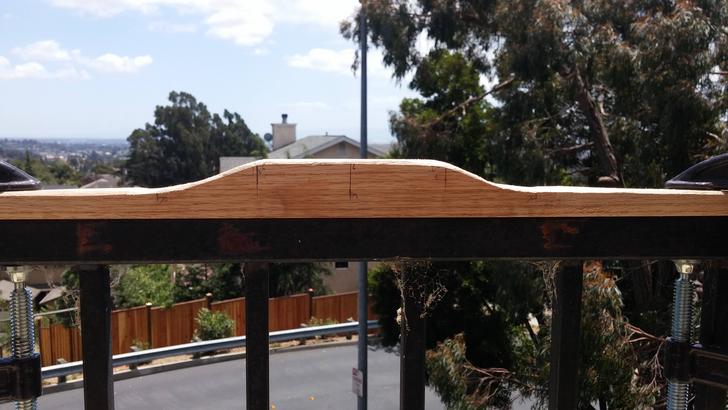
This is just a photo of it after roughing it out, after this photo was taken I carefully took more material off to make the far ends of the riser narrower.
The reason it must be thin is because this allows the riser to bend with the limbs, if its too thick it will not bend and the riser will pull away from the belly.
Backing the bow
“Backing” a bow refers to putting material on the back (the side facing away from you) in order to increase the strength and prevent splintering. Since the bakc of the bow is in tension it is common for weaker bows or weaker material to pull up an splinter. In additon to backing the bow you can round the edges slightly to prevent splintering but if you round it too much your trapping on the belly may be less effective.
Traditionally bows are backed with animal sinew, since I didn’t happen to have any of that on hand and it seemed a lot more complicated for a first bowyer’s attempts I went with linen fabric soaked in water and glued on with Titebond. Another common backing material is sheetrock tape (also called drywall tape) and silk. Essentially all you need for a good backing material is something that will stretch very little, adhere to the wood, and bend when its drawn.
Forming the nocks
To form the knocks I took the small rat tail file from Harbor Freight and measured about 2 inches down from the tips. I put the file at an angle so the knocks point out towards the back and tip of the bow and i filed in about an 1/8 inch. I rounded out the knocks so it formed smoothly into the belly and back. I was pretty nervous I had gone too far in but it ended up working out, when in doubt you should stop filing early and just try to put the long string on, if you can put tension on and it stays put you’re probably fine.
Tillering Tree
After getting the rough shape I needed to set up my tillering tree. Tillering is the process of progressively drawing the bow out starting from very small draw length and measuring the curvature in order to get even pressure along the length of the bow when it is drawn. A bow with “perfect tiller” will look similar to one half of an ellipse and the pressures on each limb should even out so that there is almost no pressure in in the area where the riser is, this is important for /selfbows where the riser is often glued on so that the bow doesn’t pull away from the riser.
There are many ways to make a tillering tree, the basic concept is a piece of wood with marked increments of 1 inch. You place your bow on top of it and draw it out to a marked increment and observe/measure the curvature:
-
If one part looks like it is too flat you take wood off the belly from that area to get it to curve.
-
If one part looks like it has a steep change in (similar to a kink) you take off wood the belly from the surrounding areas so that they will curve more which takes pressure off the kink.
As I mentioned earlier the belly thickness contributes to the overall draw weight of the bow about four times more than the thickness of the sides, thus tillering should be done in a slow and controlled way as to not accidentally take off too much wood. If you do accidentally take off too much you will form a kink in the tiller of the bow and be forced to take off wood from the surrounding area to even the pressure, this will cause significant change in the draw weight of the bow.
Setting up the Tillering Tree
To set up the tillering tree I first screwed a small piece of 2x4 into a full 8' 2x2 to form a tiny L-shape. Then I lashed the long side to a support beam on my balcony using some of the paracord. I screwed a small piece of 2x4 a about eye-level and then to that piece I screwed in another but offset - this formed a “ledge” that i can place the bow on.
Then I used my ruler to mark off draw lengths from the base of the leddge. I started with 6" and marked all the way to 34". Then I drilled a hole in the center of the tillering tree at each marking, this hole will be used to hold a screw so that i can keep the bow drawn without needing to hold it.
At the base of the tree I screwed in my bike hook and put my pulley on it, then tied the luggage scale to the paracord and threaded the paracord through the pulley.
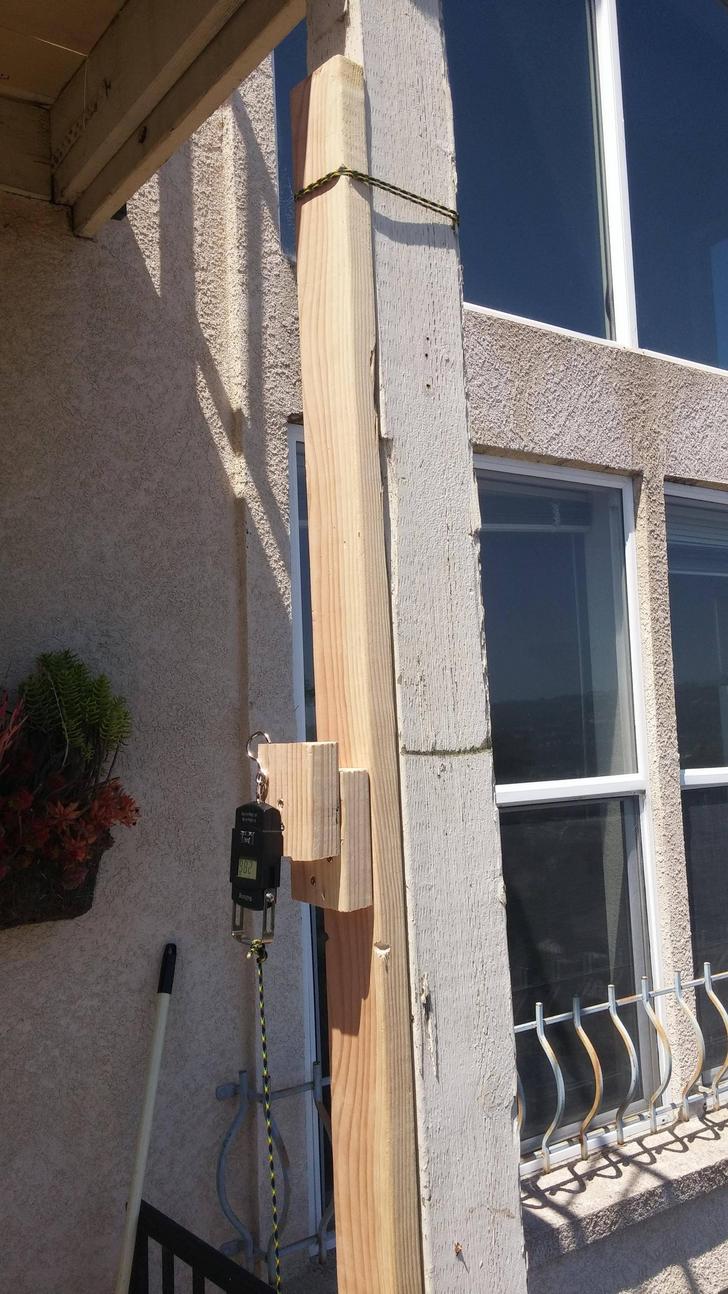

You can’t see the markings and drill holes in this photo because I actually did them after it was set up.
I ended up taking off the second ledge 2x4 piece and replacing it with a thinner piece of wood (a leftover redwood plank used for making fences) so that it was easier to get the bow on and off.
Tillering Tool
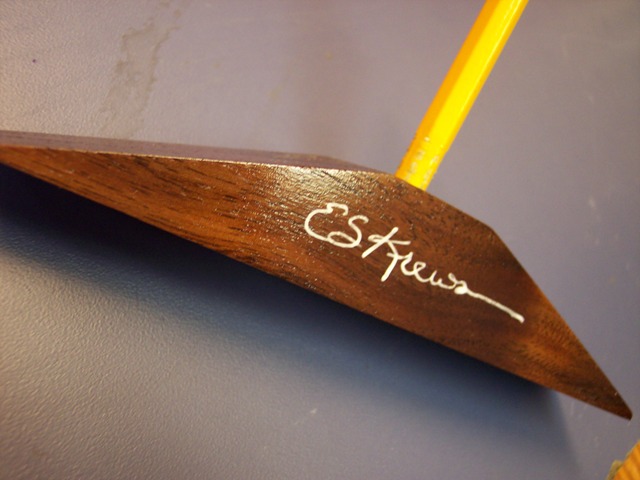
An amazingly generous user (Eric Krewson) over at primitivearcher.com sent me a “tillering Gizmo” he created to help get the curvature correct, it’s design is amazingly simple yet effective.
It simply consists of a long trapezoidal piece of wood with a hole going through it. In the hole is placed a threaded insert. The threaded insert allows you to screw a pencil into it and have it poke out at varying depths. Then when the bow is drawn out on the tillering tree you drag the Gizmo along the bow with the long edges will touch the bow creating a in the center if the bow has curvature. If the curvature is not strong enough to create a gap larger than the amount the pencil is sticking out the pencil will mark that section of bow thus the stiff areas of the bow will be marked. Similarly if you have a kink in the bow the areas on each side of the kink will be marked since they will be significantly stiffer. You simply start out with the pencil sticking out a very small amount (to mark the stiffest areas) and as you tiller progressively make the pencil stick out more to tiller until you get the curvature you want.
Tillering “on the long string”
When ready to begin tillerng you are supposed to tiller with a “long string”; i.e. a string that is longer than the final string length so that it doesnt bend the bow much when its on. I wanted to use paracord for this but the folks at Primitive Archer forums told me that although paracord can work as a long stirng ideally you want something that will not stretch, essentially you just want bow string that is longer. Another amazingly generous user (Loon) offered to handmake me a long string out of B-55 Dacron (a common bowstring material) and he even included some hollow string which is used to wrap the ends and center of a bow string for the nocks and arrow nocking.
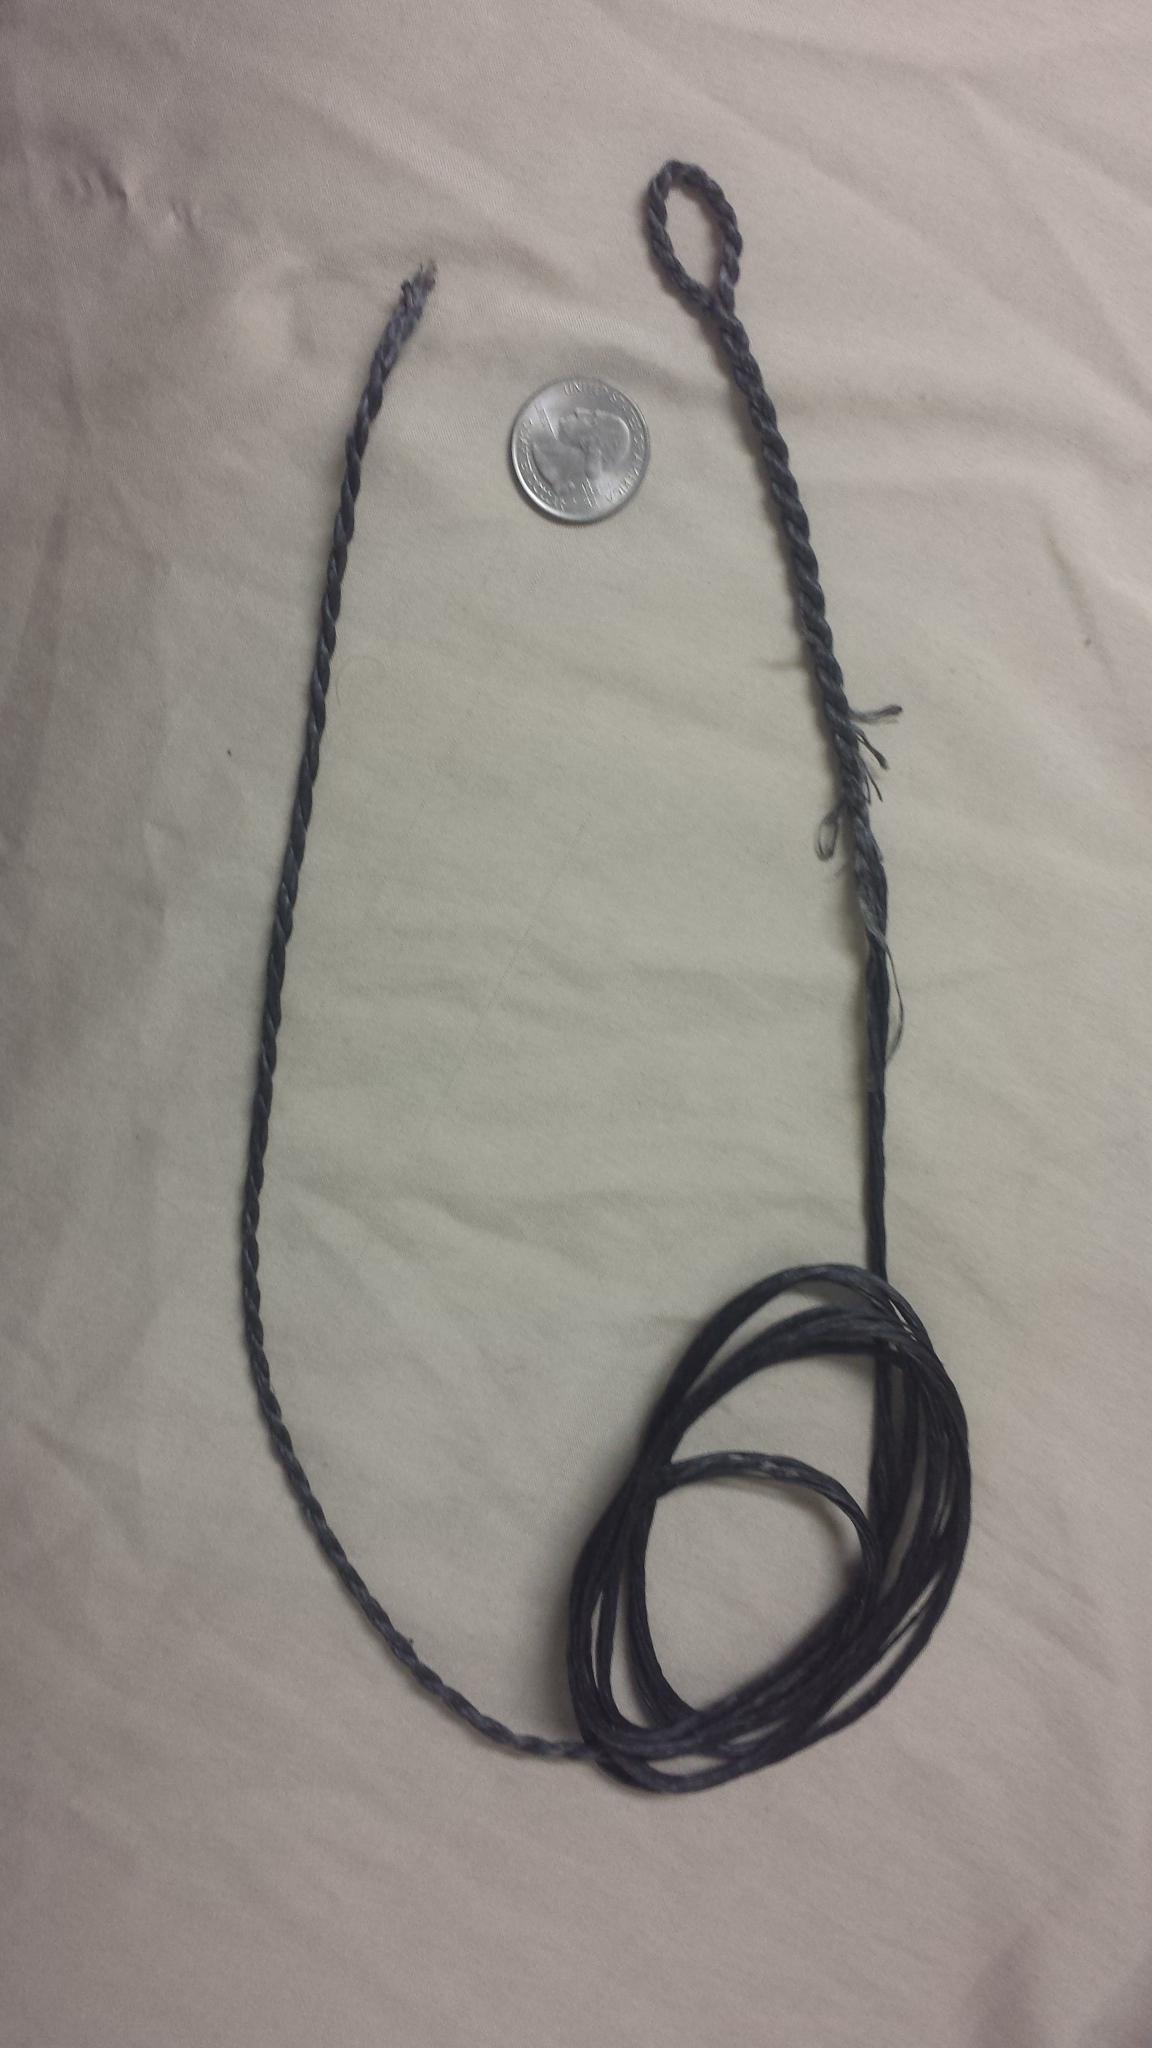
As you can see one side has a loop called a Flemish Loop, when one gets a bow string often both sides a flemish loops as it builds the structure of the loop into the string so it can’t be undone. Loon sent me a string with one half flemish loop and one half open ended so I can progressively shorten the long string using a (also called an archers hitch) and tiller with different length strings.

Putting on the final string
When i was confidently pulling the bow out so tha the tip-to-belly depth was over 6 inches i put the final string on. The final string was ordered from eBay and has a double flemish loop design so it cannot be adjusted. Tillering on the final string is the same as tillering on the long string. I proceeded very slowly tillering until I could draw the bow out 30" of draw length.
Finishing the bow
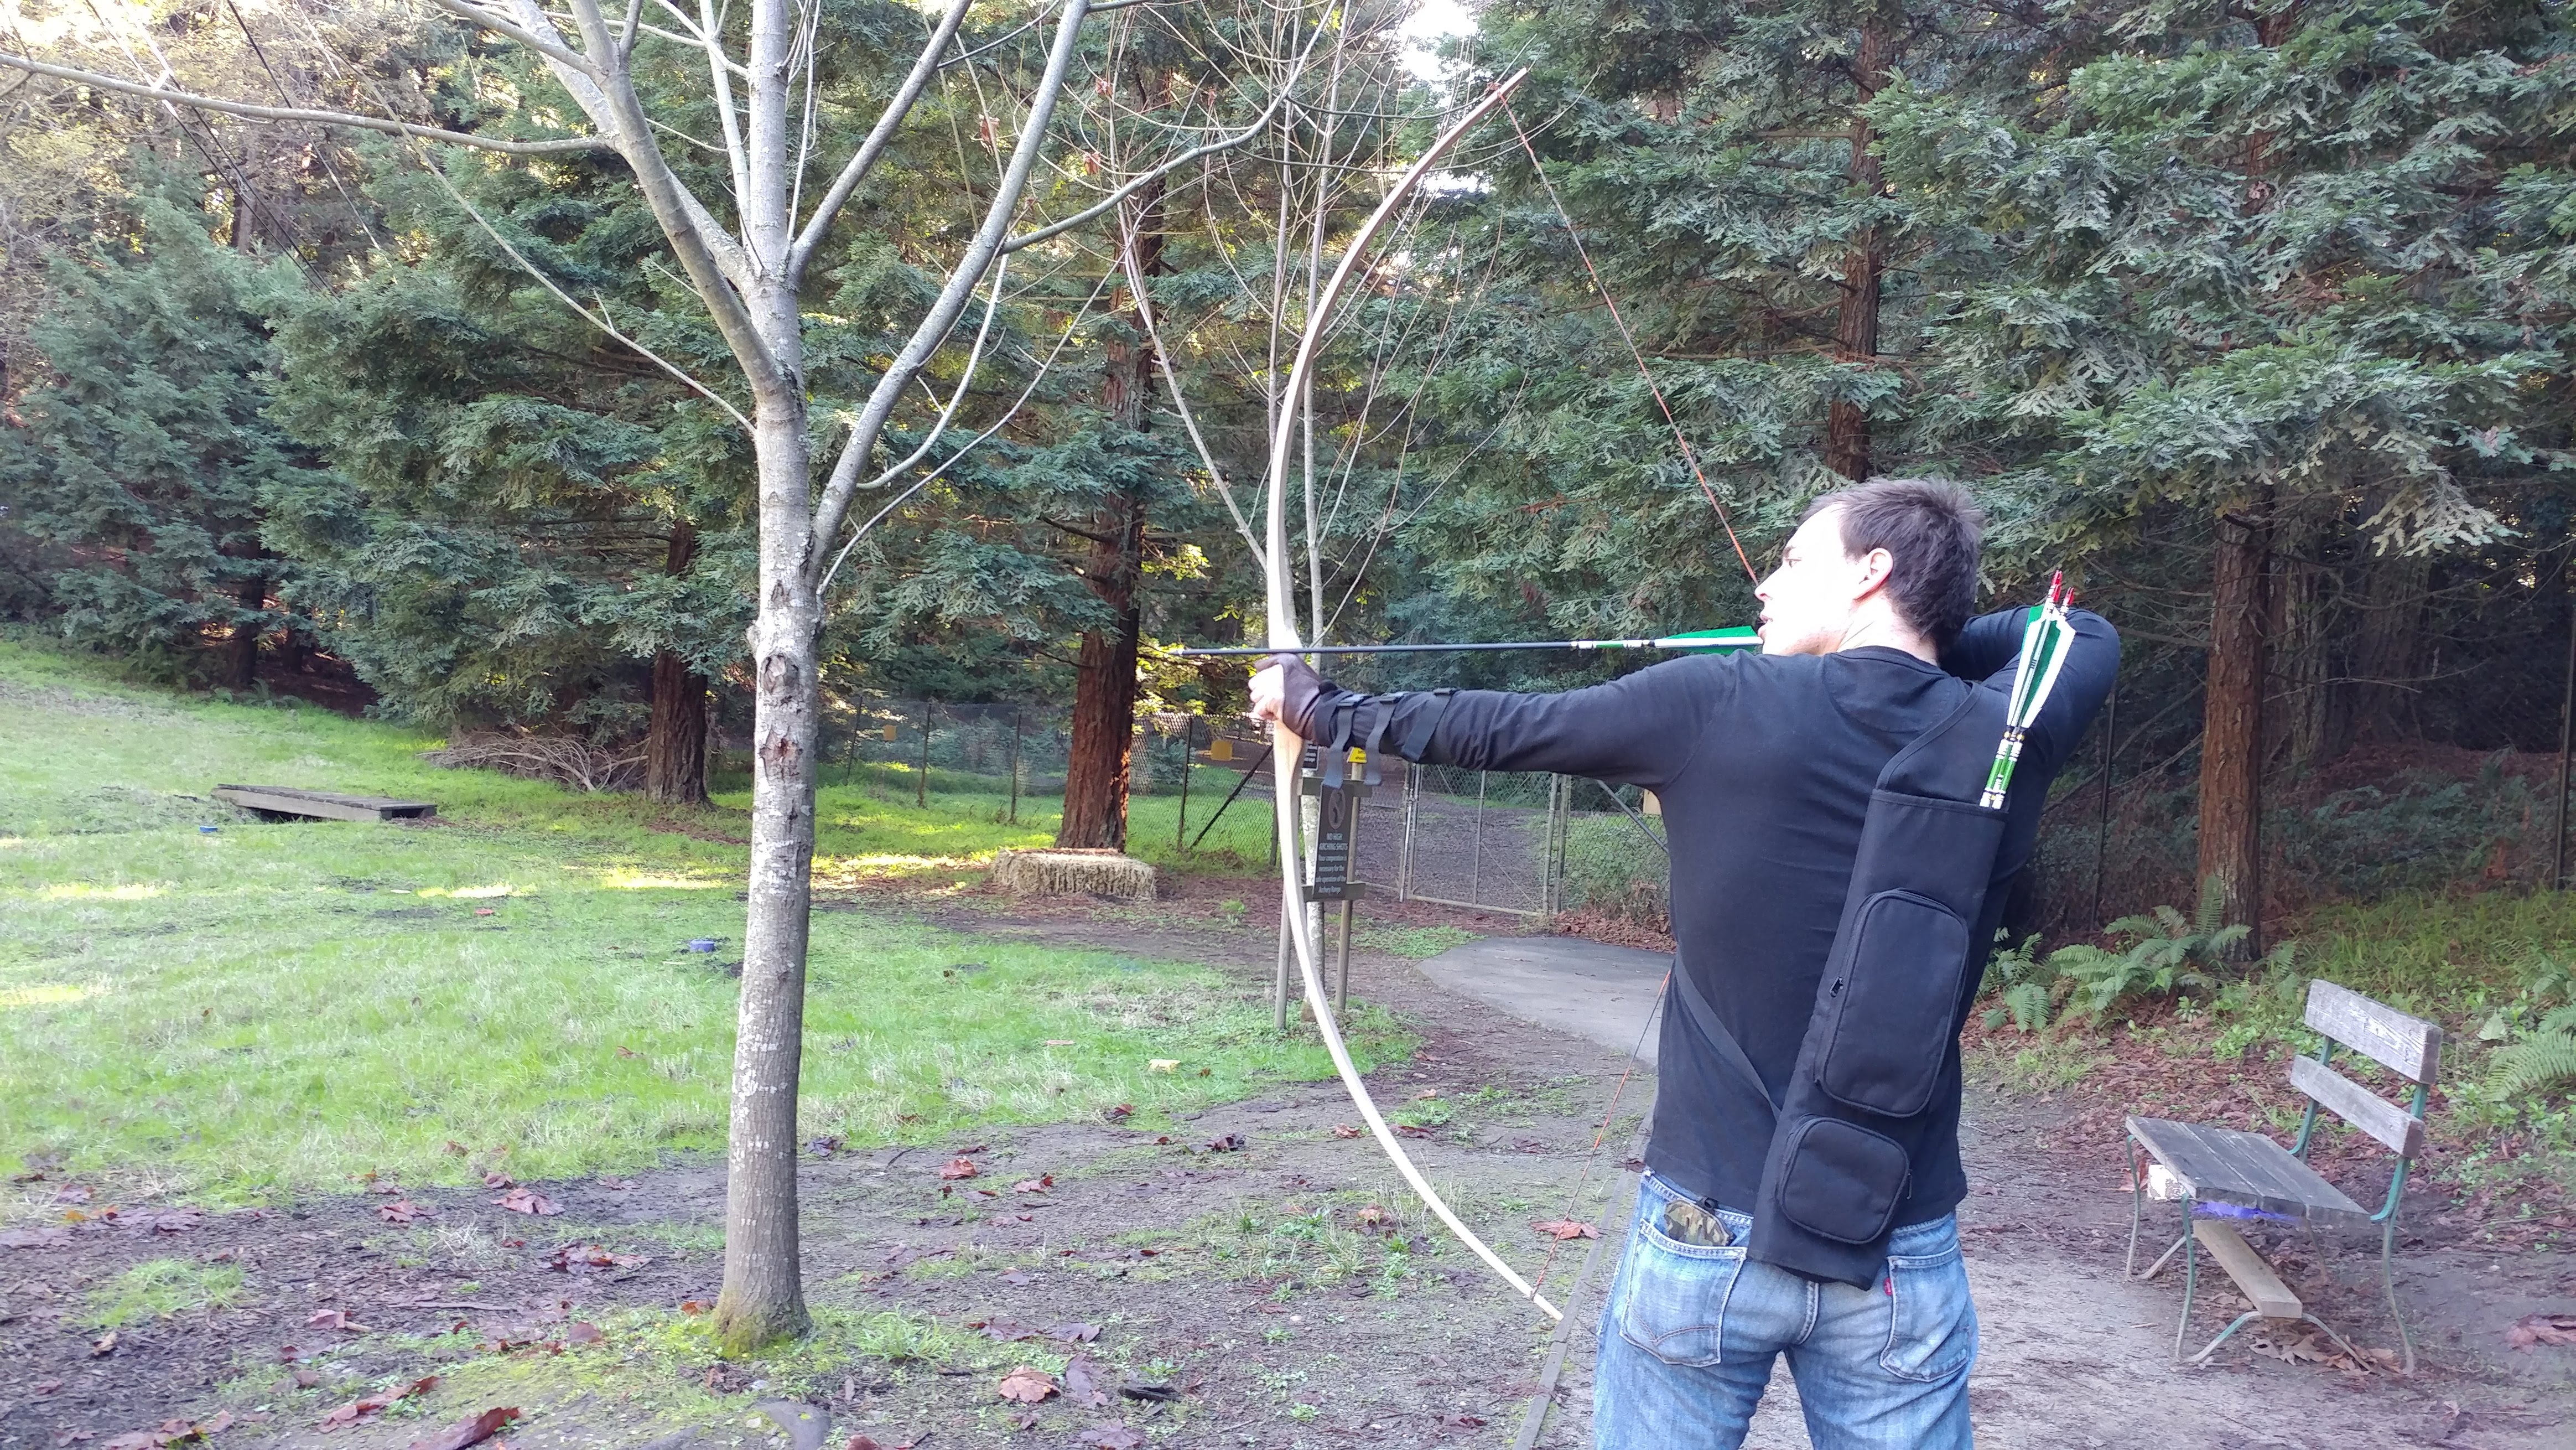
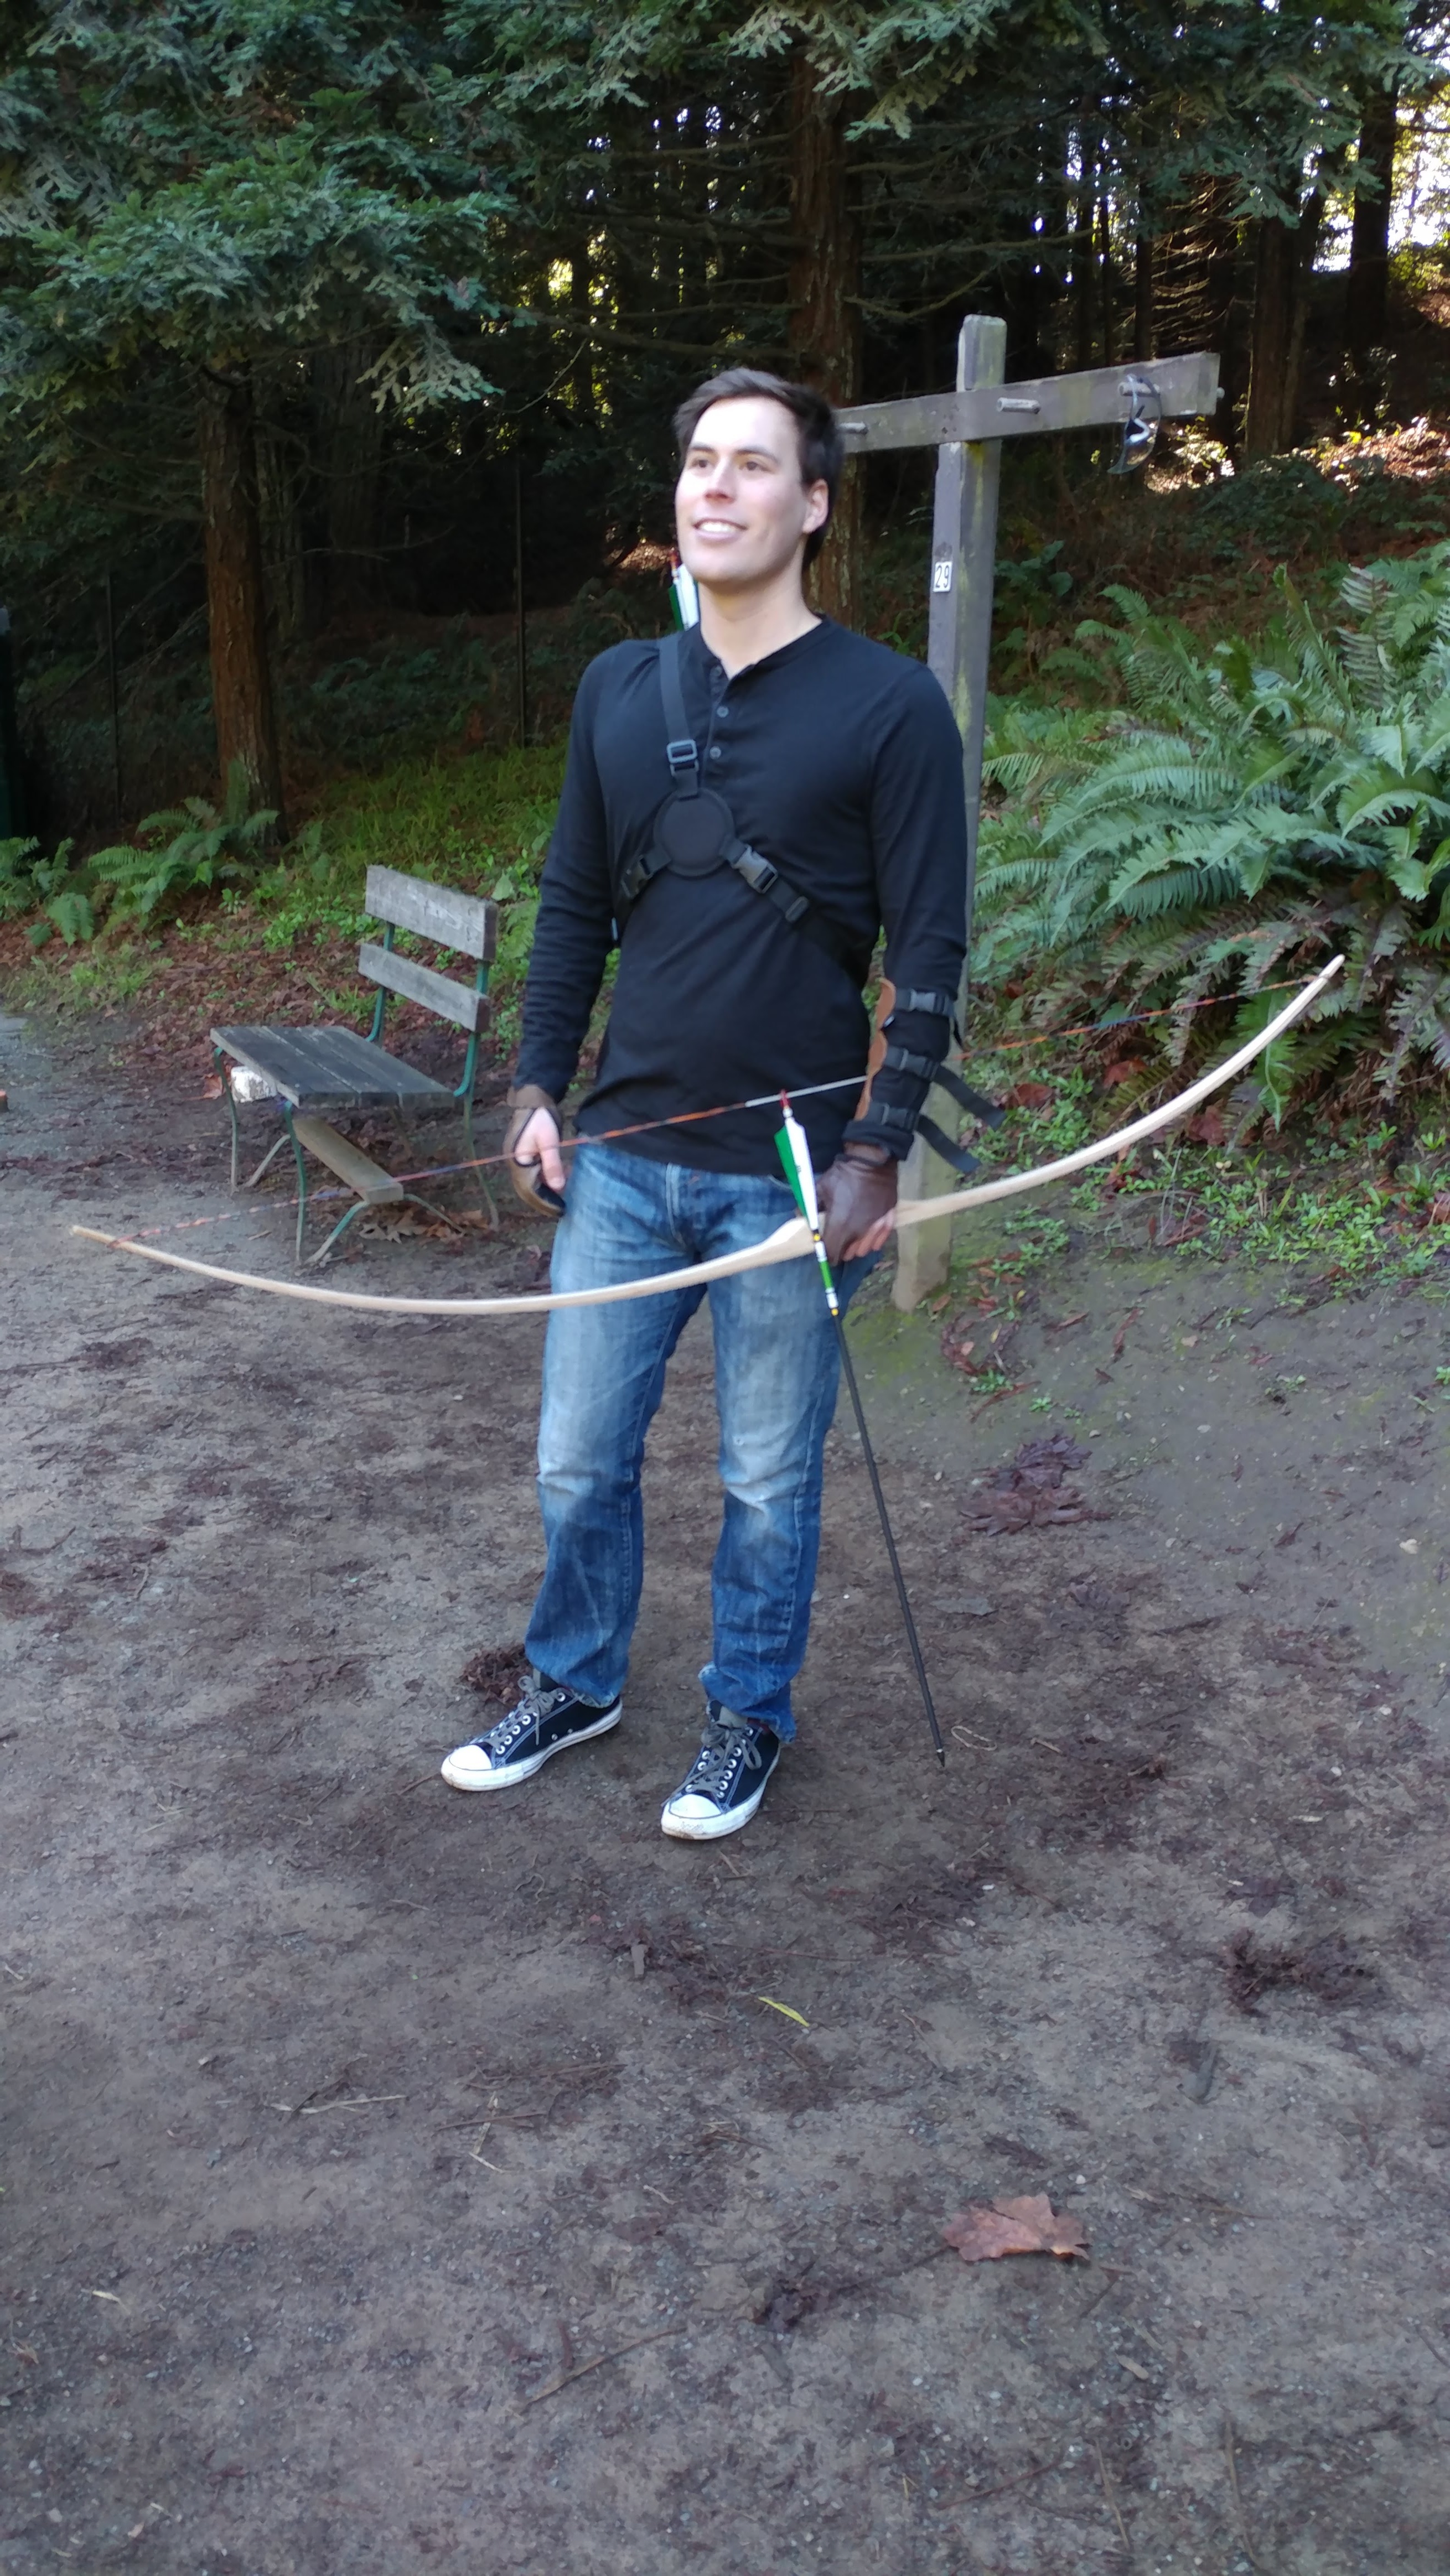
I tested the bow at Redwood Bowman in the Joaquin Miller park in Oakland. After happily shooting (very innacurately) with it over 28 targets I had decided the bow worked and all that was needed to do was to finalize it.
I orderd some Linseed Oil and sanded the bow with very fine grit sand paper. I applied several thin coats, letting it dry completely each time. When it was done I was happy with the darkened hue it had taken on that accentuates the woods natural grain pattern.
Other finishes I considered were Tru-Oil and Tung Oil but after looking at comparisons online I decided I like the look of Linseed Oil the best.